The Ultimate Guide to Moist Pumpkin Bread & Pumpkin Muffins: Perfect Fall Baking
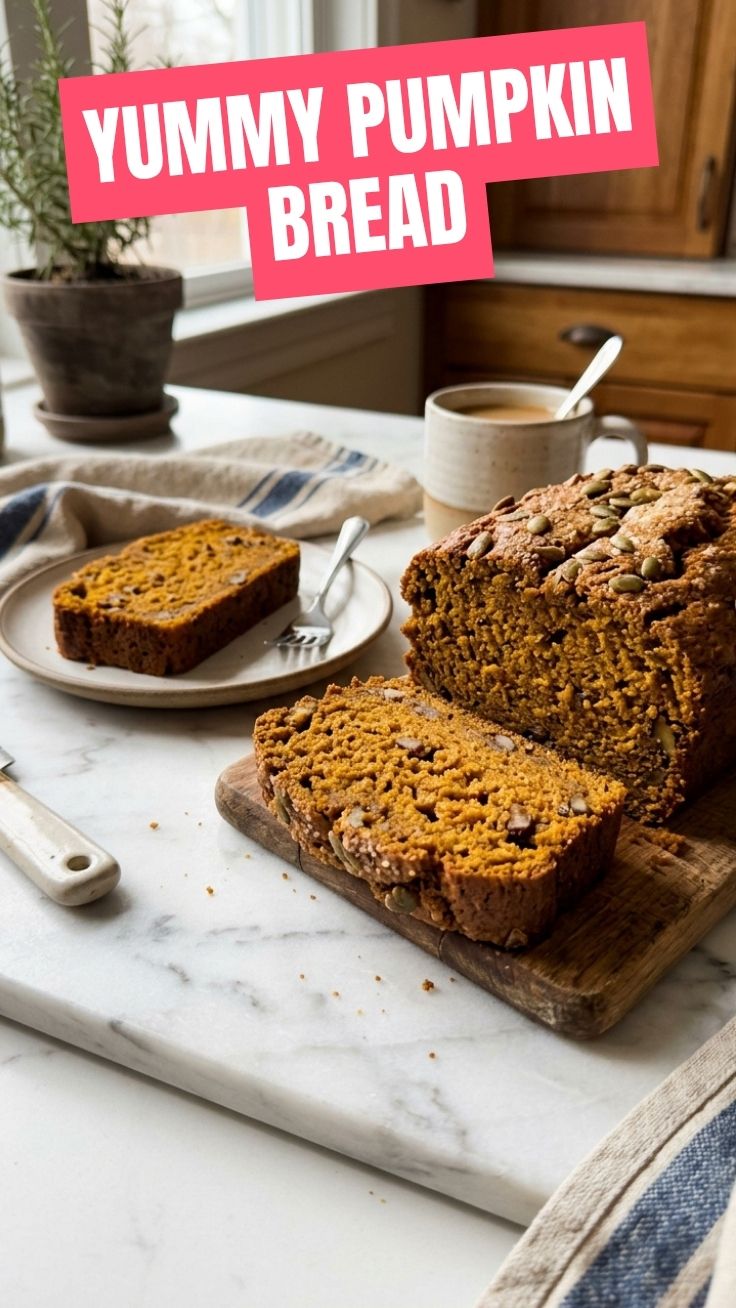
Have you ever taken a bite of dry, crumbly pumpkin bread and wondered why homemade versions never live up to bakery standards? The secret isn’t in the ingredients alone—it’s in the technique, timing, and a few professional tricks. Learning to bake a perfectly moist loaf at home not only saves money but fills your kitchen with the unmistakable aroma of cinnamon, nutmeg, and cloves. Whether you’re craving a classic Pumpkin Bread or want individual servings of Pumpkin Muffins, this guide will walk you through every detail for foolproof results.
—
Ingredients & Kitchen Tools
For the batter (makes one 9×5-inch loaf or 12 muffins)
– All-purpose flour – 1¾ cups (provides structure; swap for whole wheat pastry flour for a nuttier flavor)
– Baking soda – 1 teaspoon (essential for rise)
– Baking powder – ½ teaspoon (adds extra lift)
– Salt – ½ teaspoon (balances sweetness)
– Ground cinnamon – 2 teaspoons (the star spice)
– Ground nutmeg – ½ teaspoon (earthy warmth)
– Ground cloves – ¼ teaspoon (intense aroma; use sparingly)
– Pumpkin purée – 1 cup (not pumpkin pie filling; canned or homemade works)
– Granulated sugar – 1 cup (can reduce to ¾ cup for less sweetness)
– Brown sugar, packed – ½ cup (adds moisture and depth)
– Vegetable oil – ½ cup (keeps crumb tender; use melted coconut oil for a subtle flavor)
– Eggs – 2 large (room temperature for better emulsion)
– Vanilla extract – 1 teaspoon (enhances spice notes)
Optional add-ins
– Chopped pecans or walnuts – ½ cup
– Dark chocolate chips – ⅓ cup
– Dried cranberries – ¼ cup
Kitchen tools
– 9×5-inch loaf pan or 12-cup muffin tin
– Parchment paper (for easy removal)
– Mixing bowls (large and medium)
– Whisk and spatula
– Cooling rack
– Measuring cups and spoons
—
Prep Time & Cooking Schedule
| Stage | Time |
|——-|——|
| Prep (measuring, mixing) | 15 minutes |
| Bake (loaf) | 55–65 minutes |
| Bake (muffins) | 18–22 minutes |
| Cooling (in pan) | 10 minutes |
| Cooling (on rack) | 30 minutes minimum |
Planning tip: The batter can be made ahead and refrigerated for up to 24 hours. If baking directly, preheat the oven to 350°F (175°C) while you measure ingredients. For muffins, reduce the bake time and watch for a golden dome.
—
Step-by-Step Instructions
1. Preheat and prepare. Set oven to 350°F. Grease your loaf pan and line with parchment paper for easy lifting. For muffins, line the tin with paper liners.
2. Whisk dry ingredients. In a medium bowl, combine flour, baking soda, baking powder, salt, cinnamon, nutmeg, and cloves. Set aside.
3. Mix wet ingredients. In a large bowl, whisk together pumpkin purée, granulated sugar, brown sugar, oil, eggs, and vanilla until smooth and glossy.
4. Combine gently. Pour dry ingredients into wet. Fold with a spatula just until no streaks of flour remain—overmixing leads to toughness. Fold in any optional add-ins.
5. Fill and bake. Pour batter into loaf pan (or divide among muffin cups, filling ¾ full).
– Loaf: Bake 55–65 minutes. A toothpick inserted in the center should come out clean or with a few moist crumbs.
– Muffins: Bake 18–22 minutes until tops spring back when touched.
6. Cool and unmold. Let loaf or muffins rest in pan for 10 minutes, then transfer to a wire rack to cool completely. The structure continues to set as it cools—don’t rush this step.
Temperature control tip: If the loaf top browns too quickly (after 40 minutes), tent loosely with aluminum foil. For an even crumb, ensure all ingredients are at room temperature before mixing.
Seasoning adjustment: For a spicier kick, add ¼ teaspoon ground ginger or allspice. The key lies in balancing the warm notes so neither the Pumpkin Bread nor the batch of Pumpkin Muffins tastes one-dimensional.
—
Nutritional Benefits & Advantages
Pumpkin purée is a nutritional powerhouse: rich in vitamin A (from beta-carotene), fiber, and antioxidants. One slice of this pumpkin bread provides roughly 180 calories, 8g fat, 26g carbs, and 3g protein, depending on add-ins. Using oil instead of butter reduces saturated fat while keeping the crumb moist. The spices (cinnamon, nutmeg, cloves) offer anti-inflammatory properties and may help regulate blood sugar. For a lighter version, swap half the oil with unsweetened applesauce—this cuts fat without sacrificing texture.
—
Tips, Variations & Cooking Advice
– Flavor variations: Add 1 tablespoon of pumpkin pie spice for a pre-mixed shortcut. For a chocolate twist, use ½ cup cocoa powder and reduce flour by ¼ cup.
– Gluten-free adaptation: Use a 1:1 gluten-free flour blend; add 1 teaspoon of xanthan gum if the blend doesn’t include it.
– Dairy-free option: The recipe is naturally dairy-free (no milk or butter). Ensure any add-ins (e.g., chocolate chips) are dairy-free.
– Mini muffins: Bake for 10–12 minutes; perfect for snacks or school lunches.
– Egg substitute: For vegan muffins, use 2 flax eggs (2 tablespoons ground flaxseed + 6 tablespoons water). The texture will be slightly denser.
—
Common Mistakes to Avoid
| Mistake | Solution |
|———|———-|
| Dense, gummy loaf | Measure flour by spooning into the cup and leveling (not scooping). Overmixing develops gluten. |
| Dry edges with raw center | Oven temperature may be too high; invest in an oven thermometer and reduce heat by 25°F if needed. |
| Cracked top (muffins) | Overfilled cups or too hot oven; fill to ¾ full and bake at 350°F. |
| Sinking add-ins | Toss nuts or chocolate chips in 1 tablespoon of flour before folding into batter. |
| Sticking to pan | Always line with parchment or use high-quality nonstick spray with flour. |
—
Storage & Meal Prep Tips
Room temperature: Store in an airtight container for up to 3 days. Place a paper towel at the bottom to absorb excess moisture (replace daily).
Refrigerator: Keeps for up to 1 week, but the texture may firm slightly. Warm slices for 10 seconds in the microwave to restore softness.
Freezer: Wrap cooled loaf or muffins tightly in plastic wrap, then aluminum foil. Freeze for up to 3 months. Thaw overnight in the fridge or at room temperature for 30 minutes.
Reheating: For a freshly baked feel, pop frozen muffins in a 300°F oven for 5 minutes. For the loaf, slice and toast lightly.
—
Conclusion
Mastering homemade pumpkin treats transforms fall baking from a chore into a joy. The moist crumb, warm spice blend, and natural sweetness of purée come together effortlessly when you follow these precise steps. Whether you slice into a fragrant Pumpkin Bread or grab a batch of Pumpkin Muffins for the road, the satisfaction of a homemade dessert is unmatched. Try this recipe this weekend and share your results—tag a friend who loves fall flavors! For more seasonal bakes, explore our apple cider donut guide or cranberry orange loaf.
—
FAQs
1. Can I use fresh pumpkin instead of canned?
Yes. Roast a sugar pumpkin until tender, then purée in a food processor. Strain excess liquid—fresh purée is often watery—by pressing through a sieve or cheesecloth.
2. My pumpkin bread sunk in the middle—why?
Underbaking is the most common cause. Check doneness with a toothpick at the 55-minute mark. If it’s not fully set, continue baking in 5-minute intervals.
3. How can I make the muffins extra domed?
Increase oven temperature to 375°F for the first 5 minutes, then reduce to 350°F. The initial high heat creates a steam burst that lifts the tops.
4. Can I reduce the sugar without ruining the texture?
Yes, replace granulated sugar with ¾ cup coconut sugar or reduce total to 1 cup combined. Be aware that sugar contributes to moisture, so texture may become slightly less tender.
5. What’s the best way to keep muffins from sticking to liners?
Use high-quality parchment liners (not paper) or grease the inside of regular liners lightly with cooking spray. Let muffins cool completely before peeling.
How to grow delicious 5 Pumpkin Bread
Ingredients
Equipment
Method
- Choose a sunny spot in your garden and prepare the soil by mixing in compost and topsoil.
- Plant pumpkin seeds about 1 inch deep and 3-5 feet apart in mounds or rows, ensuring good spacing for growth.
- Water regularly, especially during dry spells, keeping the soil consistently moist but not waterlogged.
- Once vines start to grow, consider fertilizing with a balanced fertilizer if you desire larger pumpkins.
- Protect young plants from pests and diseases by regularly checking leaves and applying organic pest control if necessary.
- Harvest pumpkins when they are fully colored and the rind is hard; cut the stem with a few inches attached.