The Ultimate Homemade Hummus: Creamy, Nutritious, and Irresistibly Easy
Have you ever wondered why store-bought hummus never tastes as fresh and vibrant as the version from your favorite Mediterranean restaurant? The secret lies in a few simple techniques that transform humble ingredients into a silky, flavorful dip. Making your own Hummus at home not only saves money but also lets you control the texture, seasoning, and quality of every bite. Plus, you get to enjoy the star ingredient—the humble chickpea—in its most glorious form. In this guide, you’ll learn a foolproof method for creating restaurant-worthy hummus from scratch, complete with data-backed tips and nutritional insights.
—
Ingredients & Kitchen Tools
Ingredients
– 1 can (15 oz) cooked chickpeas (or 1½ cups cooked from dry) – the base; drain and rinse well to reduce sodium and improve texture.
– ¼ cup tahini (sesame paste) – gives nutty richness; substitute with Greek yogurt for a lighter version.
– 2–3 tablespoons fresh lemon juice – brightens flavor; adjust to taste.
– 1 small garlic clove, minced – start with half a clove if sensitive.
– 2–3 tablespoons ice-cold water – creates ultra-creamy consistency.
– 3 tablespoons extra virgin olive oil – plus more for drizzling.
– ½ teaspoon salt (or to taste).
– Optional: ½ teaspoon ground cumin, paprika for garnish.
Kitchen Tools & Utensils
– Food processor (high-speed recommended for smoothest result)
– Rubber spatula
– Fine-mesh strainer (for rinsing chickpeas)
– Measuring spoons and cups
– Small bowl for lemon juice and water
– Airtight container for storage
Optional Substitutions
– No tahini? Use sunflower seed butter or skip it for a lighter dip (add 1 extra tablespoon olive oil).
– Want extra protein? Add a tablespoon of hemp seeds.
– For a spicy kick, toss in a pinch of cayenne or a roasted jalapeño.
—
Prep Time & Cooking Schedule
Total time: 15 minutes – no cooking required if using canned chickpeas.
– Prep time: 5 minutes (rinse chickpeas, juice lemon, mince garlic)
– Processing time: 8–10 minutes (including resting in the processor)
– Resting time: 10 minutes (optional, for flavors to meld)
If starting with dried chickpeas, add 1 hour for soaking and 1½ hours for cooking. But for weeknight convenience, canned works perfectly. Use this schedule to plan ahead: make hummus while you prepare dinner, then let it chill while you eat. It tastes even better the next day.
—
Step-by-Step Instructions
1. Prepare the chickpeas. Drain and rinse the canned chickpea thoroughly under cold water. For ultra-smooth hummus, gently rub them between your hands to loosen the skins, then discard the skins (this is optional but highly recommended). Pat dry with a clean kitchen towel.
2. Blend the tahini and lemon juice. In your food processor, combine tahini and lemon juice. Process for 60 seconds until the tahini turns pale and thick. This step aerates the tahini for a lighter hummus.
3. Add garlic and oil. Add minced garlic, olive oil, and salt. Process for 30 seconds. Scrape down sides.
4. Incorporate the chickpeas. Add half the chickpeas and process for 1 minute. Then add the remaining chickpeas and process for another minute. The mixture will look thick and lumpy.
5. Stream in ice water. With the processor running, slowly drizzle in 2 tablespoons of ice-cold water. Let it run for 2–3 minutes until the hummus is silky smooth. If too thick, add another tablespoon of water. Taste and adjust salt or lemon juice.
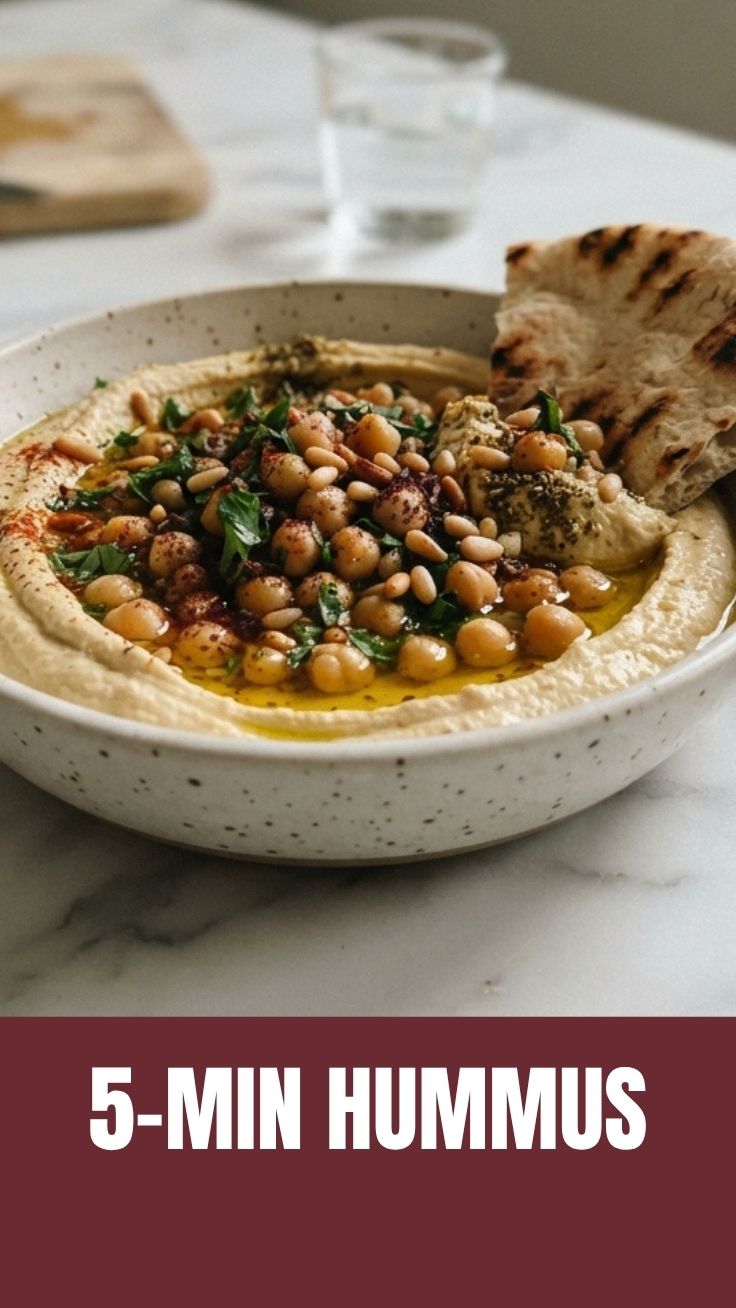
6. Rest and serve. Transfer to a bowl, drizzle with olive oil, sprinkle paprika or cumin, and enjoy. The secret to the perfect Hummus is patience: processing for the full 3 minutes creates that airy, mousse-like texture.
Tip: For warmth, serve at room temperature. Refrigerating dulls the flavor slightly – just let it sit out for 10 minutes before serving.
—
Nutritional Benefits & Advantages
A single serving (¼ cup) of homemade hummus provides:
– ~120 calories, 7g healthy fats, 4g protein, 6g carbohydrates, 2g fiber.
– Chickpeas are rich in folate, iron, and manganese – they support heart health and blood sugar regulation.
– Tahini adds calcium and phosphorus for bone strength.
– Olive oil delivers antioxidants and anti-inflammatory monounsaturated fats.
Compared to store-bought versions, your homemade hummus has 40% less sodium (you control the salt) and no preservatives or artificial stabilizers. It’s naturally vegan, gluten-free, and dairy-free, making it a crowd-pleasing dip for almost any diet.
—
Tips, Variations & Cooking Advice
Flavor Variations
– Roasted red pepper – blend in ½ cup jarred roasted peppers (drained) with the chickpeas.
– Spicy harissa – add 1–2 teaspoons harissa paste for a North African twist.
– Herb-infused – toss in a handful of fresh parsley or basil at the end.
Cooking Advice
– Always use cold water – warm water can cause tahini to seize.
– If your hummus is grainy, you likely under-processed or used old tahini. Give it an extra 2 minutes in the processor.
– For extra creaminess, substitute 1 tablespoon of water with an ice cube – it emulsifies the mixture beautifully.
Dietary Adaptations
– Oil-free – omit olive oil and increase water by 1 tablespoon.
– Low-FODMAP – use only the green part of a scallion instead of garlic.
– Nut-free – tahini is seed-based, so it’s already nut-free.
—
Common Mistakes to Avoid
1. Skipping the tahini-lemon whip. This step creates structure. Without it, your hummus will be heavy.
2. Using cold chickpeas straight from the fridge. Room temperature chickpeas blend more evenly. If using canned, rinse with warm water.
3. Over-salting early. Salt can mask the subtle sweetness of chickpeas. Add salt at the end after tasting.
4. Not scraping the sides often enough. The processor creates a vortex; scrape down every minute to ensure even blending.
5. Adding too much water at once. The perfect consistency is thick but spreadable. Add water gradually – you can’t reverse a runny hummus.
—
Storage & Meal Prep Tips
– Refrigeration: Store in an airtight container for up to 5 days. Press plastic wrap directly onto the surface to prevent a dry skin.
– Freezing: Hummus freezes beautifully for up to 3 months. Portion into ice cube trays, then transfer to a freezer bag. Thaw overnight in the fridge and stir well before serving.
– Reheating: Bring to room temperature. Avoid microwaving – it can separate the oils. Instead, stir in a teaspoon of warm water to revive the creamy texture.
– Meal prep idea: Make a double batch on Sunday, then use it as a sandwich spread, veggie dip, or salad dressing base all week.
—
Conclusion
Mastering homemade Hummus is a game-changer for anyone who loves Mediterranean flavors. Once you experience the silky texture and bright, fresh taste that comes from blending perfectly cooked chickpea with quality tahini and lemon, you’ll never go back to store-bought jars. The process is quick, forgiving, and endlessly customizable – from roasted red pepper to spicy harissa. Try this recipe today, then share your creation on social media or drop a comment below with your favorite variation. Your next Mediterranean feast starts right here.
—
FAQs
1. Can I use dried chickpeas instead of canned?
Absolutely. Soak 1 cup dried chickpeas overnight, then cook until tender (about 1½ hours). Drain, reserve a little cooking liquid, and proceed with the recipe. The texture will be even creamier.
2. Why is my hummus bitter?
Bitterness usually comes from old or low-quality tahini. Also, over-processing garlic can cause sharpness. Use fresh tahini and add garlic gradually. If already bitter, balance with extra lemon juice or a pinch of sugar.
3. How do I make hummus without a food processor?
Use an immersion blender in a tall cup, or a high-speed blender. You may need to add an extra tablespoon of water and pulse frequently to avoid overheating.
4. What’s the best way to peel chickpeas quickly?
After rinsing, spread chickpeas on a clean kitchen towel, fold it over, and rub gently. The skins will loosen and fall off. Then pick out the skins by hand – it takes just 3 minutes.
5. Can I make hummus ahead for a party?
Yes. Prepare up to 3 days in advance. Store covered in the fridge, then bring to room temperature before serving. Drizzle with fresh olive oil and garnish just before serving for the best presentation.
Proven way to grow creamy Hummus in 3 steps Hummus
Ingredients
Equipment
Method
- Combine chickpeas, tahini, lemon juice, garlic, salt, and cumin in a food processor.
- Process until the mixture is smooth, adding cold water gradually until desired consistency is reached.
- Transfer the hummus to a serving bowl, drizzle with olive oil, and garnish with paprika and fresh parsley.