Unlock the Secrets to the Perfect Homemade Hot Dogs!
Ever wondered if you could recreate that iconic, mouth-watering experience of a perfectly grilled hot dog right in your own kitchen? Absolutely! Preparing delicious hot dogs at home isn’t just about saving money; it’s about elevating a simple meal into a culinary delight, guaranteeing quality ingredients, and customizing every bite to your preference. While we often associate hot dogs with quick fixes, unleashing your inner chef to craft gourmet hot dog creations can be incredibly rewarding.
Ingredients & Kitchen Tools
Gather your culinary arsenal! Here’s what you’ll need to create fantastic hot dogs and delightful homemade hot dog chili:
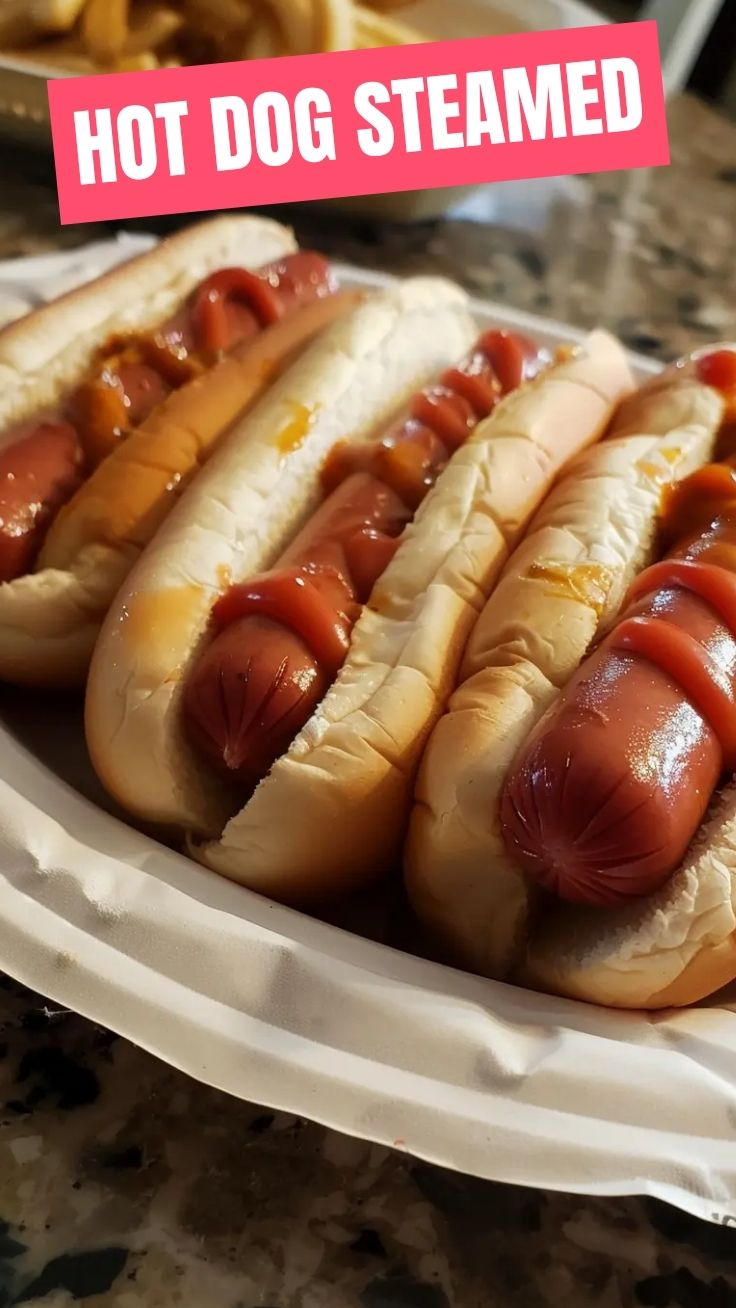
- Hot Dogs (8 links): Opt for your favorite brand, whether all-beef, pork, or a plant-based alternative.
- Hot Dog Buns (8): Brioche, potato, or whole wheat – choose what you love.
- Onion (1 medium): Finely diced for an aromatic base for your chili.
- Ground Beef (1 lb): Lean ground beef for the chili, or use ground turkey for a lighter option.
- Canned Diced Tomatoes (14.5 oz): Undrained, adds acidity and body to the chili.
- Tomato Paste (6 oz): Concentrated tomato flavor for depth.
- Chili Powder (2 tbsp): Essential spice blend for that classic chili flavor.
- Cumin (1 tsp): Adds earthy notes to the chili.
- Garlic Powder (1 tsp): Milder than fresh garlic, evenly distributed.
- Salt (1/2 tsp): To taste, enhances all flavors.
- Black Pepper (1/4 tsp): Freshly ground, for a subtle kick.
- Water or Beef Broth (1/2 cup): To adjust chili consistency.
- Cheddar Cheese (1 cup): Shredded, for topping – can substitute with Monterey Jack or a vegan shredded cheese.
- Yellow Mustard & Ketchup: Classic condiments, optional.
- Relish (Sweet or Dill): Optional, adds an acidic crunch.
Kitchen Tools:
- Large Skillet/Frying Pan: For cooking the ground beef and simmering the chili.
- Grill, Grill Pan, or Air Fryer: For cooking the hot dogs.
- Saucepan: Optional, for keeping chili warm.
- Chopping Board & Knife: For prepping the onion.
- Spatula/Wooden Spoon: For stirring the chili.
- Measuring Spoons & Cups: For accurate ingredient quantities.
Prep Time & Cooking Schedule
This recipe focuses on bringing you a delightful meal without hours of effort.
- Prep Time: 15 minutes (chopping ingredients, mixing spices).
- Cook Time: 25-30 minutes (15-20 minutes for chili, 10 minutes for hot dogs).
- Total Time: Approximately 40-45 minutes.
This schedule allows you to prepare the homemade hot dog chili while the hot dogs are cooking, ensuring everything is ready to assemble at the same time. No lengthy resting or marinating required here – just straightforward, delicious cooking!
Step-by-Step Instructions
Follow these simple steps to craft your ultimate hot dog experience, complete with a rich homemade hot dog chili:
1. Prepare the Chili Base: In a large skillet over medium heat, add a tablespoon of oil. Sauté the finely diced onion until softened and translucent, about 5-7 minutes.
2. Brown the Ground Meat: Add the ground beef (or your chosen alternative) to the skillet with the onions. Break it apart with a spatula and cook until thoroughly browned, about 8-10 minutes. Drain any excess fat.
3. Simmer the Chili: Stir in the canned diced tomatoes (undrained), tomato paste, chili powder, cumin, garlic powder, salt, and black pepper. Add 1/2 cup of water or beef broth. Bring the mixture to a gentle boil, then reduce heat to low, cover, and let it simmer for at least 15-20 minutes, stirring occasionally. This allows the flavors to meld beautifully, creating a robust homemade hot dog chili. The longer it simmers, the richer the flavor.
4. Cook the Hot Dogs: While the chili simmers, cook your Hot Dogs using your preferred method:
* Grilling: Grill over medium heat for 5-7 minutes, turning frequently, until lightly charred and heated through.
* Pan-Frying: Heat a little oil in a pan over medium heat. Cook hot dogs for 7-10 minutes, rolling them periodically.
* Air Frying: Place hot dogs in the air fryer basket. Cook at 375°F (190°C) for 6-8 minutes, shaking the basket halfway through.
5. Toast the Buns (Optional but Recommended): Lightly toast your hot dog buns on the grill, in a dry pan, or under the broiler for 1-2 minutes until golden. This adds texture and prevents sogginess.
6. Assemble and Serve: Place a hot dog in each toasted bun. Spoon a generous amount of homemade hot dog chili over the top. Garnish with shredded cheddar cheese, diced raw onion, mustard, ketchup, or relish as desired.
Nutritional Benefits & Advantages
Crafting your own hot dogs and homemade hot dog chili offers several advantages. By making it from scratch, you have control over the fat content in the ground beef, the amount of sodium, and the quality of ingredients, opting for leaner meats or organic options. Tomatoes in the chili are rich in lycopene, an antioxidant, while onions provide vitamins and fiber. Choosing whole wheat buns can increase dietary fiber, making this comfort food a more balanced and nutritious meal than store-bought processed versions.
Tips, Variations & Cooking Advice
- Spicy Kick: Add a pinch of cayenne pepper or a chopped jalapeño to the chili for extra heat.
- Vegetarian/Vegan: Substitute ground beef with plant-based ground meat and use vegan hot dogs and buns. Ensure your chili powder is vegan-friendly (most are).
- Cheese Blends: Experiment with pepper jack, colby jack, or a smoky Gouda for different cheese profiles.
- Cooking Methods: Besides grilling or pan-frying, consider boiling hot dogs for a plumper texture, or bake them for a hands-off approach.
- Batch Cooking Chili: The chili freezes beautifully! Make a double batch and freeze portions for quick future meals.
Common Mistakes to Avoid
- Overcooking Hot Dogs: This leads to dry, rubbery texture. Cook until just heated through and slightly browned.
- Undercooking Chili: Not simmering long enough results in a thin, watery chili with undeveloped flavors. Give it at least 15-20 minutes.
- Skipping Draining Fat: If using higher-fat ground beef, always drain excess fat after browning to prevent greasy chili.
- Soggy Buns: Always toast your buns! It creates a barrier that prevents the chili from making them mushy.
Storage & Meal Prep Tips
Leftover homemade hot dog chili can be stored in an airtight container in the refrigerator for up to 3-4 days. It also freezes exceptionally well for up to 3 months; thaw overnight in the fridge before reheating. Reheat chili gently on the stovetop over low heat, adding a splash of water or broth if it’s too thick. Cooked hot dogs can be stored separately for 2-3 days and reheated on the grill or in a pan. For meal prep, prepare a big batch of chili and simply cook fresh hot dogs and toast buns when ready to serve.
Conclusion
There’s nothing quite like a homemade hot dog, especially when paired with a rich, flavorful homemade hot dog chili. This recipe empowers you to create a superior version of a beloved classic, offering control over ingredients, incredible flavor, and a satisfying cooking experience. Don’t just settle for average – elevate your hot dog game! We encourage you to try this recipe, share your creations, and discover the joy of crafting gourmet hot dogs at home.
FAQs
Q1: Can I make the chili ahead of time?
A1: Absolutely! The homemade hot dog chili can be made up to 3 days in advance and stored in the refrigerator, or frozen for longer periods. In fact, the flavors often deepen overnight.
Q2: What are good substitutes for ground beef in the chili?
A2: You can easily substitute ground beef with ground turkey, chicken, or a plant-based ground meat for a lighter or vegetarian option.
Q3: How do I prevent the hot dog buns from getting soggy?
A3: The best way is to lightly toast the buns before filling them. This creates a barrier and adds a pleasant texture. You can also slightly dry the hot dogs after cooking to remove excess moisture.
Q4: Can I add beans to the chili?
A4: While traditional hot dog chili typically doesn’t include beans, you certainly can! A can of drained kidney or pinto beans would be a delicious addition. Add them during the last 10 minutes of simmering.
Q5: What other toppings go well with hot dogs and chili?
A5: Beyond cheese, mustard, and relish, consider fresh diced onions, pickled jalapeños, a drizzle of sour cream, or even a sprinkle of chopped fresh cilantro for a burst of flavor.
Quick way to grow hot dogs. Hot Dogs.
Ingredients
Equipment
Method
- Unpack your 'hot dog seeds' (hot dogs) from their packaging. Don't worry, these grow very fast!
- Place each hot dog in a microwave-safe dish, giving them a little space to "grow."
- Microwave the hot dogs on high for 60-90 seconds, or until they are plump and hot, indicating they have "grown."
- Carefully remove your "grown" hot dogs and place them in buns. Add your favorite toppings like ketchup and mustard.