Master the Ultimate Chili Dog: A Step-by-Step Guide to Homemade Perfection
Ever bitten into a classic diner-style Chili Dog and thought, “I wish I could make something this good at home”? Well, get ready to turn that wish into a delicious reality! Crafting your own chili dog isn’t just about saving money; it’s about customizing flavors, ensuring quality ingredients, and experiencing the pure joy of a perfectly balanced bite. Forget bland, pre-made versions – we’re diving deep into creating a truly memorable chili dog, made even better with a perfectly cooked Hot Dog. The satisfaction of a homemade chili dog, topped with your own savory chili and nestled in a soft bun, is an unparalleled culinary reward. Let’s make this iconic comfort food a staple in your home kitchen.
Ingredients & Kitchen Tools
Here’s everything you’ll need to assemble your ultimate Chili Dog:
- For the Chili:
* 1 tablespoon olive oil: For sautéing aromatics.
1 pound ground beef (80/20 lean): The savory base for your chili. Optional: Ground turkey or a plant-based crumble for a lighter version.*
* 1 medium onion, chopped: Adds sweetness and depth.
* 2 cloves garlic, minced: Aromatic foundation.
* 1 (15-ounce) can tomato sauce: For a rich, tomatoey body.
1 (15-ounce) can kidney beans, rinsed and drained: Adds texture and protein. Optional: Black beans or pinto beans.*
* ¼ cup water (or beef broth): To adjust chili consistency.
* 2 tablespoons chili powder: Essential for classic chili flavor.
* 1 teaspoon ground cumin: Earthy and warm spice.
* ½ teaspoon smoked paprika: Adds depth and a hint of smokiness.
* ¼ teaspoon cayenne pepper (optional): For a spicy kick.
* Salt and black pepper to taste.
* 8 Hot Dog franks (all-beef recommended): Choose quality for the best experience.
* 8 Hot Dog buns: Soft, fresh buns are key.
Optional Toppings:* Shredded cheddar cheese, diced raw onion, jalapeños, mustard, ketchup.
- Kitchen Tools:
* Large skillet or Dutch oven: For cooking the chili.
* Saucepan: For boiling or simmering Hot Dogs.
* Tongs: For handling Hot Dogs.
* Cutting board and knife: For prepping vegetables.
* Measuring cups and spoons: For accurate ingredient portions.
Prep Time & Cooking Schedule
- Prep Time: 15 minutes (chopping veggies, gathering ingredients).
- Cook Time: 30-40 minutes (20-25 minutes for chili, 5-10 minutes for Hot Dogs, 5 minutes for assembly).
- Total Time: Approximately 45-55 minutes.
This recipe is perfect for a weeknight dinner or a casual weekend gathering, as the chili can simmer while you prepare the other components. Allowing the chili to rest for 10-15 minutes after cooking can also deepen its flavors.
Step-by-Step Instructions
1. Start the Chili: Heat olive oil in a large skillet or Dutch oven over medium heat. Add chopped onion and sauté until softened, about 5-7 minutes. Add minced garlic and cook for another minute until fragrant.
2. Brown the Meat: Add ground beef to the skillet, breaking it up with a spoon. Cook until thoroughly browned, draining any excess fat.
3. Season and Simmer: Stir in chili powder, ground cumin, smoked paprika, and cayenne pepper (if using). Cook for 1 minute, letting the spices bloom. Pour in the tomato sauce, kidney beans, and water (or broth). Bring to a simmer, then reduce heat to low, cover, and let the chili gently cook for at least 20 minutes, stirring occasionally. This allows the flavors to meld beautifully, creating a robust sauce perfect for a Chili Dog.
4. Prepare the Hot Dogs: While the chili simmers, prepare your Hot Dogs. You can boil them gently for 5-7 minutes, grill them for smoky flavor, or pan-fry them for a crispy exterior.
5. Toast the Buns: Lightly toast your Hot Dog buns. This adds texture and prevents them from getting soggy. A quick minute in a toaster oven or on a dry skillet works wonders.
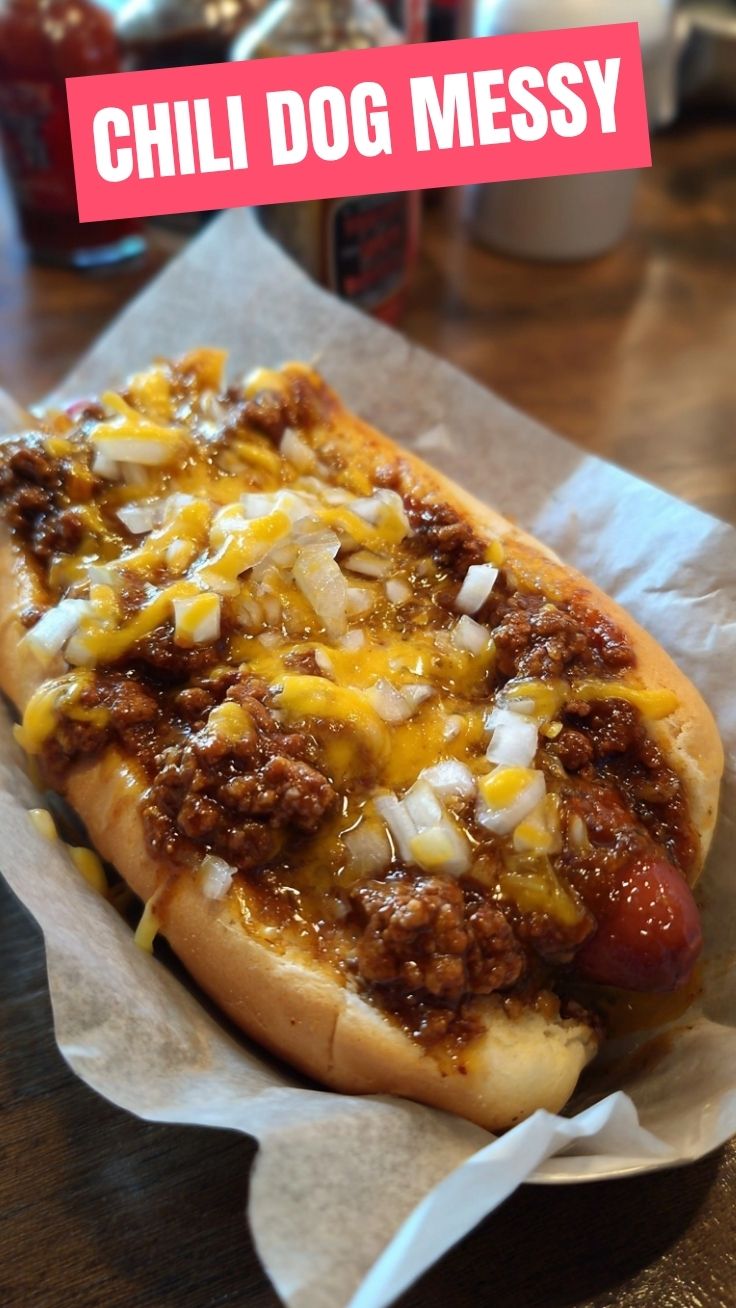
6. Assemble and Serve: Place a cooked Hot Dog in each toasted bun. Ladle a generous amount of warm chili over the Hot Dog. Add your desired optional toppings and serve immediately.
Nutritional Benefits & Advantages
Crafting your own Chili Dog allows for healthier choices. The chili, packed with lean ground beef (or a plant-based alternative) and fiber-rich kidney beans, offers protein, iron, and digestive benefits. Tomatoes contribute lycopene, an antioxidant, while onions and garlic provide essential vitamins and immune-boosting properties. By making it at home, you control the sodium and fat content, avoiding the excessive preservatives often found in store-bought versions. Opting for all-beef, uncured Hot Dogs further enhances the quality of your meal.
Tips Variations & Cooking Advice
- Spice Level: Adjust the amount of cayenne pepper or add a pinch of red pepper flakes for more heat.
- Bean Variety: Experiment with different beans in your chili (e.g., black beans for a Mexican twist or cannellini beans for a creamier texture).
- Vegetarian Option: Swap the ground beef for plant-based crumble and use vegetable broth for a delicious vegetarian Chili Dog.
- Gluten-Free: Use certified gluten-free Hot Dog buns and ensure all ingredients are GF.
- Slow Cooker Chili: For even deeper flavor, prepare the chili in a slow cooker on low for 4-6 hours.
Common Mistakes to Avoid
- Undercooked Chili: Don’t rush the simmering step. Allowing the chili to cook slowly lets the flavors develop and mellow, preventing a raw, acidic taste.
- Overcooked Hot Dogs: Boiling Hot Dogs too long can make them burst or turn rubbery. Cook just until heated through and plump.
- Soggy Buns: Always toast your buns! This crucial step creates a barrier against the chili’s moisture, preventing a messy, soggy experience.
- Not Draining Fat: If using higher-fat ground beef, make sure to drain excess grease after browning to prevent an overly oily chili.
Storage & Meal Prep Tips
Leftover chili can be stored in an airtight container in the refrigerator for up to 3-4 days. It also freezes beautifully for up to 3 months. Thaw frozen chili in the refrigerator overnight, then reheat gently on the stovetop or in the microwave, adding a splash of water or broth if needed to adjust consistency. Store cooked Hot Dogs separately in the fridge. For meal prep, make a large batch of chili and freeze portions. When ready to eat, simply reheat the chili, cook a fresh Hot Dog, and toast a bun.
Conclusion
There you have it – the ultimate guide to creating a mouthwatering homemade Chili Dog! By following these steps, you’ll not only impress your taste buds but also gain confidence in your culinary skills. The rich, savory chili perfectly complements a perfectly cooked Hot Dog, transforming a simple meal into an extraordinary comfort food experience. Don’t hesitate to give this recipe a try; experiment with toppings and make it your own. Share your delicious creations and tag us with your amazing homemade chili dog moments!
FAQs
- Q: Can I make the chili ahead of time?
A: Absolutely! Chili flavors often improve after sitting for a day, making it an excellent make-ahead dish. Store it in the refrigerator and reheat when ready to assemble your Chili Dogs.
A: It’s a matter of preference! Boiling gives a classic tender texture, grilling adds a smoky char, and pan-frying results in a slightly crispy skin. Choose what you like best for your Hot Dog.
- Q: Can I use different types of ground meat for the chili?
A: Yes, ground turkey, chicken, or even a mix of ground beef and pork can work. Adjust cooking times as needed and consider adding a little extra olive oil if using leaner meats.
A: Toasting your buns is key! A quick toast in a dry skillet, toaster oven, or even under the broiler creates a barrier that helps maintain the bun’s integrity against the warm chili.
- Q: What are some kid-friendly topping suggestions?
A: For kids, offer milder toppings like shredded cheese, a dollop of sour cream, or even a sprinkle of crushed corn chips for added crunch.
Quick way to grow Chili Dog in 7 days
Ingredients
Equipment
Method
- Cook the hot dog according to package instructions, either by grilling, boiling, or pan-frying.
- While the hot dog is cooking, warm the chili in a small saucepan over medium heat, or in the microwave.
- Lightly toast the hot dog bun if desired.
- Place the cooked hot dog in the toasted bun.
- Spoon the warm chili over the hot dog.
- Top with shredded cheddar cheese and diced onions.