The Ultimate Guide to Perfect Orange Chicken at Home
Have you ever wondered why restaurant-style Orange Chicken tastes so addictive yet seems impossible to replicate in your own kitchen? The truth is, with the right techniques and a bit of patience, you can create that perfect balance of crispy coating and glossy, tangy-sweet glaze right at home. Preparing this iconic dish from scratch not only saves money but also gives you complete control over ingredients, allowing you to avoid preservatives and adjust sweetness to your preference. Whether you’re craving takeout comfort or impressing dinner guests, mastering Orange Chicken is a game-changer for any home cook. Let’s dive into the secrets of achieving that restaurant-quality crunch and flavor.
Ingredients & Kitchen Tools
Essential Ingredients
– Boneless skinless chicken thighs (1.5 lbs) – Juicier than breasts; cut into 1-inch cubes
– Cornstarch (1 cup) – Creates the signature crispy coating; use potato starch for gluten-free version
– All-purpose flour (¼ cup) – Adds structure to the batter
– Eggs (2 large) – Binds the coating together
– Fresh orange juice (½ cup) – Core flavor; avoid bottled juice for best results
– Orange zest (2 tbsp) – Intensifies citrus aroma
– Soy sauce (3 tbsp) – Use tamari for gluten-free
– Rice vinegar (2 tbsp) – Balances sweetness with acidity
– Brown sugar (⅓ cup) – Creates caramelized glaze
– Fresh ginger (1 tbsp, grated) – Adds warmth and depth
– Garlic cloves (3, minced) – Essential savory backbone
– Red pepper flakes (½ tsp) – Adjustable heat
– Toasted sesame oil (1 tsp) – Finish for nutty fragrance
Kitchen Tools
– Deep fryer or heavy-bottomed pot – Maintains steady oil temperature
– Digital thermometer – Critical for oil temp control (350°F/175°C)
– Wire rack over baking sheet – Keeps chicken crispy without getting soggy
– Microplane grater – For fine orange zest without bitter pith
– Whisk and mixing bowls – For batter and sauce
– Slotted spoon or spider strainer – Safe oil retrieval
Optional Substitutions
– Chicken breasts – Leaner option; reduce cooking time by 1-2 minutes
– Coconut aminos – Soy-free alternative with milder flavor
– Honey – Replace brown sugar for floral sweetness
– Rice flour – Creates lighter, gluten-free crispness
Prep Time & Cooking Schedule
| Stage | Time | Notes |
|——-|——|——-|
| Prep & marinate | 15 minutes | Let chicken rest in salt after cutting |
| Sauce preparation | 10 minutes | Simmer and reduce while chicken rests |
| First fry | 4-5 minutes per batch | Maintain 350°F oil temperature |
| Rest between batches | 5 minutes | Keeps oil temp stable |
| Second fry (optional) | 2 minutes per batch | Extra crispiness |
| Glaze coating | 3 minutes | Toss hot chicken in warm sauce |
| Total active time | 40-45 minutes | Serves 4 people |
Planning tip: Prepare sauce and cut chicken up to 24 hours ahead. Keep refrigerated separately. The double-fry method (resting between fries) produces ultra-crispy results that stay crunchy even after saucing.
Step-by-Step Instructions
1. Prepare the chicken: Cut thighs into uniform 1-inch cubes. Season lightly with salt and white pepper. Let rest 10 minutes while you make the sauce.
2. Create the signature glaze: In a saucepan, combine orange juice, zest, soy sauce, rice vinegar, brown sugar, ginger, garlic, and red pepper flakes. Simmer over medium heat, stirring occasionally, until reduced by half (about 8 minutes). The mixture should coat the back of a spoon. Remove from heat and stir in sesame oil. Set aside.
3. Master the batter: Whisk eggs in a bowl. In a separate bowl, mix cornstarch and flour. Dip each chicken piece first in egg, then dredge thoroughly in the cornstarch mixture. Press coating firmly to adhere. The key here is a thick, shaggy coating that will become shatteringly crisp.
4. First fry for structure: Heat oil to 350°F (175°C). Fry chicken in small batches (don’t overcrowd) for 4-5 minutes until pale golden and cooked through. Transfer to wire rack. Let oil return to temperature between batches. This initial fry sets the coating.
5. Second fry for crunch (optional but recommended): Increase oil temperature to 375°F (190°C). Fry each batch again for 2 minutes until deep golden and ultra-crispy. This double-fry technique is the secret to Orange Chicken that stays crispy for hours.
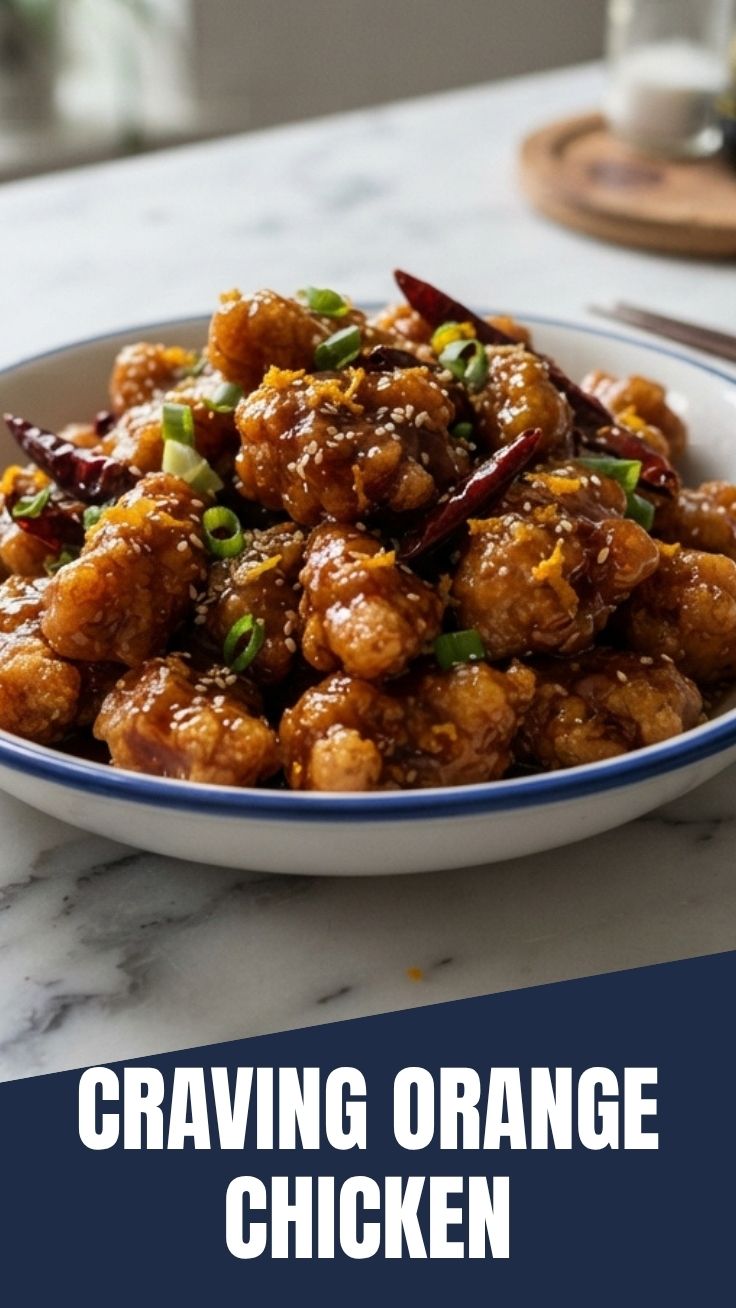
6. Glaze and serve: Reheat sauce if needed. In a large bowl, toss hot fried chicken with warm glaze until evenly coated. Serve immediately over steamed jasmine rice. Garnish with sliced green onions and sesame seeds.
Pro tip: For General Tso’s Chicken, which offers a spicier, more savory alternative with a deeper chili-garlic profile, you can adapt the same frying technique. The contrast between the bright citrus notes of orange chicken and the bold, spicy kick of General Tso’s Chicken showcases how versatile this cooking method truly is.
Nutritional Benefits & Advantages
Per serving (6 oz chicken with sauce):
– Calories: 385
– Protein: 28g
– Healthy fats: 12g
– Carbohydrates: 31g
– Fiber: 1g
– Sugar: 16g (from natural fruit and controlled sweetener)
Health advantages:
– Vitamin C boost: Fresh oranges provide 30% daily value – supports immune function
– Ginger’s anti-inflammatory properties: Reduces muscle soreness and joint pain
– Lean protein: Chicken thighs offer iron and B vitamins for energy metabolism
– Controlled sodium: Homemade version contains 60% less sodium than takeout
– No MSG or artificial additives: You decide every ingredient
Dietary note: This Orange Chicken recipe can be adapted for gluten-free (using tamari and rice flour) or lower sugar (substituting monk fruit sweetener for brown sugar). The citrus-forward flavor naturally complements lighter eating goals.
Tips Variations & Cooking Advice
Flavor Twists
– Spicy Sichuan version: Add 1 tsp Sichuan peppercorns and 2 dried chilies to sauce
– Smoky grilled option: Oven-fry coated chicken at 425°F for 20 minutes, then toss with glaze
– Herb-infused: Add fresh basil or Thai basil for aromatic complexity
– Coconut orange: Replace half the oil with coconut oil for tropical notes
Cooking Methods
– Air fryer: Spray coated chicken with oil; cook at 375°F for 12-15 minutes, shaking halfway
– Pan-fry: Use ¼-inch oil in cast iron; works well for smaller portions
– Baked (healthiest): Bake at 425°F on parchment-lined sheet for 18-20 minutes
Dietary Adaptations
– Gluten-free: Use tamari, rice flour/cornstarch blend, and certified GF soy sauce
– Dairy-free: This recipe is naturally dairy-free
– Keto-friendly: Replace brown sugar with allulose; serve with cauliflower rice
– Nut-free: No nuts involved; safe for most allergies
Common Mistakes to Avoid
1. Soggy coating: The #1 error. Solution: Never skip the second fry, and always use a wire rack (not paper towels) to drain. Paper towels trap steam and soften crust.
2. Pale or doughy interior: Oil temperature too low. Maintain 350°F religiously. Use thermometer – guessing leads to greasy results.
3. Bitter sauce: Over-zesting or using pith. Solution: Only grate the orange part of the peel. Taste zest before adding – if it’s bitter, use less.
4. Clumpy glaze: Sauce reduced too much or cooled. Keep sauce warm but not thick; it should flow like maple syrup. Thin with 1 tbsp water if needed.
5. Rubbery chicken: Overcooking. Solution: Thighs stay moist, but if using breasts, remove at 160°F internal temperature (carryover cooking takes it to 165°F).
Storage & Meal Prep Tips
Refrigeration
– Store glazed chicken separately from rice in airtight containers
– Keeps fresh for 3-4 days at 40°F or below
– Pro tip: Keep unglazed fried chicken separate; add sauce only when reheating to maintain crispiness
Freezing
– Best method: Freeze unglazed, fully cooked chicken pieces on a baking sheet, then transfer to freezer bags (lasts 2 months)
– Glaze alternative: Freeze sauce in ice cube trays; thaw one cube per serving
– Thawing: Refrigerate overnight; reheat in air fryer at 375°F for 5 minutes, then toss with warmed sauce
Reheating Methods
– Air fryer (best): 375°F for 4-6 minutes – restores original crunch
– Oven: 400°F for 8-10 minutes on wire rack
– Avoid microwave: Makes coating tough and rubbery
Conclusion
Mastering the art of crispy, saucy Orange Chicken at home transforms takeout cravings into a rewarding culinary experience. The double-fry technique, balanced citrus glaze, and attention to temperature control ensure you’ll achieve restaurant-quality results every time. Whether you’re feeding a family or meal-prepping for busy weeknights, this recipe delivers consistent satisfaction without hidden additives. Compare it to the bold, spicy kick of Orange Chicken – both share the same crispy foundation but offer entirely different flavor journeys. We’d love to see your creation: tag your cooking results, experiment with variations, and share your tips with fellow home chefs. Your perfect weeknight dinner awaits!
FAQs
Q: Can I use chicken breasts instead of thighs?
A: Absolutely. Just reduce cooking time by 1-2 minutes per batch to prevent dryness. Brining breasts for 30 minutes in salted water ensures juiciness.
Q: Why did my coating fall off during frying?
A: Usually due to wet batter or overcrowding. Ensure chicken is dry before dredging, and never add more than 6 pieces at a time to oil.
Q: How can I make this less sweet?
A: Reduce brown sugar to ¼ cup and add an extra tablespoon of rice vinegar. The orange flavor will still shine without the sweetness.
Q: Can I prepare the sauce ahead of time?
A: Yes! Sauce keeps refrigerated for up to one week. Reheat gently before tossing with freshly fried chicken.
Q: What’s the best oil for deep frying?
A: Peanut or avocado oil have high smoke points (450°F+) and neutral flavors. Vegetable or canola oil also work well at budget-friendly prices.
Best way to grow 4 Orange Chicken Sticks
Ingredients
Equipment
Method
- Cut the chicken breast into stick-like pieces, approximately 1 inch wide and 3-4 inches long.
- In a bowl, whisk together the orange juice, soy sauce, honey, grated ginger, minced garlic, and cornstarch to create the marinade.
- Heat vegetable oil in a large skillet or wok over medium-high heat.
- Add the chicken sticks to the hot skillet and cook until browned on all sides, about 5-7 minutes.
- Pour the marinade over the chicken and bring to a simmer, stirring constantly.
- Continue to cook, stirring occasionally, until the sauce thickens and coats the chicken, about 3-5 minutes.
- Remove from heat and let rest for a few minutes before serving.
- Garnish with sesame seeds and chopped green onions if desired.
- Serve the orange chicken sticks hot with your favorite side dishes like rice or steamed vegetables.