The Ultimate No Bake Cheesecake: Creamy, Dreamy, and Effortlessly Delicious
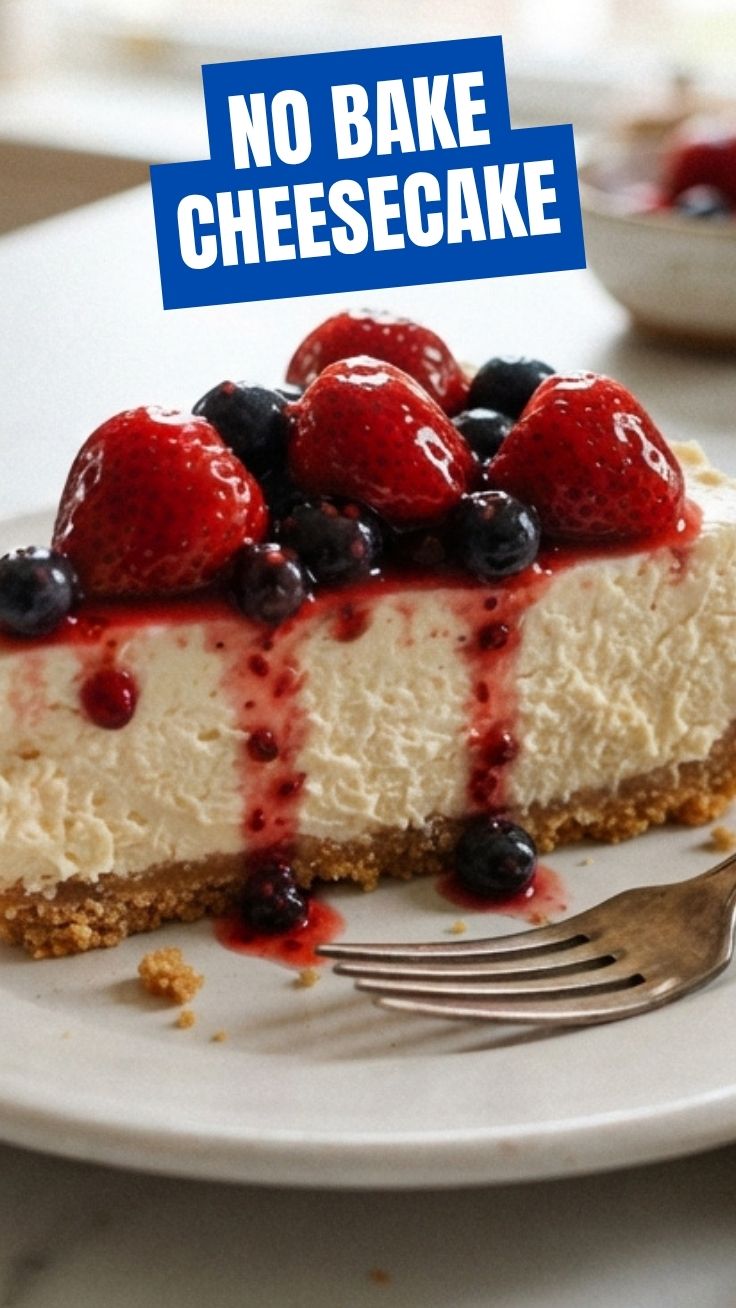
Have you ever craved a rich, velvety cheesecake but felt intimidated by the thought of water baths, cracked tops, and precise oven temperatures? You’re not alone. That’s exactly why this No Bake Cheesecake is a game-changer for home bakers of all skill levels. By skipping the oven entirely, you eliminate the most stressful part of traditional cheesecake-making while delivering a dessert that is just as decadent—if not more so. Preparing this No Bake Cheesecake at home not only saves you money compared to bakery prices but also gives you full control over the ingredients, ensuring a fresher, more personalized result. Whether you are looking for a last-minute dessert for a dinner party or a simple weekend treat, this recipe guarantees a flawless, luscious texture every single time. For an alternative spin on the concept, this Easy Cheesecake approach proves that you don’t need complicated techniques to achieve incredible flavor.
Ingredients & Kitchen Tools
Before diving in, gather these essentials for a smooth cooking process.
For the Crust:
– 1 ½ cups graham cracker crumbs (about 12 full sheets) – Substitute with digestive biscuits or vanilla wafers.
– ¼ cup granulated sugar – Adds sweetness and helps bind the crust.
– ½ cup unsalted butter, melted – Use salted butter and omit added salt if you prefer a savory edge.
For the Filling:
– 16 oz (two 8-oz blocks) cream cheese, softened – Full-fat is best for stability; Neufchâtel cheese works for lower fat.
– ½ cup granulated sugar – Adjust to taste; honey or maple syrup can replace sugar but may alter set time.
– 1 teaspoon vanilla extract – Pure extract yields superior flavor to imitation.
– 1 cup heavy cream – Whipped to stiff peaks; coconut cream works for a dairy-free version.
– (Optional) 1 tablespoon lemon juice – Adds tang and helps stabilize the filling.
Kitchen Tools:
– 9-inch springform pan (or deep-dish pie plate)
– Mixing bowls (medium and large)
– Electric hand mixer or stand mixer
– Rubber spatula
– Measuring cups and spoons
– Plastic wrap or aluminum foil
Optional Substitutions:
– Gluten-free crust: Use gluten-free graham crackers or almond flour mixed with butter.
– Vegan version: Use vegan cream cheese and coconut cream; ensure your brand sets properly.
Prep Time & Cooking Schedule
This recipe requires patience but minimal hands-on effort. Understanding the timeline helps you plan ahead.
– Prep Time: 20 minutes (crust + filling assembly)
– Chilling Time: Minimum 6 hours (overnight is ideal for a firm, sliceable texture)
– Total Time: 6 hours 20 minutes (or 24 hours for best results)
Context: Because there’s no baking involved, the structure relies entirely on chilling. For best results, start this dessert the night before you plan to serve it. The longer it sets, the cleaner your slices will look. If you’re short on time, you can chill for 4–5 hours for a softer, mousse-like consistency.
Step-by-Step Instructions
Follow these steps carefully, especially regarding temperature and texture cues, to ensure a perfect No Bake Cheesecake every time. For an even simpler approach, you can adapt the base of this Easy Cheesecake by adding holiday spices, but this version is pure classic cheesecake bliss.
1. Prepare the crust: In a medium bowl, combine graham cracker crumbs and sugar. Pour melted butter over the mixture and stir with a fork until every crumb is moistened—it should look like wet sand. Press firmly into the bottom of your springform pan using the flat bottom of a glass or measuring cup. Make sure the crust is even and compact. Refrigerate while you prepare the filling.
2. Whip the cream: In a large, chilled bowl, pour the heavy cream. Using an electric mixer on medium-high speed, whip until stiff peaks form. Be careful not to over-whip—stop as soon as the cream holds its shape when you lift the beaters. Set aside in the refrigerator.
3. Cream the cheese: In another large bowl, beat the softened cream cheese and sugar together on medium speed until smooth and lump-free—about 2 minutes. Scrape down the sides of the bowl. Add vanilla extract and lemon juice (if using) and mix until combined. Avoid over-mixing, as too much air can cause cracks later.
4. Fold in whipped cream: Gently fold one-third of the whipped cream into the cream cheese mixture using a rubber spatula. Use a light hand—fold until just incorporated before adding the next third. Repeat until all whipped cream is integrated. The final mixture should be thick, smooth, and airy.
5. Assemble and chill: Pour the filling over the prepared crust. Spread evenly with a spatula. Tap the pan gently on the counter a few times to release any air bubbles. Cover with plastic wrap and refrigerate for at least 6 hours (overnight is best). The surface should feel firm to the touch and not jiggle when moved.
Nutritional Benefits & Advantages
While cheesecake is an indulgence, this no-bake version offers some practical dietary advantages.
– High-quality protein: Cream cheese and heavy cream provide casein and whey protein, which support muscle repair and satiety.
– Calcium-rich: A single slice delivers about 10% of your daily calcium needs, essential for bone health.
– Digestibility: No baking means the dairy retains more of its natural enzymes, which can be easier on sensitive stomachs.
– Portion control: Because this dessert is richer than many baked versions, a smaller slice often satisfies cravings faster.
Advantages Over Baked Cheesecake:
– No risk of cracking or sinking
– Lighter, mousse-like texture
– No need to monitor oven temperature or use water baths
Tips Variations & Cooking Advice
Customization is one of the best parts of this No Bake Cheesecake. Here are creative ways to adapt it:
– Flavor variations: Add ¼ cup of melted dark chocolate or cocoa powder to half the filling for a marble effect. Alternatively, swirl in berry coulis before chilling.
– Ingredient swaps: Replace graham crackers with crushed Oreos for a cookies-and-cream twist. Use crushed ginger snaps for a spicy kick.
– Dietary adaptations: For a dairy-free version, use vegan cream cheese and full-fat coconut cream. Add 1 tablespoon cornstarch to stabilize the filling.
– Portion changes: Pour into individual ramekins or small jars for no-slice, ready-to-serve portions. Chill times reduce to about 3–4 hours.
Cooking Advice: Always let cream cheese come to room temperature before mixing—cold cream cheese creates lumps. If you’re in a hurry, cut the cream cheese into small cubes and microwave at 50% power for 10-second intervals.
Common Mistakes to Avoid
Avoid these pitfalls for a flawless result:
– Using cold cream cheese: This creates a grainy, lumpy filling. Always soften it for 30–60 minutes at room temperature.
– Over-mixing the cream: Whip until stiff peaks form, but stop immediately. Over-whipped cream separates into butter and buttermilk, ruining the texture.
– Not chilling long enough: A minimum of 6 hours is non-negotiable. Slicing too early results in a runny mess.
– Pressing crust too loosely: A compact crust prevents crumbling. Press with authority, especially at the edges.
– Adding too much liquid flavoring: Extracts like lemon or mint should be measured carefully—excess liquid prevents the cheesecake from setting.
Storage & Meal Prep Tips
Proper storage extends the life of your cheesecake while preserving its creamy texture.
– Refrigeration: Cover the cheesecake tightly with plastic wrap or store in an airtight container. It stays fresh for up to 5 days in the refrigerator.
– Freezing: For longer storage, wrap the cheesecake (still in the pan or sliced individually) in two layers of plastic wrap, then a layer of aluminum foil. Freeze for up to 3 months. Thaw overnight in the refrigerator before serving.
– Reheating: This dessert is served cold. Never microwave it, as the texture will become watery and grainy. If you prefer a softer slice, let it sit at room temperature for 10 minutes before serving.
– Meal prep tip: Prepare the cheesecake in a 9×13 dish instead of a springform pan for easier slicing into bars. Wrap individual bars in wax paper for grab-and-go desserts.
Conclusion
There’s truly nothing like the satisfaction of a homemade No Bake Cheesecake that glides off your plate in perfect slices. This recipe delivers everything you want from a classic dessert—richness, creaminess, and a buttery crust—without the fuss of an oven. By mastering this technique, you unlock a world of possibilities, from berry-topped versions to chocolate swirls and beyond. If you enjoyed this method, try the Easy Cheesecake variation for a festive twist. We encourage you to make this dessert for your next gathering and watch it disappear. Share your results on social media using #NoBakeCheesecakeSuccess, and don’t hesitate to explore more no-bake recipes on our site. Your perfect slice awaits.
FAQs
1. Can I use low-fat cream cheese for this recipe?
Yes, but the texture may be slightly less rich and stable. Full-fat cream cheese provides the best structure and flavor. If using low-fat, consider adding 1 tablespoon of cornstarch to help the set.
2. Why is my cheesecake not setting after 6 hours?
Several factors could be at play: the cream was under-whipped, the cream cheese was too warm when mixed, or you added too much liquid (like extra lemon juice or vanilla extract). Chill for an additional 2–4 hours, and if still runny, consider gently folding in 2 tablespoons of softened cream cheese.
3. Can I make this cheesecake gluten-free?
Absolutely. Simply substitute gluten-free graham crackers or use almond flour mixed with melted butter for the crust. All other ingredients are naturally gluten-free.
4. How do I get clean slices when cutting?
Use a sharp knife dipped in hot water, then wipe dry between cuts. For perfectly neat slices, chill the cheesecake for a full 24 hours and cut while still cold from the refrigerator.
5. Can I add fresh fruit on top without ruining the texture?
Yes, but add fruit just before serving. If you place fruit on top during chilling, the juices can seep into the cheesecake and create a watery layer. For best results, chill the cheesecake plain, then top with fresh berries or a fruit sauce right before serving.
No Bake Cheesecake
Ingredients
Equipment
Method
- Combine graham cracker crumbs, sugar, and melted butter in a bowl.
- Press the mixture firmly into the bottom of a 9-inch springform pan.
- In a large bowl, beat softened cream cheese and sugar until smooth and creamy.
- In a separate bowl, whip heavy cream until stiff peaks form.
- Gently fold the whipped cream into the cream cheese mixture along with vanilla extract and lemon juice until well combined.
- Pour the cream cheese filling over the prepared crust in the springform pan.
- Smooth the top with a spatula and refrigerate for at least 4 hours, or until firm.