The Ultimate Guide to Fudgy Homemade Brownies That Melt in Your Mouth
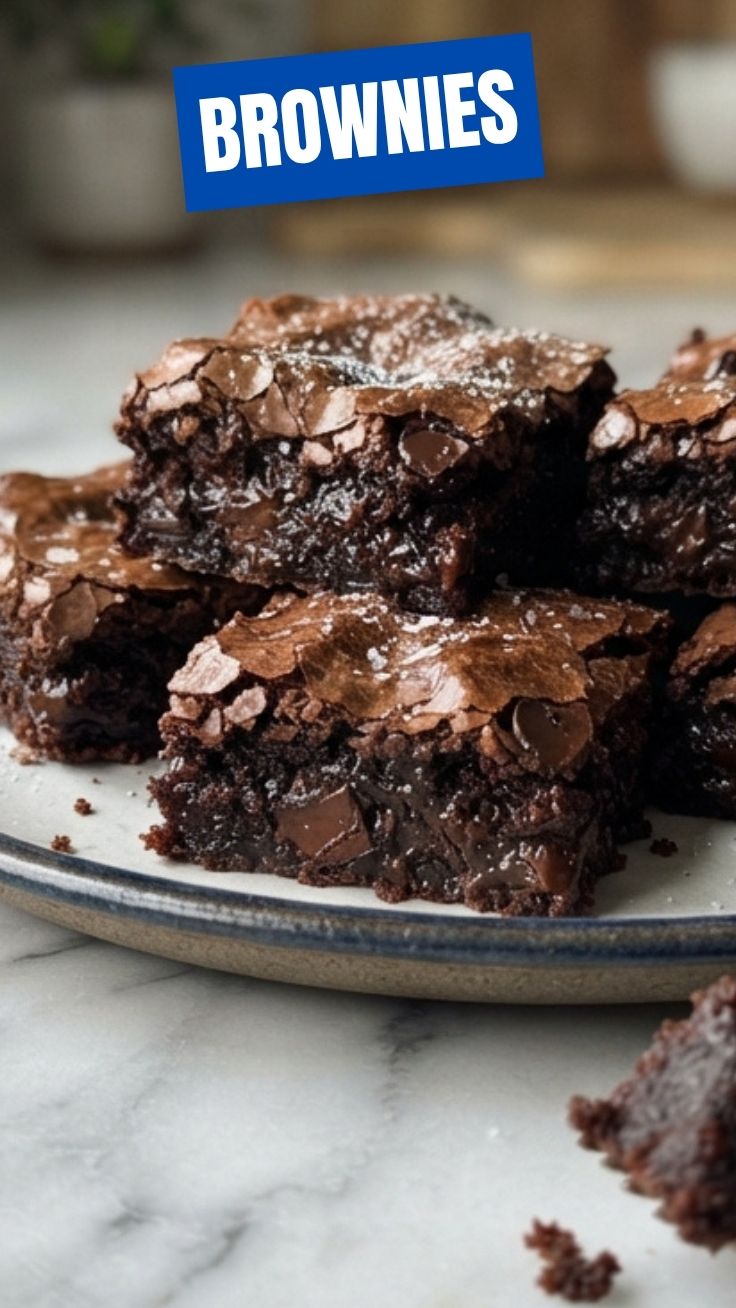
Have you ever craved that perfect, glossy, crackly-top brownie that tastes like it came straight from a high-end bakery—only to be disappointed by dry, cakey versions or complicated recipes? You’re not alone. Preparing Brownies at home isn’t just rewarding; it’s a game-changer for anyone who values rich chocolate flavor with minimal effort. This data-driven guide will walk you through the science of achieving the fudgiest texture every time, while also introducing you to Easy Brownie Recipes that simplify the process. By mastering these Easy Brownie Recipes, you’ll save money, control ingredients, and impress everyone from picky kids to dinner guests.
Ingredients & Kitchen Tools
Before diving in, gather these essentials. Each item plays a critical role in texture and flavor.
Ingredients:
– Unsalted butter (1/2 cup / 113g): Adds richness; salted butter works but reduce added salt.
– Dark chocolate (200g, 70% cocoa): Provides deep, bittersweet base; use semi-sweet for milder taste.
– Granulated sugar (1 cup / 200g): Creates the signature crackly top when dissolved properly.
– Large eggs (2, room temperature): Bind ingredients; cold eggs seize chocolate.
– Vanilla extract (1 tsp): Enhances chocolate notes.
– All-purpose flour (1/2 cup / 60g): Minimal flour ensures fudginess; swap for gluten-free blend if needed.
– Cocoa powder (2 tbsp): Intensifies chocolate flavor.
– Salt (1/4 tsp): Balances sweetness.
– Optional mix-ins: Chocolate chips, walnuts, or sea salt flakes.
Kitchen Tools:
– 8×8-inch baking pan
– Parchment paper (for easy removal)
– Double boiler or microwave-safe bowl
– Whisk and silicone spatula
– Cooling rack
Prep Time & Cooking Schedule
– Prep Time: 10 minutes (melt chocolate, whisk ingredients)
– Bake Time: 22-25 minutes at 350°F (175°C)
– Cooling Time: 15 minutes in pan, then 30 minutes on rack (essential for clean slices)
– Total Time: ~1 hour 15 minutes (including cooling)
Planning tip: Bake these an hour before serving. The cooling period allows the center to set, preventing a gooey mess. For deep flavor, let batter rest in pan for 10 minutes before baking.
Step-by-Step Instructions
Follow these precise steps for bakery-quality results. Remember, overmixing is your enemy—gluten development leads to cakey brownies.
1. Preheat & Prep Pan: Preheat oven to 350°F. Line 8×8 pan with parchment paper, leaving overhang on two sides for easy lifting. Lightly grease paper.
2. Melt Butter & Chocolate: In a double boiler or microwave (30-second bursts at 50% power), melt butter and chocolate together until smooth. Stir after each burst. Let cool 2 minutes.
3. Whisk Sugar & Eggs: In a large bowl, whisk sugar and eggs vigorously for 1-2 minutes until light, thick, and pale. This aerates the batter for that thin, crackly top.
4. Combine Mixtures: Fold melted chocolate into egg mixture using a spatula. Add vanilla. Do not overmix.
5. Add Dry Ingredients: Sift flour, cocoa powder, and salt over batter. Fold gently only until no streaks remain. Fold in mix-ins if desired.
6. Bake: Pour batter into prepared pan, spread evenly. Bake 22-25 minutes. The toothpick test should show moist crumbs, not wet batter. After 22 minutes, start checking every minute.
7. Cool & Slice: Let brownies cool in pan for 15 minutes. Using parchment, lift onto cooling rack. Cool 30 minutes more. For clean cuts, use a plastic knife and wipe between slices.
By following these Easy Brownie Recipes, you’ll consistently achieve that fudgy, dense interior paired with a shiny crust. The key is underbaking slightly—trust the toothpick test, not the clock.
Nutritional Benefits & Advantages
While indulgent, these brownies offer surprising perks:
– Dark chocolate provides flavonoids that support heart health and reduce inflammation.
– Cocoa powder contains magnesium and iron (about 10% DV per serving).
– Butter offers fat-soluble vitamins A, D, E, and K, aiding nutrient absorption.
– Eggs contribute high-quality protein (6g per serving) and choline for brain health.
– Portion control: Making at home lets you adjust sugar (reduce by 1/4 cup) or use coconut sugar for lower glycemic impact.
Per brownie (1/16th recipe): ~220 calories, 14g fat, 24g carbs, 3g protein. Perfect as an occasional treat within a balanced diet.
Tips Variations & Cooking Advice
Customize this base recipe to match any craving or dietary need.
Flavor Swaps:
– Nutty: Fold 1/2 cup toasted pecans or walnuts.
– Mint: Add 1/4 tsp peppermint extract to batter.
– Salted caramel: Swirl 3 tbsp caramel sauce before baking; top with sea salt.
Dietary Adaptations:
– Gluten-free: Use 1:1 gluten-free flour blend; add 1 tbsp cornstarch for texture.
– Dairy-free: Substitute coconut oil for butter, dairy-free chocolate chips.
– Vegan: Use flax eggs (2 tbsp ground flax + 5 tbsp water), vegan butter, and dairy-free chocolate.
Cooking Methods:
– Microwave mug version: Grease a mug, use 1/4 of batter, cook 60-90 seconds on high. Check at 60 seconds.
– Instant Pot: Use a trivet, cover pan with foil, cook on High Pressure for 20 minutes, quick release.
Common Mistakes to Avoid
Even pros make errors. Sidestep these pitfalls for perfect results every time.
| Mistake | Solution |
|———|———-|
| Overbaking | Start checking at 22 minutes; brownies continue cooking out of oven |
| Too greasy | Don’t overmix batter; follow butter-to-chocolate ratio exactly |
| Dry/cakey | Reduce flour by 2 tbsp; increase butter by 1 tbsp |
| Sinking mix-ins | Toss nuts/chips in 1 tsp flour before folding into batter |
| Sticky parchment | Use high-quality parchment; grease lightly with butter |
Storage & Meal Prep Tips
Maximize freshness and convenience with these strategies.
Refrigeration: Store in an airtight container at room temperature (3 days) or fridge (5 days). Refrigeration firms texture but can dry brownies; wrap individually in plastic wrap first.
Freezing: Wrap each brownie in plastic wrap, then place in a freezer bag. Freeze up to 3 months. Thaw overnight in fridge or microwave 15-20 seconds.
Reheating: For that “fresh from oven” texture, microwave one brownie for 10 seconds at 50% power. For a crisp edge, reheat in a 300°F oven for 5 minutes.
Meal Prep: Bake a double batch, freeze individually. Grab one for a quick dessert or lunchbox treat—they thaw beautifully.
Conclusion
Mastering homemade Brownies is easier than you think when you understand the science behind texture and temperature. With these Easy Brownie Recipes, you can create a dessert that rivals any bakery—customized to your taste, dietary needs, and schedule. The key takeaway? Trust your senses over the timer, and don’t fear a slightly gooey center. Try this recipe this weekend, then experiment with mix-ins and variations. Share your creations on social media or tag a friend who loves baking—we’d love to see your results!
FAQs
Q: Can I use cocoa powder instead of melted chocolate?
A: Yes, but replace melted chocolate with 3/4 cup cocoa powder + 1/3 cup melted butter or oil. Texture will be slightly cakey.
Q: Why are my brownies too dry?
A: Most likely overbaked. Check temperature with an instant-read thermometer (ideal 195-200°F) or reduce bake time by 2-3 minutes.
Q: How do I make brownies more fudgy?
A: Increase butter by 2 tbsp and reduce flour by 2 tbsp. Use egg yolks only (2 yolks per whole egg) for extra richness.
Q: Can I substitute sugar with honey or maple syrup?
A: Not recommended without adjusting liquid. Honey adds moisture and can cause browning; reduce liquid by 1/4 cup per 1/2 cup honey.
Q: My brownies stuck to the pan. Help!
A: Line pan with parchment paper (not wax paper) leaving overhang. Spray lightly with cooking spray. If stuck, freeze pan 10 minutes, then invert.
Best way to grow Brownies in 10 minutes
Ingredients
Equipment
Method
- Preheat your oven to 350°F (175°C) and lightly grease an 8x8 inch baking pan.
- In a large bowl, combine the brownie mix, water, vegetable oil, and egg, then stir until just combined.
- Pour the batter into the prepared baking pan and spread evenly.
- Bake for 5 minutes, or until the edges are set but the center is still slightly gooey.
- Remove from the oven and let cool slightly before cutting into squares and serving.