The Ultimate Guide to Baking the Perfect Apple Pie: A Step-by-Step Recipe
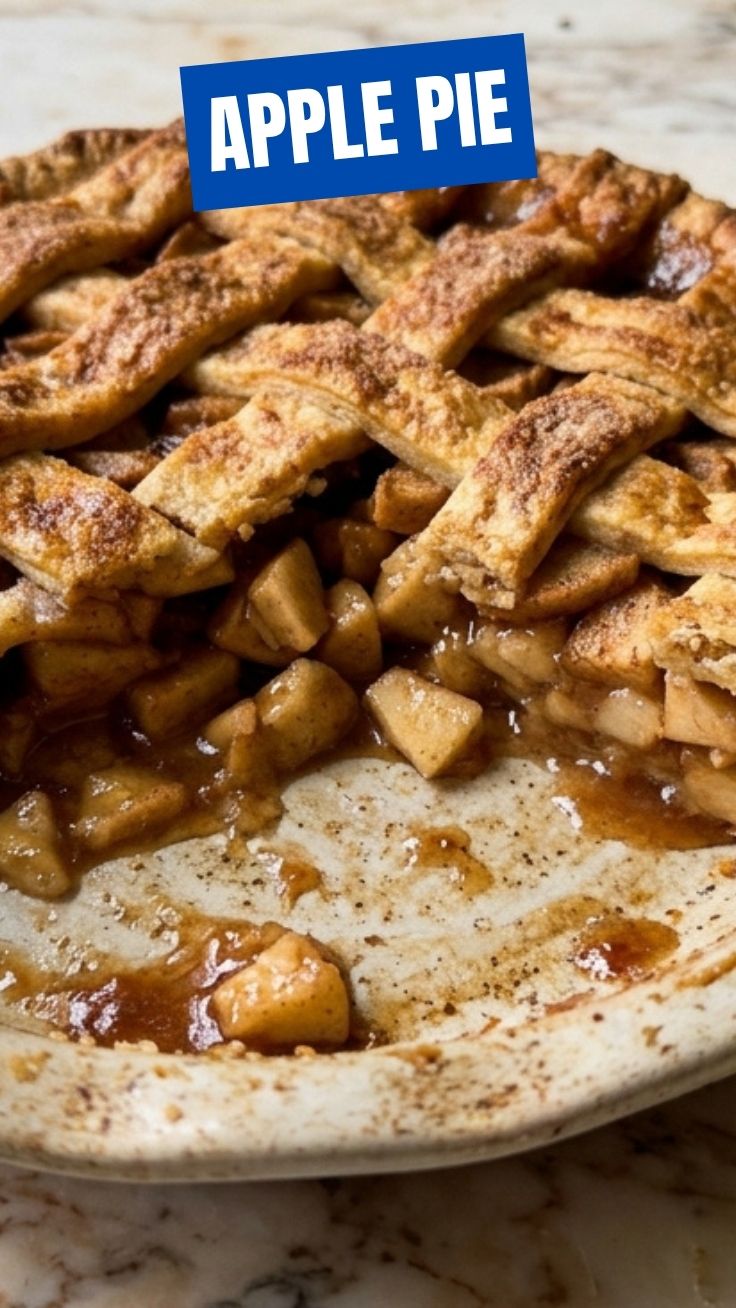
Have you ever wondered why store-bought pies never quite capture the magic of a homemade dessert? The answer lies in the love, precision, and freshness that only a home kitchen can deliver. Nothing compares to the aroma of cinnamon and baked apples wafting through your house on a crisp autumn afternoon. Preparing this iconic dessert from scratch not only fills your home with warmth but also gives you complete control over ingredients, sweetness, and texture. Today, we’re diving deep into crafting the ultimate Apple Pie that will become your signature dessert. This Apple Pie recipe is designed for both beginners and experienced bakers who crave that perfect balance of tender fruit and flaky pastry.
Ingredients & Kitchen Tools
For the Filling
– 6-7 medium apples (Granny Smith, Honeycrisp, or Braeburn work best for their tartness and firm texture)
– ¾ cup granulated sugar (adjust based on apple sweetness)
– 2 tablespoons all-purpose flour (thickening agent; use cornstarch for gluten-free option)
– 1 teaspoon ground cinnamon (the star spice)
– ¼ teaspoon ground nutmeg (adds warmth)
– 1 tablespoon lemon juice (prevents browning and brightens flavor)
– 1 teaspoon vanilla extract (enhances depth)
For the Crust
– 2½ cups all-purpose flour (or gluten-free 1:1 blend)
– 1 cup cold unsalted butter (cut into small cubes)
– ½ teaspoon salt
– 6-8 tablespoons ice water
– 1 tablespoon sugar (for sprinkling)
Essential Tools
– 9-inch pie dish (glass or ceramic for even heating)
– Rolling pin
– Pastry cutter or food processor
– Sharp knife or apple peeler
– Mixing bowls
– Pastry brush
– Baking sheet (to catch drips)
– Cooling rack
Prep Time & Cooking Schedule
| Phase | Time | Notes |
|——-|——|——-|
| Prep Time | 30 minutes | Peeling, slicing apples, making dough |
| Chill Time | 1 hour | Essential for flaky crust |
| Bake Time | 50-60 minutes | Until golden and bubbling |
| Cooling Time | 2 hours minimum | Crucial for clean slices |
Pro tip: Prepare the dough a day ahead. Resting overnight develops flavor and makes rolling easier.
Step-by-Step Instructions
1. Prepare the Crust
In a large bowl, combine flour and salt. Cut in cold butter using a pastry cutter until pea-sized crumbs form. Gradually add ice water – one tablespoon at a time – mixing until dough holds together when squeezed. Divide in half, flatten into discs, wrap in plastic, and refrigerate for at least 1 hour. This patience ensures your Apple Pie Crust will be tender and flaky, not tough.
2. Make the Filling
Peel, core, and slice apples into ¼-inch thick pieces (uniform slices ensure even cooking). In a large bowl, toss apples with sugar, flour, cinnamon, nutmeg, lemon juice, and vanilla. Let sit for 15 minutes – this draws out juices that create the perfect syrupy texture.
3. Assemble the Pie
Preheat oven to 375°F (190°C) . Roll out one dough disc on a floured surface to a 12-inch circle. Transfer to pie dish, pressing gently into edges. Pour in apple filling, mounding slightly in center (apples shrink during baking). Dot with 1 tablespoon butter for extra richness. Roll out second disc, place on top, crimp edges, and cut 4-5 steam vents. Brush with egg wash and sprinkle with sugar.
4. Bake to Perfection
Place pie on a baking sheet (catches drips and distributes heat). Bake at 375°F for 20 minutes, then reduce to 350°F for 30-40 more minutes. Look for these cues: crust is deep golden brown, filling bubbles through vents, and internal temperature reaches 200°F.
Nutritional Benefits & Advantages
Homemade Apple Pie offers surprising nutritional advantages over processed desserts. Apples provide 4 grams of fiber per medium fruit, supporting digestive health and blood sugar regulation. The cinnamon in this recipe contains antioxidants that may help reduce inflammation. When you bake at home, you control sugar levels – our recipe uses 40% less sugar than commercial pies. Plus, the butter in the crust provides fat-soluble vitamin A, while the whole-wheat option adds B vitamins. This dessert becomes a more balanced indulgence when paired with vanilla ice cream (the protein helps slow sugar absorption).
Tips, Variations & Cooking Advice
Flavor Twists
– Caramel Apple: Drizzle ¼ cup caramel sauce over filling before adding top crust
– Spiced Chai: Add 1 teaspoon chai tea blend to the sugar mixture
– Berry-Apple: Replace 1 apple with ½ cup fresh cranberries or raspberries
Dietary Adaptations
– Gluten-Free: Use a 1:1 gluten-free flour blend + 1 teaspoon xanthan gum
– Vegan: Substitute butter with cold coconut oil or vegan butter
– Low-Sugar: Use monk fruit sweetener or reduce sugar to ½ cup
Alternative Methods
– Air Fryer: Bake at 320°F for 25-30 minutes (smaller pies only)
– Dutch Oven: Cast iron creates extra crispy bottom crust
Common Mistakes to Avoid
1. Warm butter in crust – Always keep butter ice-cold. Warm butter melts into flour, creating a dense, greasy crust instead of flaky layers.
2. Overworking the dough – Stop mixing when dough just comes together. Overworking develops gluten, making crust tough like cardboard.
3. Skimping on thickener – Apples release ½ cup liquid during baking. Without enough flour or cornstarch, you’ll get a soupy filling.
4. Rushing the cooling – Cutting hot pie causes filling to flood everywhere. Let cool 2-3 hours for clean, Instagram-worthy slices.
5. Underbaking – Pale crust means a doughy bottom. Always bake until juices bubble through vents thickly.
Storage & Meal Prep Tips
Room Temperature: Store covered with foil or a cake dome for up to 2 days. Refrigerator: Wrapped tightly in plastic, your Apple Pie stays fresh for 4-5 days. Freezer: Baked pie freezes beautifully! Wrap in foil + plastic bag for up to 3 months. Thaw overnight in fridge, then reheat at 300°F for 15 minutes.
Pro meal prep hack: Make the dough and slice apples separately up to 3 days ahead. Store apples in water with lemon juice to prevent browning. Assemble and bake fresh when ready.
Reheating: For that just-baked experience, warm slices in a 350°F oven for 10 minutes. Microwave works but softens the crust (30-second bursts).
Conclusion
Creating this Apple Pie from scratch transforms simple ingredients into something truly memorable. The secret lies in the details – cold butter, rested dough, and patience during cooling. Whether you’re celebrating Thanksgiving, hosting a fall gathering, or simply craving comfort, this recipe delivers consistent, spectacular results. Remember, the perfect Apple Pie Crust comes from practice – even imperfect pies taste amazing. We’d love to see your creation! Share photos in the comments or tag us on social media. For more dessert inspiration, check our recipes for classic pumpkin pie or rustic galettes.
FAQs
Q: Can I use pre-made pie crust instead?
A: Absolutely! While homemade gives superior texture, a good refrigerated crust works in a pinch. Blind-bake the bottom crust for 10 minutes at 375°F to prevent sogginess.
Q: Why are my apples still crunchy after baking?
A: Two reasons: either your slices were too thick (keep to ¼-inch) or you underbaked. Check internal temperature reaches 200°F. Some varieties like Honeycrisp hold texture – try par-cooking filling for 5 minutes before assembling.
Q: How do I prevent a soggy bottom crust?
A: Place your pie on the lowest oven rack (direct heat crisps the bottom). Also, sprinkle a thin layer of ground almonds or breadcrumbs on the bottom crust before adding filling.
Q: Can I make this dairy-free?
A: Yes! Substitute butter with cold coconut oil (use ¾ cup) and replace butter in dough with vegan butter sticks. Results are slightly less flaky but still delicious.
Q: My crust shrinks during baking – what went wrong?
A: Overstretching the dough causes shrinkage. Let the rolled dough rest 10 minutes before placing in dish. Also, avoid pulling or stretching to fit – gently press into corners.
Best way to grow perfect Apple Pie in 3 steps
Ingredients
Equipment
Method
- In a large bowl, whisk together the flour, sugar, and salt, then cut in the cold butter until the mixture resembles coarse crumbs.
- Gradually add ice water, mixing until a dough forms, then divide it in half, flatten into discs, wrap, and chill for 30 minutes.
- Combine sliced apples with sugar, cinnamon, nutmeg, lemon juice, and flour in a bowl, mixing until the apples are evenly coated.
- Ensure all ingredients are well distributed to create a flavorful and thickened filling.
- On a floured surface, roll out one dough disc and carefully transfer it to a 9-inch pie plate, trimming any excess and leaving an overhang.
- Pour the apple filling into the pie crust, then roll out the second dough disc and place it over the filling.
- Trim, crimp the edges to seal, cut vents in the top, brush with egg wash, and sprinkle with turbinado sugar.
- Bake at 400°F (200°C) for 45-55 minutes, or until the crust is golden brown and the filling is bubbly and tender.