The Ultimate Guide to Perfect Homemade Vanilla Ice Cream: Creamy, Dreamy, and Surprisingly Simple
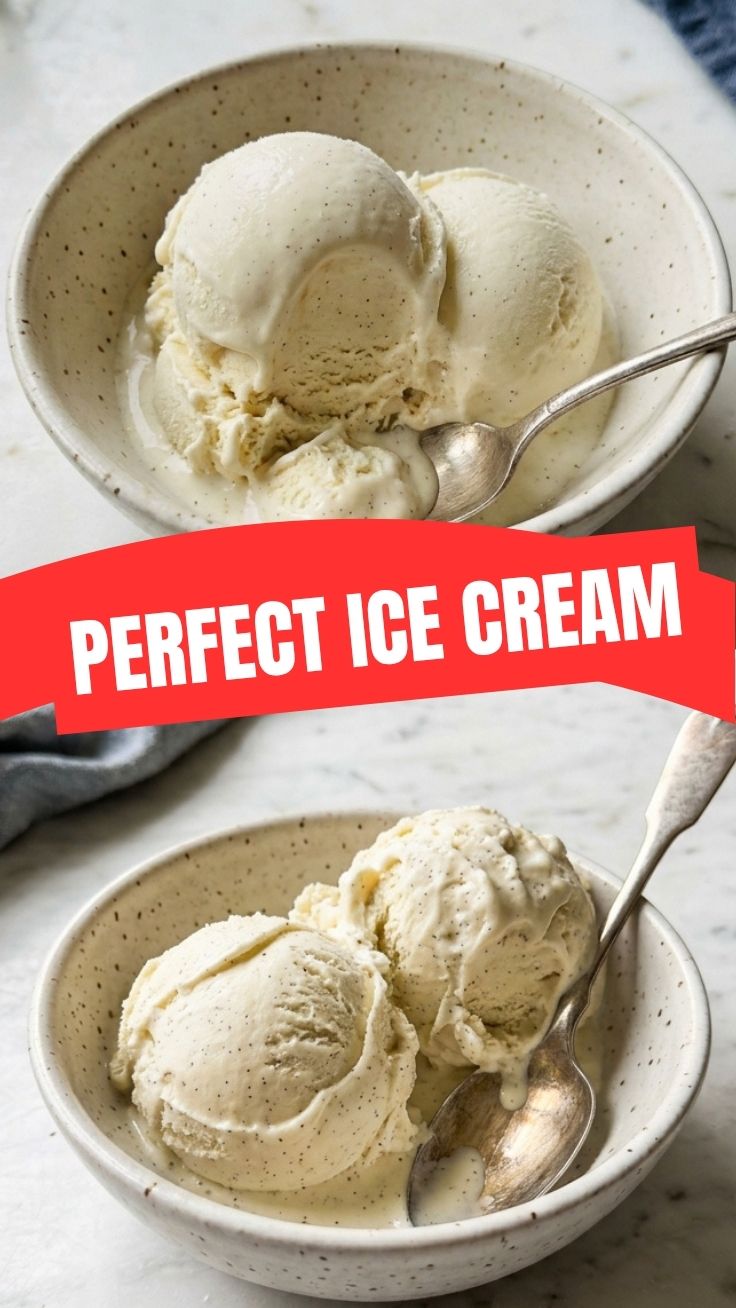
Have you ever wondered why store-bought ice cream never quite captures that rich, velvety texture and pure vanilla flavor you crave? The secret lies not in fancy equipment or rare ingredients, but in understanding a few fundamental techniques. Preparing Homemade Ice Cream (Vanilla) at home isn’t just about saving money—it’s about controlling quality, customizing sweetness, and experiencing the unmatched satisfaction of creating something truly delicious from scratch. Whether you are a novice cook or a seasoned baker, this guide will demystify the process and help you master the art of Ice Cream Recipes that will impress family and friends. Let’s dive into the science and soul of a perfect scoop.
Ingredients & Kitchen Tools
To create a luscious vanilla base, you’ll need:
– 2 cups heavy cream (35% fat): Provides richness and body. Substitute with coconut cream for dairy-free.
– 1 cup whole milk: Balances the fat content. Use oat or almond milk for lighter texture.
– ¾ cup granulated sugar: Sweetens and lowers freezing point for scoopable texture.
– 5 large egg yolks: Natural emulsifiers for creamy mouthfeel; omit and use cornstarch for egg-free.
– 1 vanilla bean or 2 tsp pure vanilla extract: The star flavor. Vanilla bean paste works beautifully.
– Pinch of salt: Enhances sweetness and depth.
Kitchen tools needed:
– Medium saucepan
– Whisk
– Fine-mesh strainer
– Ice cream maker (or large bowl and freezer for no-churn)
– Airtight container
– Candy thermometer (optional but helpful)
Prep Time & Cooking Schedule
– Prep time: 15 minutes
– Cook time: 10 minutes
– Chilling time: 4 hours (minimum) or overnight
– Churning time: 20–25 minutes (machine) or 4–6 hours (no-churn)
– Freezing time: 2+ hours after churning
Plan ahead! The key to silky Homemade Ice Cream (Vanilla) is patience. Make the custard base the day before serving to allow complete chilling and flavor melding.
Step-by-Step Instructions
1. Temper the egg yolks: In a bowl, whisk yolks and half the sugar until pale and thick. Meanwhile, combine cream, milk, remaining sugar, salt, and scraped vanilla bean pod (or extract) in a saucepan over medium heat. Heat until steaming but not boiling (170°F/77°C).
2. Slowly incorporate: Gradually whisk ½ cup of hot cream mixture into the yolk mixture to raise their temperature without scrambling them. Then pour yolk mixture back into saucepan.
3. Cook to nappe: Stir constantly over medium-low heat until custard thickens enough to coat the back of a spoon (170–175°F). Do not boil!
4. Strain and cool: Immediately pour through fine-mesh strainer into a bowl set over ice water. Stir occasionally until room temperature.
5. Chill thoroughly: Cover and refrigerate for at least 4 hours (overnight is best). This step is crucial for perfect Ice Cream Recipes.
6. Churn or freeze: Pour cold base into ice cream maker and churn according to manufacturer directions (usually 20–25 minutes). For no-churn, pour into a shallow dish, freeze 30 minutes, then whisk vigorously every 30 minutes for 3–4 hours.
Pro tip: The base may seem thin before freezing—that’s normal. Overcooking the custard leads to graininess.
Nutritional Benefits & Advantages
Homemade Ice Cream (Vanilla) offers distinct advantages over commercial versions. You control sugar levels—often half that of store brands—and avoid preservatives, artificial flavors, and high-fructose corn syrup. The egg yolks provide choline, vitamins A and D, while the full-fat dairy supports satiety and balanced energy release. By using high-quality vanilla, you harness natural antioxidants (vanillin) that may reduce inflammation. Plus, portion control becomes effortless when you decide the serving size.
Tips Variations & Cooking Advice
– Flavor twists: Add crushed cookies, caramel swirl, or fresh fruit compote during the last 2 minutes of churning.
– Dairy-free version: Substitute coconut cream and cashew milk—increase sugar slightly to compensate for lower fat.
– No-churn method: Whip 1 cup heavy cream, fold into sweetened condensed milk (one 14-oz can) with vanilla, then freeze in a loaf pan.
– Alcohol trick: 1–2 tbsp vodka or bourbon prevents icy crystals without affecting flavor.
– Texture boost: Add 1 tbsp cornstarch or gelatin dissolved in milk for extra creaminess.
These modifications make your Ice Cream Recipes endlessly adaptable.
Common Mistakes to Avoid
1. Scrambled eggs: Adding hot custard too quickly to yolks. Solution: Add slowly while whisking constantly.
2. Ice crystals: Freezing base before it’s fully chilled or skipping churning. Solution: Chill overnight and churn properly.
3. Over-churning: Butterfat separates, making ice cream greasy. Solution: Stop when mixture looks like soft-serve.
4. Grains or lumps: Overcooking custard. Solution: Remove from heat immediately after reaching nappe stage.
5. Flat flavor: Using low-quality vanilla. Solution: Splurge on Madagascar or Tahitian vanilla beans.
Storage & Meal Prep Tips
Store your Homemade Ice Cream (Vanilla) in an airtight container, pressing plastic wrap directly onto the surface to prevent freezer burn. It stays fresh for up to 2 weeks. To maintain scoopable texture, let it sit at room temperature for 5–10 minutes before serving. For longer storage, freeze in individual silicone molds—perfect for quick desserts. Avoid refreezing melted ice cream, as it will become icy.
Conclusion
Mastering Homemade Ice Cream (Vanilla) is a rewarding journey that transforms simple ingredients into a luxurious treat. By controlling every step—from tempering eggs to perfect chilling—you unlock flavors far superior to store-bought alternatives. Remember that practice makes perfect; your first batch may not be flawless, but each attempt builds intuition. Whether you experiment with add-ins or stick to classic purity, these Ice Cream Recipes empower you to create desserts that delight the senses and nourish the body. Now, grab your saucepan and start churning—your perfect scoop awaits!
FAQs
1. Can I use low-fat milk? Yes, but the texture will be icier. Add 1 tbsp cornstarch to improve creaminess.
2. How do I fix a gritty texture? The custard likely overcooked. Next time, use a thermometer and strain more carefully.
3. Can I skip the ice cream maker? Absolutely! Use the no-churn method with sweetened condensed milk and whipped cream.
4. Why is my ice cream too hard? It’s likely over-churned or contains too much water. Try increasing fat content or adding a tablespoon of alcohol.
5. How long does homemade vanilla ice cream last? Properly stored, up to 2 weeks in the freezer, but best within 1 week for optimal texture.
Proven way to grow 7 Homemade Ice Cream (Vanilla)
Ingredients
Equipment
Method
- In a large bowl, whisk together the heavy cream, whole milk, granulated sugar, vanilla extract, and a pinch of salt until the sugar is dissolved.
- Cover the bowl and refrigerate the mixture for at least 2 hours, or preferably overnight, to chill thoroughly.
- Pour the chilled mixture into your ice cream maker and churn according to the manufacturer's instructions, which typically takes 20-25 minutes.
- The ice cream should have a soft-serve consistency when finished churning.
- Transfer the soft ice cream to an airtight container and freeze for at least 4 hours, or until firm, before serving.