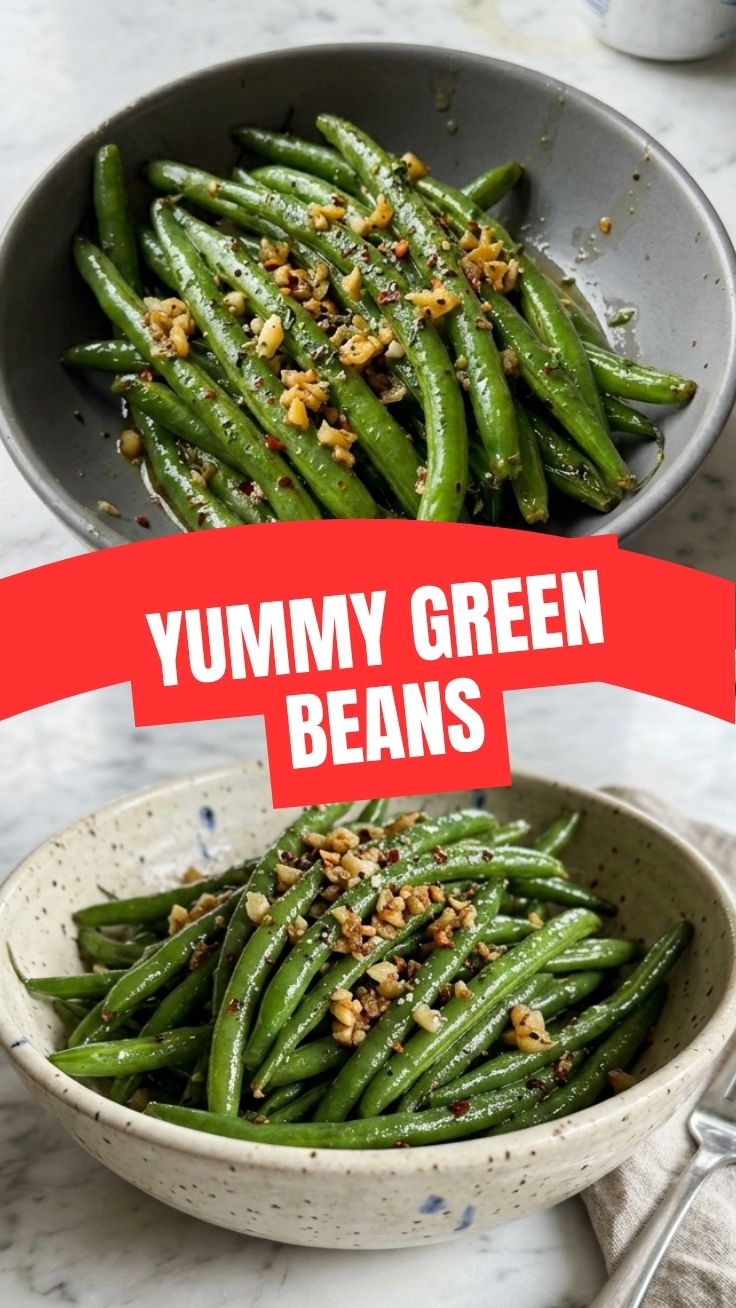
The Ultimate Guide to Perfect Garlic Green Beans: A Crunchy, Flavorful Side Dish
Are you tired of serving bland, mushy vegetables that nobody touches? Imagine the perfect side dish that transforms humble green beans into a restaurant-worthy masterpiece. Whether you’re preparing a weeknight dinner or hosting a holiday feast, mastering garlic green beans elevates your cooking game instantly. In this comprehensive guide, we’ll explore everything from selecting the freshest beans to achieving that irresistible crunch. You’ll discover why making Garlic Green Beans at home not only saves money but delivers superior flavor—and you’ll also learn how Garlic Butter Green Beans can become your secret weapon for impressing guests. Let’s dive into the world of vibrant, aromatic vegetables that steal the show.
Ingredients & Kitchen Tools
Essential Ingredients
– Fresh green beans (1 lb): Look for bright, crisp beans without brown spots or wilting. French haricots verts are thinner and more tender.
– 4–5 garlic cloves: Fresh is non-negotiable—pre-minced jars lack pungency. Crush or slice depending on desired intensity.
– 2 tbsp unsalted butter: For richness. Use vegan butter for dairy-free versions.
– 2 tbsp olive oil: Helps prevent butter from burning and adds fruity notes.
– Salt & black pepper: Sea salt flakes enhance texture; freshly ground pepper adds warmth.
– Optional red pepper flakes: For gentle heat.
– Lemon zest or juice: Brightens flavors without overpowering.
Kitchen Tools Required
– Large skillet or wok: Cast iron or stainless steel ensures even heating.
– Sharp chef’s knife for precise garlic mincing.
– Cutting board: Preferably wooden or plastic.
– Colander for washing and draining.
– Tongs for easy tossing.
– Paper towels: For drying beans thoroughly (key to crispiness).
Substitutions
– Replace butter with ghee for nuttier flavor or coconut oil for vegan needs.
– Swap green beans for asparagus or sugar snap peas.
– Use garlic-infused oil for milder taste.
Prep Time & Cooking Schedule
– Prep time: 10 minutes (washing, trimming ends, mincing garlic)
– Cook time: 8–10 minutes total (blanching + sautéing)
– Resting time: 1–2 minutes after cooking (allows butter to emulsify)
Planning tip: Blanch beans ahead and refrigerate for up to 2 hours, then sauté just before serving. This makes dinner parties stress-free—simply finish the dish in 5 minutes while guests mingle.
Step-by-Step Instructions
1. Prepare the beans: Wash thoroughly, then trim stem ends using a knife or snap them by hand (they break naturally at the tough point). Pat completely dry with paper towels—moisture causes steaming instead of browning.
2. Blanch for crunch: Bring a large pot of salted water to a rolling boil. Add beans and cook for exactly 2 minutes (1.5 for thinner haricots verts). Immediately transfer to an ice bath to stop cooking. Drain and pat dry again.
3. Heat the skillet: Over medium-high heat, add olive oil and 1 tablespoon butter. Wait until butter foams then subsides—this means it’s hot enough. The oil raises the smoke point, preventing burnt butter.
4. Sauté the beans: Add blanched beans in a single layer (avoid crowding). Cook undisturbed for 2 minutes until char marks appear. Toss, then cook another 2 minutes. You want blistered spots with still-crisp interior. Garlic Green Beans achieve peak texture when they emit a high-pitched sizzle.
5. Add garlic: Push beans to one side, add remaining butter and minced garlic. Cook garlic for 30 seconds until fragrant but not brown—burnt garlic becomes bitter. Then toss everything together.
6. Season and serve: Remove from heat, season with salt, pepper, and optional red pepper flakes. Squeeze fresh lemon juice if desired. This is where Garlic Butter Green Beans shine—the residual heat melts the butter into a glossy coating.
7. Plate immediately: Transfer to a warmed dish. Garnish with flaky sea salt and lemon zest for restaurant presentation.
Temperature control tips: If beans start smoking, reduce heat immediately. If garlic browns too quickly, remove pan from burner momentarily. The goal is golden-brown garlic, not burned specks.
Nutritional Benefits & Advantages
This dish packs surprising health benefits:
– Vitamin K (over 20% DV per serving): Supports bone health and blood clotting.
– Vitamin C: Boosts immunity, especially when beans are briefly cooked.
– Fiber: Aids digestion. One cup provides ~4g fiber.
– Garlic’s allicin: This sulfur compound has anti-inflammatory and antimicrobial properties.
– Butter in moderation: Provides fat-soluble vitamin absorption (beta-carotene from beans).
Compared to steamed or boiled versions, this sautéed method retains more nutrients because of shorter cooking time. Plus, the fat from butter/oil increases satiety—you’ll feel satisfied with smaller portions.
Tips Variations & Cooking Advice
Flavor Variations
– Asian-inspired: Substitute butter with sesame oil, add soy sauce and toasted sesame seeds at the end.
– Lemon herb: Add fresh thyme sprigs while cooking, finish with lemon zest and parsley.
– Balsamic glaze: Drizzle aged balsamic reduction in the last minute.
– Cheesy finish: Sprinkle Parmesan or nutritional yeast after cooking.
Cooking Method Swaps
– Oven-roasted: Toss beans with oil, garlic, and salt; roast at 425°F for 12–15 minutes.
– Grilled: Toss with oil, cook in grill basket over medium heat for 8 minutes, turning once.
– Air-fried: Cook at 400°F for 7–9 minutes, shaking halfway.
Dietary Adaptations
– Vegan: Omit butter, use 3 tbsp olive oil and 1 tbsp nutritional yeast for “buttery” flavor.
– Keto/Low-Carb: Increase butter to 3 tbsp, add crispy bacon bits as garnish.
– Nut-free: Already safe, but avoid nut oils in variations.
Ingredient Swaps
– Substitute frozen beans for fresh in a pinch: skip blanching, sauté directly 6–8 minutes.
– Use garlic scapes (when in season) for milder, sweeter flavor.
Common Mistakes to Avoid
1. Overcooking: This is the #1 error. Green beans become mushy and lose vibrant color. Always set a timer for blanching (2 minutes exactly) and don’t skip the ice bath.
2. Wet beans hitting hot oil: Water causes oil splatter and steaming. Pat beads obsessively dry—use a salad spinner if needed.
3. Crowding the pan: Beans release moisture; too many create steam instead of searing. Cook in batches if necessary.
4. Burnt garlic: Garlic cooks much faster than beans. Always add it later in the process, not at the beginning.
5. Delaying serving: Even rested beans lose crispness after 10 minutes. Prep everything else first, then cook beans last.
6. Skipping salt in blanching water: This seasons beans from inside out. Water should taste like sea water.
Storage & Meal Prep Tips
– Refrigeration: Store cooled leftovers in airtight container for up to 4 days. Place paper towel at bottom to absorb condensation.
– Freezing: Blanch then shock beans, pat dry, freeze in single layer on baking sheet, then transfer to freezer bag (6 months shelf life). Sauté directly from frozen—add 2 minutes to cook time.
– Reheating: Best in hot skillet with splash of water or broth over medium heat, 2–3 minutes. Microwave at 50% power in 30-second bursts to avoid sogginess.
– Meal prep: Fully cook beans up to 2 days ahead. Reheat in oven at 350°F for 5 minutes just before serving.
Conclusion
You’ve just unlocked the secrets to creating restaurant-quality green beans that are crunchy, garlicky, and utterly addictive. By mastering the blanch-and-sauté technique, you ensure every bean stays vibrant while absorbing maximum flavor. Whether you stick with classic Garlic Green Beans or indulge in buttery richness with Garlic Butter Green Beans, this versatile side dish transforms any meal into something special. Remember that the best results come from fresh ingredients, precise timing, and high heat—don’t compromise on these fundamentals. We’re confident this will become your go-to vegetable recipe. Try it tonight, share your results with friends, and explore our other quick vegetable dishes for more inspiration. Your taste buds will thank you!
FAQs
1. Can I use frozen green beans instead of fresh?
Absolutely. Skip the blanching step—frozen beans are already blanched. Sauté directly from frozen for 6–8 minutes until heated through and slightly charred. Adjust salt since frozen beans often have less seasoning.
2. Why are my beans tough and fibrous?
This usually means they’re undercooked or the beans are old. Fresh beans should have tender but firm texture after 8–10 minutes total cooking. Choose thinner beans, and ensure you boil them long enough during blanching (2 full minutes for standard beans).
3. Can I make this dish dairy-free?
Yes. Replace butter with 3 tablespoons olive oil or avocado oil. For “buttery” flavor, add 1 tablespoon nutritional yeast along with the garlic. Vegan margarine also works but reduce heat to avoid burning.
4. My garlic always burns—what am I doing wrong?
Two common mistakes: adding garlic too early or using heat that’s too high. Always cook garlic after beans have been seared, and reduce heat to medium when adding minced garlic. Stir constantly for 30 seconds max before combining with beans.
5. How do I keep leftovers from getting soggy?
The biggest culprit is condensation. Store leftovers in a container lined with paper towels, which absorbs moisture. Reheat uncovered in a dry skillet rather than microwaving. If microwaving, place beans on a paper towel-lined plate and use 50% power.
6. Can I add protein to make it a main dish?
Certainly. Toss in cooked shrimp, diced chicken, or crispy tofu during the last minute of sautéing. For extra flavor, add 1 tablespoon soy sauce or fish sauce for an umami boost.
Quick way to grow Garlic Green Beans in 7 days. Garlic Green Beans
Ingredients
Equipment
Method
- Wash and trim the green beans, then mince the garlic cloves.
- Heat olive oil in a large skillet over medium heat. Add the minced garlic and sauté for about 1 minute until fragrant.
- Add the trimmed green beans to the skillet, stirring to coat them with the garlic oil.
- Season with salt and pepper, cover the skillet, and cook for 5-7 minutes, stirring occasionally, until the green beans are tender-crisp.
- Serve your "7-day grown" garlic green beans immediately as a delicious and healthy side dish.