The Ultimate Guide to Perfect Garlic Bread: Crispy, Buttery, and Irresistible
Have you ever wondered why restaurant Garlic Bread tastes so much better than the store-bought version? The secret lies in the quality of ingredients, the technique, and the love you put into it. Making homemade Garlic Bread is not only incredibly satisfying but also allows you to control the flavor, texture, and nutritional content. In this comprehensive guide, we’ll walk you through every step to create a crusty, golden, and aromatic loaf that will elevate any meal. This recipe focuses on a classic Garlic Bread recipe with a rich Garlic Butter base, ensuring every bite is packed with flavor and crunch.
—
Ingredients & Kitchen Tools
Ingredients
– 1 large French baguette or Italian bread – Choose a crusty loaf for the best texture; it holds up better under the butter.
– 1/2 cup unsalted butter, softened – Salted butter can be used, but adjust salt accordingly. Softening makes it easier to spread.
– 4 cloves garlic, minced – Fresh garlic is key; avoid pre-minced for maximum pungency.
– 2 tablespoons fresh parsley, finely chopped – Optional but adds freshness and color.
– 1/4 teaspoon salt – Only if using unsalted butter.
– 1/4 teaspoon black pepper – Enhances the savory notes.
– 1/4 cup grated Parmesan cheese – Optional for a cheesy, umami kick.
Kitchen Tools
– Baking sheet – For toasting the bread evenly.
– Mixing bowl – For blending the garlic butter.
– Chef’s knife – For mincing garlic and chopping parsley.
– Pastry brush or spatula – To spread the butter mixture.
– Aluminum foil – Optional for covering if you prefer softer bread.
Substitutions
– Vegan option: Use plant-based butter and nutritional yeast instead of Parmesan.
– Gluten-free option: Gluten-free baguette or ciabatta works well.
– Low-fat version: Use reduced-fat butter or olive oil.
—
Prep Time & Cooking Schedule
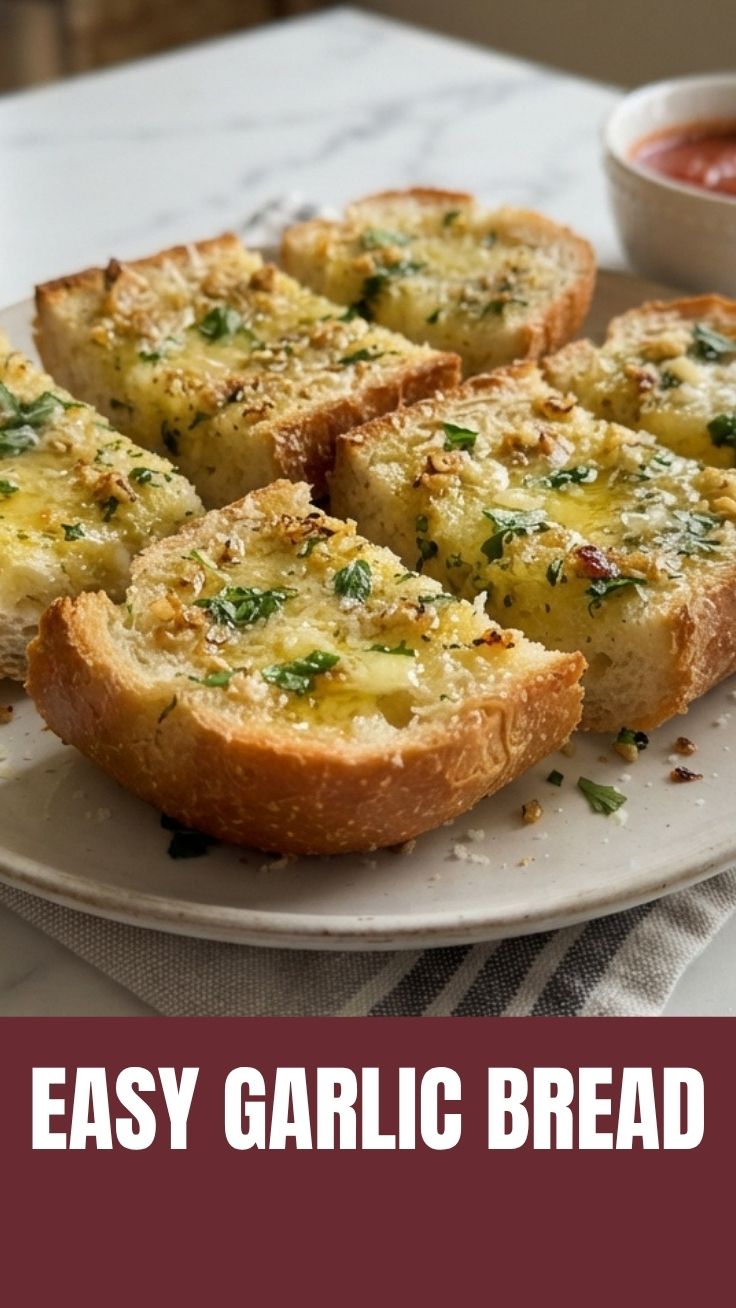
– Prep Time: 10 minutes
– Cook Time: 10–15 minutes
– Total Time: 20–25 minutes
– Resting Time: 2 minutes after baking (optional, for safety)
Plan to start this recipe just before your main dish is ready, as it’s best served hot and fresh. The garlic butter can be made ahead and stored in the fridge for up to 3 days, making this a great option for quick weeknight dinners.
—
Step-by-Step Instructions
1. Preheat your oven to 400°F (200°C). Line a baking sheet with foil or parchment paper for easy cleanup.
2. Prepare the garlic butter: In a small bowl, combine softened butter, minced garlic, chopped parsley, salt, and pepper. Mix until smooth and well incorporated. If using Parmesan, fold it in now.
3. Slice the bread: Cut the baguette in half lengthwise to create two long halves. For smaller pieces, slice into 1-inch thick diagonal slices.
4. Spread the butter: Use a pastry brush or spatula to evenly coat the cut sides of the bread with the Garlic Butter mixture. Ensure every nook and cranny is covered for maximum flavor. For a richer taste, you can also spread a thin layer of Garlic Butter on the crust.
5. Bake: Place the bread cut-side up on the prepared baking sheet. Bake for 10–12 minutes for a soft interior with a crisp edge, or 12–15 minutes for a crunchier texture. Keep an eye on it to prevent burning.
6. Broil (optional): For extra golden-brown spots, switch to broil for the last 1–2 minutes. Watch closely.
7. Rest and serve: Let the bread cool for 2 minutes before slicing. Serve immediately as a side or appetizer.
Pro tip: For a more intense Garlic Bread recipe, add an extra clove of garlic or a pinch of red pepper flakes for heat.
—
Nutritional Benefits & Advantages
This Garlic Bread recipe offers several health perks when made from scratch. The garlic itself is rich in allicin, a compound known for its anti-inflammatory and immune-boosting properties. Butter provides essential fat-soluble vitamins like A, D, and E, while the bread offers carbohydrates for energy. Using fresh herbs like parsley adds antioxidants and freshens breath naturally. Compared to store-bought versions, homemade Garlic Bread contains no artificial preservatives or trans fats, making it a cleaner choice for your family.
—
Tips, Variations & Cooking Advice
– Flavor variations: Add 1 teaspoon of dried oregano or basil to the butter for an herby twist. For a spicy kick, mix in 1/2 teaspoon of chili flakes.
– Cheese lovers: Sprinkle shredded mozzarella or provolone over the buttered bread before baking for a gooey topping.
– Air fryer method: Cook at 350°F (175°C) for 5–7 minutes for a quick, crisp result.
– Dietary adaptations: Use vegan butter and skip the Parmesan for a dairy-free version. For gluten-free, ensure your bread is certified gluten-free.
– Portion changes: This recipe easily scales up or down. For a single serving, use a demi-baguette.
—
Common Mistakes to Avoid
– Using cold butter: It won’t spread evenly, leading to uneven flavor. Always soften butter to room temperature.
– Over-mincing garlic: Large chunks can burn and become bitter. Mince finely for even distribution.
– Baking on low heat: This can result in soggy bread. High heat (400°F+) ensures a crisp, golden crust.
– Skipping the foil for softer bread: If you prefer a softer texture, cover with foil for the first 8 minutes, then uncover for the last 2–3 minutes.
– Not spacing slices: If using pre-sliced bread, space them apart on the baking sheet to allow hot air circulation.
—
Storage & Meal Prep Tips
– Refrigeration: Store leftover Garlic Bread in an airtight container at room temperature for up to 2 days. For longer storage, refrigerate for up to 4 days.
– Freezing: Wrap cooled bread tightly in plastic wrap, then in foil. Freeze for up to 3 months. Reheat directly from frozen at 350°F for 10 minutes.
– Reheating: To restore crispiness, reheat in an oven or toaster oven at 350°F for 5 minutes. Avoid microwaving, as it will make the bread rubbery.
– Meal prep: Prepare the Garlic Butter in advance and store in the fridge. Assemble and bake when ready to serve.
—
Conclusion
Making your own Garlic Bread recipe at home is a simple yet rewarding process that transforms ordinary meals into extraordinary experiences. With a perfect Garlic Butter base, you can customize the flavors to suit any palate—from classic to cheesy or spicy. Whether you’re pairing it with pasta, soup, or salad, this recipe guarantees a crispy, buttery, and aromatic result every time. Try it tonight and share your creation in the comments below. Happy cooking!
—
FAQs
Q1: Can I use pre-minced garlic from a jar?
A1: Yes, but fresh garlic provides a much stronger, more aromatic flavor. If using pre-minced, reduce the amount slightly as it’s often less potent.
Q2: How do I make this recipe dairy-free?
A2: Substitute butter with vegan butter and omit the Parmesan. You can also use olive oil for a lighter, dairy-free spread.
Q3: Why did my garlic bread turn out soggy?
A3: Soggy bread usually results from too much butter or low oven heat. Ensure you’re not overloading the bread, and bake at 400°F+ for optimal crispiness.
Q4: Can I prepare this ahead of time?
A4: Yes! Assemble the bread with garlic butter, cover, and refrigerate for up to 2 hours before baking. You can also freeze unbaked, buttered bread for up to 2 months.
Q5: How do I adjust the garlic intensity?
A5: For milder flavor, roast the garlic cloves in the oven at 350°F for 15 minutes before mincing. For a stronger kick, add an extra clove or use garlic powder (1/2 teaspoon).
Best way to grow your perfect Garlic Bread in 3 steps
Ingredients
Equipment
Method
- Prepare your pot with potting soil, creating a nutrient-rich base for your garlic bread plant.
- Plant the garlic bread starter kit in the soil, ensuring proper depth and spacing for optimal growth.
- Water regularly and provide ample sunlight to help your garlic bread flourish, yielding delicious results.