The Ultimate Guide to Perfect Homemade Biscuits
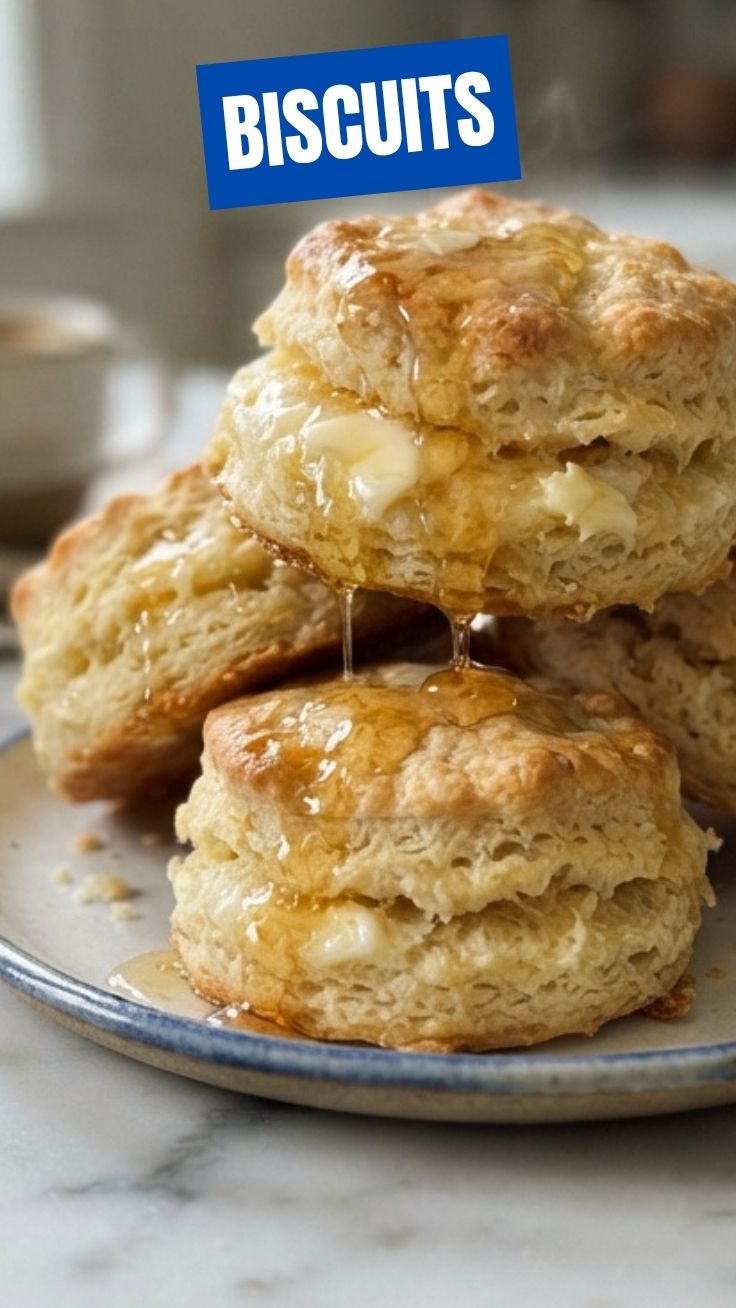
Have you ever bitten into a warm, flaky biscuit and wondered why yours never turn out that way? The secret isn’t in fancy equipment or culinary school training—it’s in understanding the science of pastry and using the right techniques. Learning to make bakery-quality Biscuits at home is not only cost-effective but allows you to control every ingredient for healthier, tastier results. Whether you’re serving them with gravy, honey butter, or enjoying them plain, mastering this recipe transforms your breakfast or brunch game. These biscuits are the foundation of countless comfort meals, and once you learn the tricks, you’ll never reach for canned dough again.
Ingredients & Kitchen Tools
Ingredients:
– 2 cups all-purpose flour (plus extra for dusting) – unbleached yields better flavor
– 1 tablespoon baking powder – aluminum-free for no metallic aftertaste
– 1 teaspoon salt – fine sea salt dissolves evenly
– 1 tablespoon granulated sugar – optional but adds golden browning
– 6 tablespoons cold unsalted butter – cut into small cubes; frozen works best
– ¾ cup cold buttermilk – substitute with milk + 1 tablespoon lemon juice
– 1 tablespoon heavy cream (for brushing) – or melted butter for extra richness
Kitchen Tools:
– Large mixing bowl – stainless steel retains cold temperatures
– Pastry cutter or two forks – for cutting butter into flour
– Bench scraper – helps handle sticky dough cleanly
– Biscuit cutter – sharp-edged 2-inch round; twist-free cutting seals edges
– Baking sheet – lined with parchment paper
– Pastry brush – silicone works best for even cream application
– Cooling rack – prevents soggy bottoms
Prep Time & Cooking Schedule
Total time: 35 minutes
– Prep time: 15 minutes
– Chill time: 10 minutes (essential for flaky layers)
– Baking time: 10–12 minutes at 425°F (218°C)
– Resting time: 5 minutes on the sheet after baking
Planning tip: Make the dough the night before and refrigerate overnight for deeper flavor development. Bring to room temperature 15 minutes before baking, then proceed directly to the oven.
Step-by-Step Instructions
1. Preheat and prepare: Set oven to 425°F (218°C) with rack in middle position. Line baking sheet with parchment paper.
2. Combine dry ingredients: Whisk together flour, baking powder, salt, and sugar in a large bowl. Ensure even distribution—lumps of baking powder cause bitter spots.
3. Cut in butter: Add cold butter cubes to flour mixture. Use a pastry cutter or two knives in a scissoring motion until butter pieces resemble pea-sized crumbs with some larger flakes. For perfect biscuits, work quickly to keep butter cold—warm butter melts into the dough, creating dense results.
4. Add buttermilk: Make a well in the center and pour in cold buttermilk. Stir with a fork just until a shaggy dough forms—about 10 seconds. Overmixing develops gluten, making tough biscuits.
5. Chill and fold: Transfer dough to a floured surface. Pat into a ½-inch thick rectangle. Fold in thirds like a letter, rotate 90 degrees, and repeat. This creates layers. After folding, if using a cheese grater technique, this step helps create extraordinary flakiness similar to Chocolate biscuits that rely on laminated dough structure.
6. Cut without twisting: Pat dough to ¾-inch thickness. Dip cutter in flour, then press straight down without twisting. Twisting seals edges, preventing rise. Gather scraps gently, re-pat, and cut again—one re-roll maximum.
7. Bake: Place biscuits touching on the prepared sheet (edges touching helps them rise taller). Brush tops with heavy cream. Bake 10–12 minutes until golden brown and sides are set.
8. Finish: Transfer to cooling rack. Brush with melted butter while hot for a soft, shiny crust.
Nutritional Benefits & Advantages
Homemade biscuits provide excellent nutritional control compared to store-bought versions. You can reduce sodium by 40% simply by adjusting salt levels. The buttermilk adds calcium and probiotics that aid digestion, while using grass-fed butter increases conjugated linoleic acid (CLA), which supports metabolism. Unlike highly processed alternatives, these contain no preservatives or hydrogenated oils.
Unsalted butter gives you control over sodium intake—one biscuit contains approximately 200 calories, 10g fat, and 4g protein. Using whole wheat pastry flour adds 3g fiber per serving without sacrificing tenderness. The cold butter method creates steam pockets that aerate the dough, reducing the need for chemical leaveners.
Tips, Variations & Cooking Advice
– Flavor twists: Add ½ cup shredded cheddar + 1 teaspoon garlic powder for savory biscuits. For sweet versions, fold in ¼ cup sugar + 1 teaspoon cinnamon.
– Gluten-free adaptation: Substitute 1:1 gluten-free flour blend with xanthan gum added. Increase liquid by 2 tablespoons.
– Dairy-free option: Use vegan butter sticks (like Earth Balance) and unsweetened oat milk mixed with 1 teaspoon apple cider vinegar.
– Shortcut method: Grate frozen butter directly into flour using a box grater—this creates perfect pea-sized pieces in seconds.
– Altitude adjustment: At 5,000+ feet, reduce baking powder by ¼ teaspoon and add 1 tablespoon more buttermilk.
Common Mistakes to Avoid
Mistake #1: Warm butter – Softened butter incorporates into flour, eliminating steam pockets. Solution: Freeze butter for 15 minutes before cutting.
Mistake #2: Overworking dough – Kneading more than 10 seconds develops gluten. Solution: Mix until just combined; 8–10 stirs is plenty.
Mistake #3: Twisting the cutter – This seals the edges, preventing the “pop” of layers. Solution: Press straight down and lift without rotating.
Mistake #4: Overcrowding the pan – While touching helps rise, too many biscuits steam instead of brown. Solution: Leave ½-inch space if baking more than 8.
Mistake #5: Skipping the chill – 10 minutes in the refrigerator firms butter for maximum oven spring. Solution: Always chill shaped biscuits before baking.
Storage & Meal Prep Tips
– Refrigeration: Store in an airtight container at room temperature for up to 2 days. For longer storage, refrigerate up to 5 days.
– Freezing unbaked biscuits: Place cut biscuits on a sheet pan, freeze until solid (1 hour), then transfer to a freezer bag. Bake from frozen at 425°F for 14–16 minutes—no thawing needed.
– Freezing baked biscuits: Cool completely, wrap individually in plastic wrap, then place in a freezer bag. Reheat in a 350°F oven for 8–10 minutes.
– Reheating: Avoid microwaves, which make biscuits rubbery. Instead, split and toast in a 350°F oven for 5 minutes, or reheat in an air fryer at 330°F for 3 minutes.
Conclusion
Mastering homemade biscuits is about respecting cold ingredients and minimal handling—two principles that reward you with layers of buttery, tender perfection. Whether you serve them with sausage gravy, turn them into breakfast sandwiches, or experiment with cheesy drop variations, these biscuits adapt to any meal. The beauty of this recipe lies in its simplicity: six basic ingredients and 35 minutes yield results that outperform any bakery. Try this method once, and you’ll understand why the folded-lamination technique creates biscuits that are crisp on the outside, tender on the inside, and impossible to resist straight from the oven. Share your results with friends, and watch your reputation as a biscuit master grow.
FAQs
Q1: Can I use self-rising flour instead of all-purpose flour?
A: Yes—omit the baking powder and salt, and use 2 cups self-rising flour. Reduce butter by 1 tablespoon to compensate for the flour’s different absorption rate.
Q2: Why are my biscuits dry and crumbly?
A: This usually means too much flour was incorporated. Measure flour by spooning into the cup and leveling off (not scooping). Also check that you didn’t overbake—remove as soon as tops are set, not when edges darken.
Q3: Can I make these chocolate biscuits?
A: Absolutely—add ¼ cup unsweetened cocoa powder and ¼ cup sugar to the dry ingredients, reduce flour to 1¾ cups, and fold in ½ cup chocolate chips after adding buttermilk. Brush with cream and bake as directed.
Q4: How do I get taller biscuits?
A: Use a sharp-edged cutter without twisting, ensure butter is very cold, and place biscuits touching on the baking sheet so they push each other upward as they expand.
Q5: Can I use buttermilk powder instead of fresh buttermilk?
A: Yes—mix 2 tablespoons buttermilk powder with the dry ingredients, then add ¾ cup water in place of liquid buttermilk. The result is identical in flavor and texture.
How to Grow Perfect Biscuits in 5 Minutes
Ingredients
Equipment
Method
- Preheat your oven to 450°F (230°C) and lightly grease a baking sheet.
- In a large bowl, whisk together the flour, baking powder, sugar, and salt.
- Cut in the cold butter using a pastry blender or your fingertips until the mixture resembles coarse crumbs.
- Gradually add the milk, mixing until a soft dough forms. Avoid overmixing.
- Turn the dough out onto a lightly floured surface and gently pat or roll it to about 1-inch thickness.
- Cut out biscuits using a round cutter, then place them on the prepared baking sheet.
- Bake for 10-12 minutes, or until golden brown. Serve warm.