The Ultimate Guide to Making Creamy, Restaurant-Quality Hummus at Home
Have you ever wondered why store-bought hummus never quite hits the spot like the velvety, garlicky version served at your favorite Mediterranean restaurant? The secret isn’t magic—it’s technique. Making Hummus from scratch transforms simple pantry staples into a dip that’s so rich, smooth, and flavorful, you’ll never reach for a plastic tub again. By preparing it at home, you control the quality of olive oil, the intensity of garlic, and the silky texture that defines authentic Hummus. This guide will walk you through every detail, from selecting the best chickpeas to troubleshooting common pitfalls, ensuring your bowl rivals any professional kitchen.
Hummus is more than just a dip; it’s a canvas for creativity. Whether you’re serving it as an appetizer, spreading it in wraps, or using it as a base for grain bowls, mastering this recipe will elevate your cooking. And if you’re looking for new ways to enjoy it, check out this vibrant Hummus recipe for a complete meal idea.
Ingredients & Kitchen Tools
To achieve that ultra-creamy consistency, you’ll need specific ingredients and tools. Each item plays a crucial role.
Ingredients:
– Canned chickpeas (2 cans, 15 oz each): The base. Drain and reserve the liquid (aquafaba). For best results, simmer chickpeas in water with ½ tsp baking soda for 20 minutes to soften skins.
– Tahini (⅓ cup): Use high-quality, well-stirred sesame paste. Costco’s or Soom brands work excellently.
– Fresh lemon juice (¼ cup, about 2 lemons): Acidity balances richness.
– Garlic (1 small clove, minced): Start small; you can always add more.
– Ice-cold water (2-4 tbsp): The secret to fluffy texture.
– Extra virgin olive oil (3 tbsp + more for serving): Use fruity, peppery oil for best flavor.
– Salt (½ tsp, plus more to taste) and Cumin (½ tsp, optional but recommended).
Substitutions: For oil-free hummus, omit olive oil and add extra aquafaba. Gluten-free by nature; ensure tahini is certified gluten-free.
Kitchen Tools:
– Food processor (high-speed recommended, 750w+)
– Fine-mesh strainer
– Small skillet (for toasting cumin)
– Rubber spatula
– Airtight storage container
Prep Time & Cooking Schedule
Time commitment is minimal, but planning ahead ensures perfection.
– Prep time: 10 minutes (peeling garlic, juicing lemons, draining chickpeas)
– Cooking time: 20 minutes (if simmering chickpeas)
– Resting time: 15 minutes (letting hummus cool and flavors meld)
– Total active time: 30 minutes; total with resting: 45 minutes
Planning tip: Simmering chickpeas with baking soda is non-negotiable for silky texture. While that happens, you can prep other ingredients. The hummus actually tastes better after 1 hour of refrigeration, so make it ahead for parties.
Step-by-Step Instructions
Follow these steps precisely for a foolproof, creamy result.
1. Prepare the chickpeas: Drain and rinse canned chickpeas. Place in a small saucepan, cover with fresh water, and add ½ teaspoon baking soda. Bring to a boil, then reduce to a simmer for 20 minutes. Drain and rinse again with cool water. The skins should loosen; rub them off between paper towels (this step yields the smoothest Hummus). Optional but transformative.
2. Process tahini and lemon juice: In a food processor, combine tahini and lemon juice. Process for 60 seconds until thick and pale. Scrape sides. This creates an emulsion base.
3. Add garlic and spices: Add minced garlic, salt, and cumin. Process for 30 seconds. Scrape again.
4. Incorporate chickpeas: Add half the chickpeas. Process for 30 seconds. Add remaining chickpeas and process for 1 minute. The mixture will look thick and clumpy.
5. Stream in ice water: With processor running, slowly add 2 tablespoons of ice-cold water. Process for 3-4 minutes until the hummus is light, airy, and almost white. It should whip into a mousse-like consistency. If too thick, add 1 tablespoon more water.
6. Finish with olive oil: Add 3 tablespoons olive oil. Process for 30 seconds. Taste and adjust salt and lemon. For a bolder Hummus recipe, add another pinch of cumin or a roasted garlic clove.
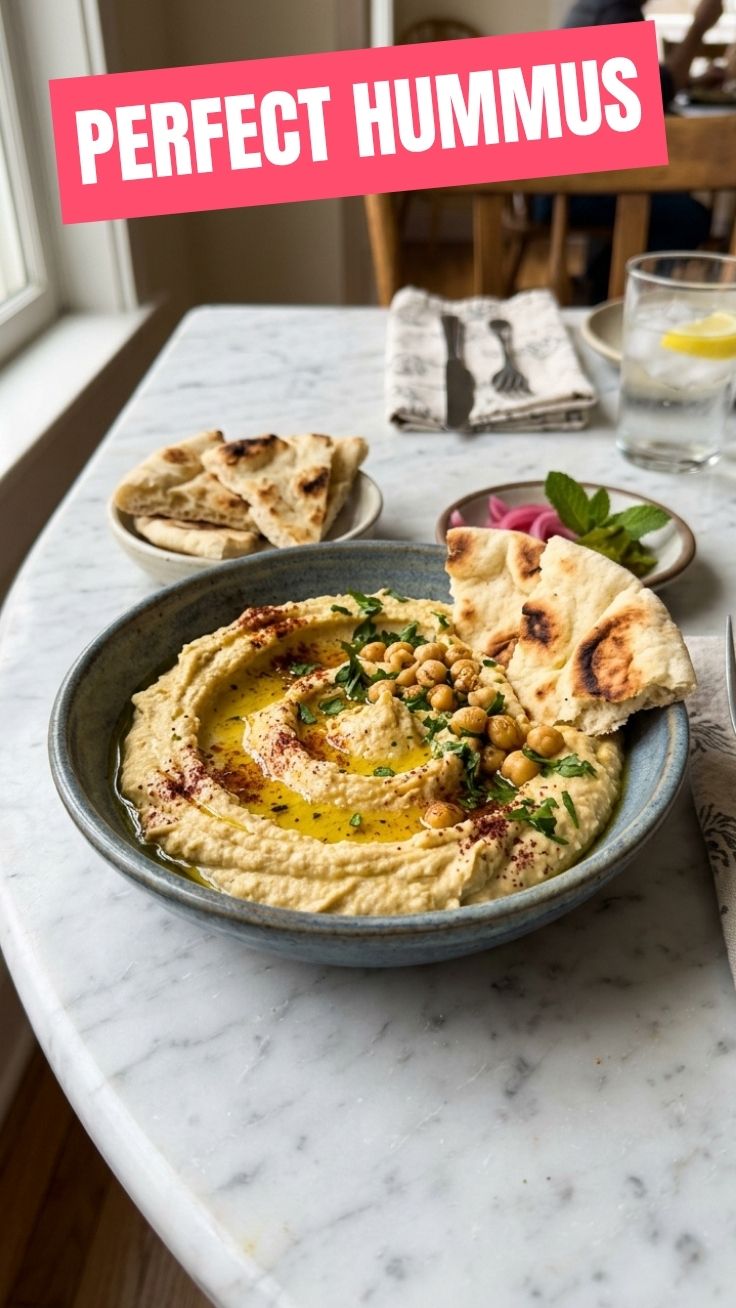
7. Rest and serve: Transfer to a bowl, cover, and let rest 15 minutes at room temperature. Drizzle with olive oil, sprinkle with paprika or za’atar, and serve.
Nutritional Benefits & Advantages
This homemade Hummus is a nutritional powerhouse, making it an ideal snack or meal component.
– Plant-based protein (6g per ¼ cup): Chickpeas provide complete protein when combined with grains.
– Heart-healthy fats: Tahini and olive oil offer monounsaturated and polyunsaturated fats that support cardiovascular health.
– Fiber-rich (4g per serving): Supports digestion and satiety.
– Iron and folate: Essential for energy and cell production.
– Low glycemic index: Helps maintain stable blood sugar.
– Dietary advantages: Vegan, dairy-free, nut-free, and gluten-free. Perfect for Mediterranean, plant-based, and anti-inflammatory diets.
Tips Variations & Cooking Advice
Customize your Hummus to suit any palate or occasion.
Flavor variations:
– Roasted red pepper: Blend in ½ cup jarred roasted red peppers.
– Spicy harissa: Stir in 1-2 tablespoons harissa paste.
– Pesto hummus: Swirl in 2 tablespoons basil pesto at the end.
Ingredient swaps:
– Avocado: Replace half the olive oil with avocado for creaminess.
– White beans: Substitute cannellini beans for a different flavor profile.
– Roasted garlic: Use 2-3 roasted cloves instead of raw for a mellow taste.
Cooking methods: To deepen flavor, toast cumin seeds in a dry skillet for 2 minutes before grinding.
Dietary adaptations: Naturally gluten-free. For lower fat, reduce tahini to ¼ cup and add extra aquafaba.
Common Mistakes to Avoid
Avoid these pitfalls for perfect results every time.
– Skipping the baking soda simmer: This is the number one reason hummus is grainy. Baking soda softens chickpea skins, enabling them to blend into a silky puree.
– Using cold chickpeas straight from the can: Always warm them or use room-temperature chickpeas for easier blending.
– Not processing long enough: Hummus needs 4+ minutes of whipping. Short processing yields thick, pasty hummus.
– Adding too much garlic at once: Raw garlic intensity grows. Start with one small clove and adjust.
– Forgetting to scrape the bowl: Residue left on sides prevents even emulsification. Scrape after each step.
– Over-salting before resting: Salt intensifies as hummus chills. Season conservatively and adjust after resting.
Storage & Meal Prep Tips
Proper storage keeps hummus fresh for days.
– Refrigeration: Store in an airtight container. Press plastic wrap directly onto the surface to prevent a skin from forming. Keeps for 5-7 days.
– Freezing: Spoon into freezer-safe bags, flatten, and freeze for up to 3 months. Thaw overnight in the fridge; whisk or process briefly to restore creaminess.
– Reheating: Do not microwave, as it can separate. Let sit at room temperature for 30 minutes, then stir. If needed, warm gently in a saucepan over low heat, stirring constantly.
– Reviving leftovers: If hummus thickens after refrigeration, stir in 1 tablespoon warm water or lemon juice per cup.
Conclusion
Mastering homemade hummus is a game-changer for your kitchen. By following this guide, you’ve learned that the key to silky Hummus lies in softening chickpeas, properly emulsifying tahini, and whipping long enough for that cloud-like texture. This Hummus recipe is just the beginning—experiment with toppings like pine nuts, sumac, or roasted vegetables to make it your signature dish. The beauty of homemade hummus is its versatility: it works as a dip, spread, or even a pasta sauce. Try this recipe today, and share your creations with friends. Don’t forget to explore that Hummus recipe for a complete meal idea that pairs perfectly with your fresh batch. Happy cooking!
FAQs
1. Can I use dried chickpeas instead of canned?
Yes. Soak 1 cup dried chickpeas overnight, then cook with ½ tsp baking soda for 60-90 minutes until very soft. Use the cooking liquid as your water replacement. This yields even better flavor.
2. My hummus is too thick. How do I fix it?
With the processor running, add ice-cold water 1 tablespoon at a time. Also, ensure you processed the tahini and lemon juice first—this initial emulsion is critical for a light texture.
3. Why is my hummus bitter?
Bitterness usually comes from tahini. Ensure your tahini is fresh and well-stirred. If it’s already bitter, balance with more lemon juice or a pinch of sugar. Also, avoid over-processing, which can release bitterness from garlic.
4. Can I make hummus without a food processor?
It’s difficult but possible. Use a high-speed blender. You’ll need to scrape often and use more liquid. An immersion blender with a tall container works too, but expect slightly grainier results.
5. How long does homemade hummus last compared to store-bought?
Homemade hummus stays fresh 5-7 days refrigerated, whereas store-bought (unopened) lasts months. Because homemade lacks preservatives, always check for off-smells before eating after day 5.
Classic Homemade Hummus
Ingredients
Equipment
Method
- Combine the drained and rinsed chickpeas, tahini, fresh lemon juice, minced garlic, cumin, and salt in the bowl of a food processor.
- Process the mixture until it becomes smooth and creamy, gradually adding cold water one tablespoon at a time until you achieve your desired consistency.
- Taste the hummus and adjust the seasoning as needed, adding more lemon juice or salt to suit your preference.
- Transfer the finished hummus to a shallow serving bowl, then drizzle with olive oil and sprinkle with paprika for an appealing presentation.