The Ultimate Guide to Baking the Perfect Homemade Apple Pie
Have you ever wondered what makes a truly unforgettable Apple Pie? Is it the flaky, golden crust, the perfectly spiced filling, or the nostalgic aroma that fills your entire home? The truth is, mastering this classic dessert at home is one of the most rewarding experiences in the kitchen. Not only do you control the quality of ingredients, but you also create a dessert that carries your personal touch. Today, we’re diving deep into the art of Apple Pie preparation, focusing on the precise techniques of Baking that separate a good pie from a legendary one. By the end of this guide, you’ll understand exactly how to achieve that perfect balance of sweet, tart, and buttery goodness.
Ingredients & Kitchen Tools
To create this masterpiece, you’ll need the following ingredients and tools. Each item serves a specific purpose for optimal results.
For the Crust:
– 2 ½ cups all-purpose flour – Provides structure; substitute with gluten-free blend if needed.
– 1 teaspoon salt – Enhances flavor and strengthens gluten.
– 1 cup cold unsalted butter (cubed) – Creates flakiness; keep ice-cold.
– 6-8 tablespoons ice water – Binds dough without activating gluten too much.
– 1 tablespoon sugar – Adds subtle sweetness and aids browning.
For the Filling:
– 6-7 medium Granny Smith apples – Tartness balances sugar; Honeycrisp or Fuji work too.
– ¾ cup granulated sugar – Sweetens the filling.
– 2 tablespoons all-purpose flour – Thickens juices.
– 1 tablespoon lemon juice – Prevents browning and adds brightness.
– 1 teaspoon cinnamon – Classic warming spice.
– ¼ teaspoon nutmeg – Adds depth.
Kitchen Tools:
– 9-inch pie dish
– Rolling pin
– Mixing bowls (large and medium)
– Pastry cutter or food processor
– Sharp knife or apple peeler
– Parchment paper
– Pastry brush (for egg wash)
– Aluminum foil (for crust shields)
Prep Time & Cooking Schedule
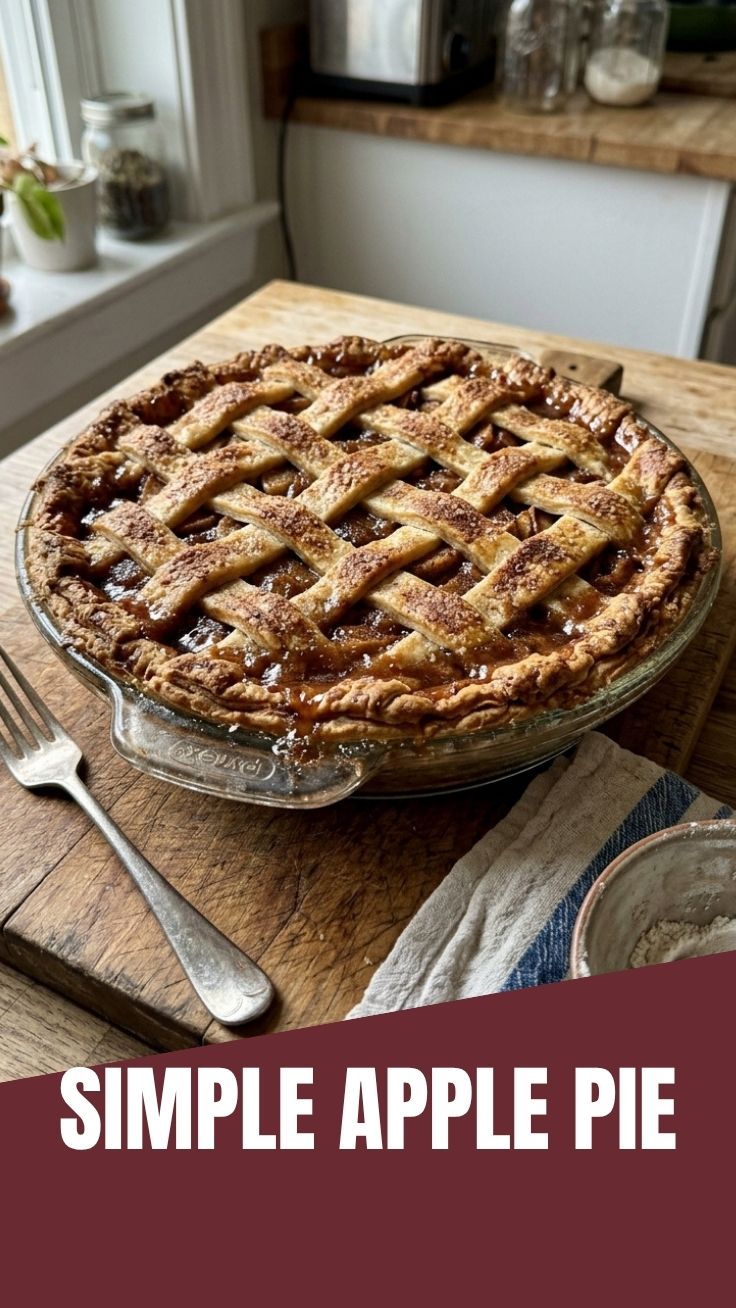
Planning is essential for stress-free Baking. Here’s your timeline:
– Prep Time: 45 minutes (includes peeling, slicing, and making dough)
– Chill Time: 1 hour (dough rests in refrigerator)
– Assembly Time: 15 minutes (rolling and filling)
– Bake Time: 50-55 minutes (at 375°F)
– Cooling Time: 2-3 hours (essential for set filling)
Context for planning: Start your dough first, as it needs to chill while you prepare the apples. Begin peeling and slicing apples about 20 minutes before the dough is ready. The total active time is roughly 1 hour, but factor in the chilling and cooling for best results.
Step-by-Step Instructions
Follow these detailed steps to achieve pie perfection. Remember, precision in Baking is key, especially when working with the Apple Pie filling.
1. Make the crust: In a large bowl, whisk flour, salt, and sugar. Cut in cold butter using a pastry cutter until pea-sized crumbs form. Drizzle ice water 1 tablespoon at a time, mixing until dough just comes together.
Best way to grow Apple Pie from scratchApple Pie
Ingredients
Equipment
Method
- In a large bowl, combine flour and salt, then cut in very cold butter until it forms pea-sized crumbs.
- Gradually add ice water, mixing until the dough just comes together, then divide it in half, flatten into discs, wrap, and chill for at least 30 minutes.
- In a large bowl, combine sliced apples with granulated sugar, brown sugar, flour, cinnamon, nutmeg, and lemon juice, ensuring the apples are evenly coated.
- Taste a small piece of apple mixture and adjust consistency, sweetness, or spice levels if needed.
- On a lightly floured surface, roll out one pie dough disc into a 12-inch circle and carefully transfer it to a 9-inch pie plate.
- Pour the apple filling into the crust, dot with butter pieces, then roll out the second dough disc and place it over the filling.
- Trim the edges, crimp them to seal, cut vents in the top crust, and if desired, brush with egg wash.
- Preheat the oven to 425°F (220°C), place the pie on a baking sheet, and bake for 15 minutes, then reduce heat to 375°F (190°C) and bake for another 45-50 minutes until golden.
- Allow the pie to cool completely on a wire rack before serving to allow the filling to set.