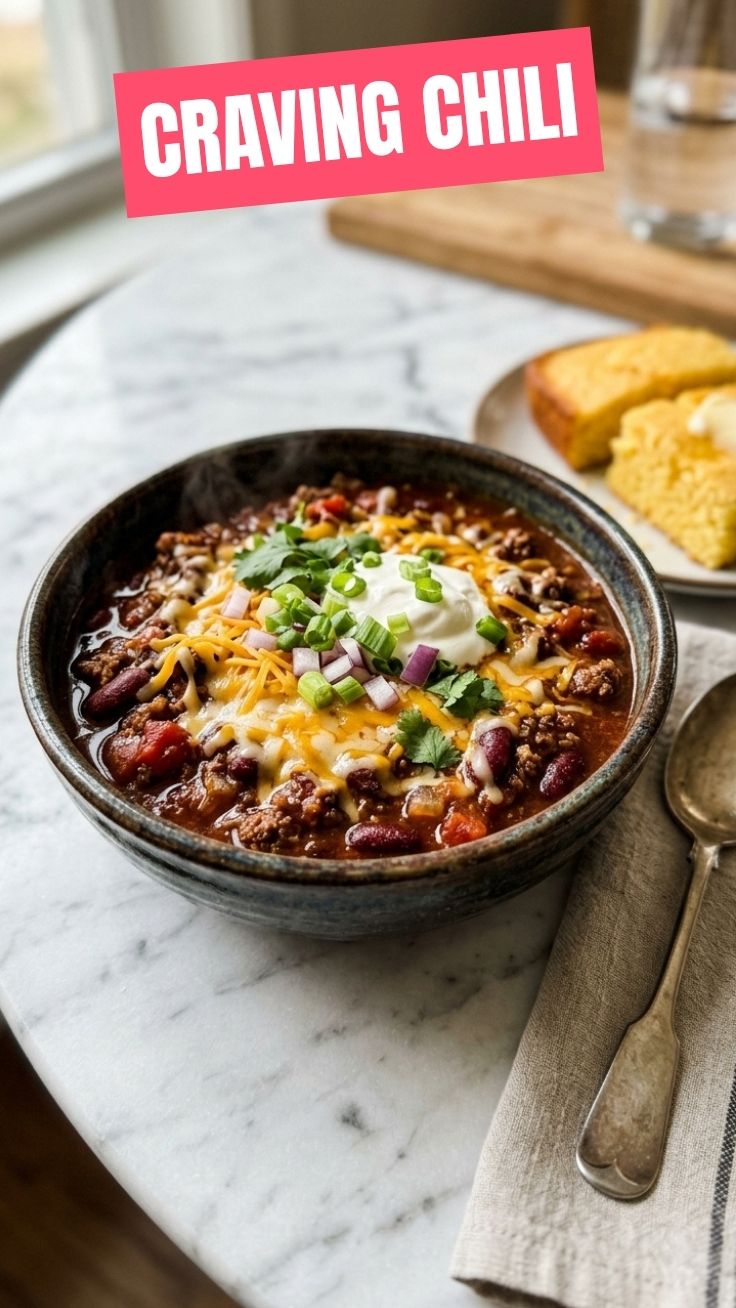
Ingredients
Equipment
Method
Starting Your Chili Journey
- Begin by sowing chili seeds in small pots or seed trays filled with seed starting mix.
- Ensure the seeds are planted about 1/4 inch deep and lightly covered with soil.
- Keep the soil consistently moist but not waterlogged, and maintain a warm environment (around 75-85°F) for optimal germination.
Nurturing Seedlings
- Once seedlings emerge, provide plenty of light using grow lights or a sunny window.
- Thin seedlings to the strongest plants, ensuring adequate space for growth.
- Continue to water regularly and begin feeding with a diluted, balanced fertilizer.
Transplanting and Growing
- When seedlings are robust enough, transplant them into larger pots or a garden bed with well-draining soil.
- Ensure they receive at least 6-8 hours of direct sunlight daily and protect them from strong winds.
- As the plants grow, switch to a high-phosphorus fertilizer to encourage flowering and fruiting.
Care and Maintenance
- Water deeply and consistently, especially during dry spells, and prune any lower leaves or suckers to improve air circulation.
- Monitor for pests and diseases, addressing any issues promptly with organic solutions if possible.
- Consider supporting taller plants with stakes to prevent them from toppling over under the weight of ripening peppers.
Harvesting Your Chilies
- Harvest chili peppers when they reach their full color and desired size, using a sharp knife or scissors to cut the stem just above the cap.
- Handle peppers with gloves, especially hotter varieties, to avoid skin irritation.
- Regular harvesting encourages the plant to produce more peppers throughout the growing season.
Notes
For even spicier chilies, consider reducing watering slightly before harvest, as this can stress the plant and increase capsaicin production. Remember to always handle hot peppers with care and wash your hands thoroughly after harvesting.