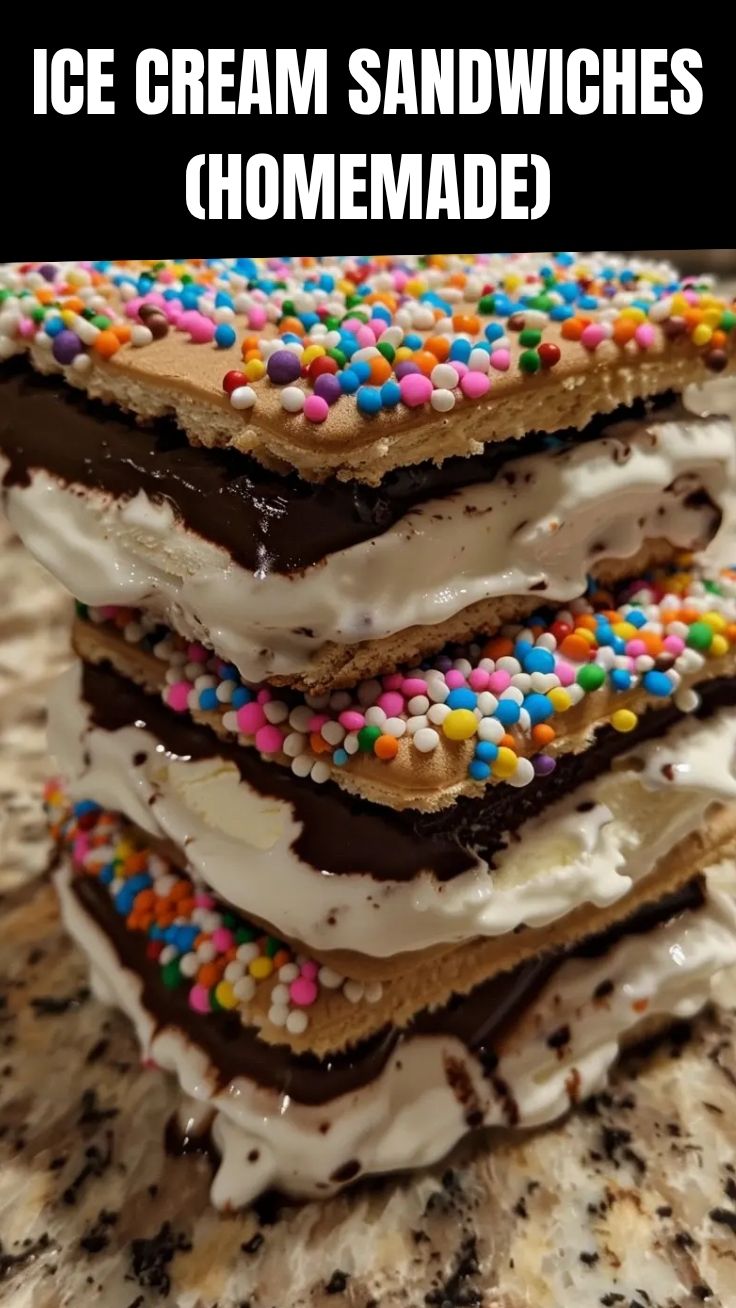
Unleash Your Inner Pastry Chef: Crafting the Perfect Homemade Ice Cream Sandwiches!
Ever found yourself craving that nostalgic, perfectly balanced treat – the one that marries a chewy cookie with creamy, frosty bliss? For many, the store-bought versions just don’t quite hit the mark. But what if I told you that crafting your own Ice Cream Sandwiches (Homemade) is not only incredibly rewarding but far simpler than you might imagine? Forget those flimsy wafers and icy fillings! By making them yourself, you control every delicious detail, from the richness of the cookie to the lusciousness of the ice cream. And for those who adore the unbaked delights of a good Cookie Dough Recipe, this recipe even offers a fantastic starting point for infusing that same customizable magic into your frozen treats. Get ready to elevate your dessert game and impress everyone with these delightful, customizable masterpieces!
Ingredients & Kitchen Tools
- All-Purpose Flour (2 cups): The backbone of our sturdy yet tender cookie.
- Unsalted Butter (1 cup, softened): Provides richness and helps achieve that luscious texture. Softened means it should yield to gentle pressure but not be melted.
- Granulated Sugar (3/4 cup): For sweetness and contributes to crispness at the edges.
- Brown Sugar (3/4 cup, packed): Adds depth of flavor, moisture, and chewiness to the cookies.
- Large Eggs (2): Binds ingredients and adds structure.
- Vanilla Extract (1 tsp): Enhances all the other flavors. Use good quality for the best results.
- Cocoa Powder (1/2 cup, unsweetened): For classic chocolate ice cream sandwich cookies. Adjust to your desired chocolate intensity.
- Baking Soda (1 tsp): A leavening agent that helps the cookies rise slightly.
- Salt (1/2 tsp): Balances sweetness and enhances flavor.
- Your Favorite Ice Cream (1.5 quarts, slightly softened): The star of the show! Vanilla, chocolate, mint chip, strawberry – the choice is yours. Slightly softened makes it easier to spread.
- Parchment Paper: Essential for non-stick baking and easy handling.
- Baking Sheets: For baking your delightful cookies.
- Electric Mixer (stand or hand-held): For efficient creaming of butter and sugars.
- Spatula: For mixing and scraping.
- Measuring Cups & Spoons: For accurate ingredient portions.
- 9×13 inch Baking Pan (or similar size): Ideal for shaping the ice cream layer.
- Sharp Knife or Pizza Cutter: For slicing the finished sandwiches.
Prep Time & Cooking Schedule
- Prep Time (Cookie Dough): 15-20 minutes
- Chill Time (Cookie Dough): 30 minutes (minimum, but longer is better for easier handling)
- Bake Time (Cookies): 10-12 minutes per batch
- Cool Time (Cookies): 20-30 minutes before assembly
- Assembly Time: 15-20 minutes
- Freezing Time (Assembled Sandwiches): 4-6 hours (minimum) to overnight for optimal firmness.
To plan your delicious journey, you can bake the cookies a day ahead and store them in an airtight container for peak freshness. Once assembled, the freezing time is crucial, so consider making these in the morning or the day before you plan to serve them!
Step-by-Step Instructions
1. Prepare the Cookie Dough: In a large bowl, cream together the softened butter, granulated sugar, and brown sugar with an electric mixer until light and fluffy. Beat in the eggs one at a time, then stir in the vanilla extract. In a separate bowl, whisk together the flour, cocoa powder, baking soda, and salt. Gradually add the dry ingredients to the wet ingredients, mixing on low speed until just combined. Do not overmix.
2. Chill the Dough: Divide the dough in half, flatten each half into a disc, wrap tightly in plastic, and refrigerate for at least 30 minutes (or up to 24 hours). Chilling makes the dough easier to roll and prevents excessive spreading.
3. Bake the Cookies: Preheat your oven to 350°F (175°C). Line two baking sheets with parchment paper. On a lightly floured surface, roll out one disc of chilled dough to about 1/4-inch thickness. Using a large square or round cookie cutter (about 2.5-3 inches), cut out your cookies. Alternatively, for perfectly uniformed Ice Cream Sandwiches (Homemade), you can press one half of the dough into an 8×8 inch square pan lined with parchment, bake, and then cut. Bake for 10-12 minutes, or until the edges are set and the centers look slightly soft. Let cool on the baking sheet for 5 minutes before transferring to a wire rack to cool completely. Repeat with the remaining dough.
4. Prepare the Ice Cream Layer: While the cookies cool, line a 9×13 inch baking pan (or a size similar to your cookie dimensions) with parchment paper, leaving an overhang on the sides. Scoop the slightly softened ice cream into the prepared pan and spread evenly to create a flat, consistent layer. Place in the freezer to firm up for at least 30 minutes.
5. Assemble the Sandwiches: Once the cookies are completely cool and the ice cream is firm, remove the ice cream slab from the pan using the parchment paper overhang. You’ll want to work quickly here to avoid excessive melting. Place the ice cream slab on a cutting board. Using a sharp knife or pizza cutter, cut the ice cream into pieces that match the size and shape of your cookies.
6. Form the Sandwiches: Place one cookie, bottom-side up, on a piece of parchment paper or a plate. Carefully place an ice cream slab on top. Then, place another cookie, bottom-side down, on top of the ice cream, gently pressing to secure.
7. Final Freeze: Wrap each assembled Cookie Dough Recipe based ice cream sandwich tightly in parchment paper or plastic wrap and place them back in the freezer for at least 4-6 hours, or preferably overnight, until thoroughly frozen and firm.
Nutritional Benefits & Advantages
Crafting your own treats allows for superior control over ingredients, leading to a more wholesome dessert experience. You can opt for high-quality cocoa, natural vanilla, and even choose organic dairy or alternative milk ice creams. Compared to many commercial varieties, homemade versions often contain fewer artificial flavors, preservatives, and excessive high-fructose corn syrup. Plus, the portion control is entirely up to you, fitting perfectly into a balanced lifestyle while still enjoying a delicious indulgence.
Tips, Variations & Cooking Advice
- Cookie Variations: Swap cocoa powder for an equal amount of whole wheat flour for a less chocolatey, more robust cookie. Add mini chocolate chips, sprinkles, or crushed nuts to the cookie dough for extra texture.
- Ice Cream Flavors: The possibilities are endless! Experiment with coffee, pistachio, or even fruit-flavored sorbets for a lighter option.
- Gluten-Free: Substitute the all-purpose flour with a 1:1 gluten-free baking blend.
- Dairy-Free: Use a dairy-free butter substitute and your favorite dairy-free ice cream.
- Shaping Hack: For perfectly square sandwiches without cutting individual cookies, press one half of your dough directly into the bottom of a parchment-lined 8×8 inch pan, bake, let cool, then repeat with the second half. Cut these large cookie slabs to size after baking.
- Customize Your Cookie Texture: For softer cookies, slightly underbake them. For a crispier edge, bake for a minute or two longer.
Common Mistakes to Avoid
- Overmixing Dough: Overmixing develops gluten, leading to tougher cookies. Mix until just combined.
- Warm Cookie Dough: Not chilling the dough enough will result in cookies that spread too much, becoming thin and brittle.
- Working with Melted Ice Cream: If the ice cream is too soft during assembly, it will be messy and difficult to shape. Ensure it’s firm but spreadable for the initial layer and then firmly frozen for cutting.
- Not Wrapping Tightly: Poorly wrapped sandwiches can develop freezer burn, affecting texture and flavor. Ensure each sandwich is sealed well.
- Impatient Freezing: Resist the urge to eat them too soon! The final freeze is crucial for a perfectly firm and enjoyable sandwich.
Storage & Meal Prep Tips
Once assembled and thoroughly frozen, Ice Cream Sandwiches (Homemade) can be stored in the freezer for up to 2-3 months. Ensure each sandwich is individually wrapped tightly in plastic wrap or parchment paper, then placed in an airtight container or a freezer-safe bag. This prevents freezer burn and keeps unwanted odors from permeating your delicious treats. There’s no “reheating” required for these; simply remove from the freezer a few minutes before serving to allow the ice cream to soften slightly for a more enjoyable bite.
Conclusion
Crafting your own Ice Cream Sandwiches (Homemade) is an incredibly rewarding culinary adventure. From the rich, chewy cookies to the creamy, customizable ice cream filling, every bite is a testament to homemade goodness. This journey also opens the door to experimenting with delightful twists like incorporating a special Cookie Dough Recipe for an extra layer of flavor and texture. We encourage you to try this recipe, personalize it to your taste, and share your delightful creations! Embrace the joy of producing truly exceptional frozen treats right in your own kitchen.
FAQs
1. Can I use store-bought cookie dough?
Yes, absolutely! While homemade is recommended for the best texture, pre-made cookie dough can be a fantastic shortcut. Just ensure it’s a type that bakes into a relatively firm, non-crumbly cookie suitable for sandwiching.
2. How do I prevent the ice cream from melting too quickly during assembly?
Work in a cool environment, and ensure your ice cream is well-frozen before cutting. You can also place your cutting board and pan in the freezer for a few minutes before you start assembling to keep everything cold.
3. My cookies are too hard. What did I do wrong?
This usually happens from overbaking. For best results, slightly underbake your cookies (they will firm up as they cool). Ensure your oven temperature is accurate and try reducing the baking time by a minute or two.
4. Can I make these ahead of time for a party?
Certainly! These are perfect for making ahead. The longer they freeze, the firmer and easier they are to handle. You can prepare them a week or two in advance and keep them tightly wrapped in the freezer.
5. What’s the best way to get even-sized cookies?
Using a cookie cutter after rolling out the dough is ideal for uniformity. Alternatively, for truly square sandwiches, press your dough into a square baking pan, bake, and then cut into squares after cooling.
Best Way to Grow Ice Cream Sandwiches (Homemade)
Ingredients
Equipment
Method
- Realize that ice cream sandwiches cannot be grown, as they are a manufactured dessert.