Why These Homemade Pickled Red Onions Will Elevate Every Meal
Have you ever wondered why restaurant tacos, grain bowls, and sandwiches taste infinitely better than the ones you make at home? The answer is often a secret weapon hiding in plain sight: quick-pickled red onions. Mastering a batch of homemade Pickled Red Onions that is perfectly balanced starts with the simplicity of the pickling brine. Creating this brilliant magenta condiment at home not only saves money but also allows you to control the acidity, sweetness, and spice levels to match your palate. Within just 30 minutes, you can transform a humble onion into a crunchy, tangy powerhouse that adds brightness to burgers, salads, and roasted meats. The best part? Once you understand the core ratio of vinegar to sugar and salt, you can customize this recipe endlessly.
Ingredients & Kitchen Tools
For the Pickled Red Onions:
– 2 medium red onions – Look for firm onions with tight, dry skins. The redder the onion, the more vibrant your final color will be.
– 1 cup apple cider vinegar – Provides fruity acidity. White distilled vinegar works for a sharper tang, while rice vinegar offers a milder flavor.
– ½ cup water – Dilutes the acidity to prevent an overly harsh bite.
– 2 tablespoons granulated sugar – Balances the sourness. Honey or maple syrup can substitute, though they will darken the brine slightly.
– 1½ teaspoons kosher salt – Enhances flavor and helps maintain crunch. Sea salt works fine if you adjust for grain size.
– Optional aromatics: 2 cloves garlic (smashed), 1 teaspoon black peppercorns, ½ teaspoon red pepper flakes, or 2 sprigs fresh dill.
Kitchen Tools Required:
– Sharp chef’s knife and cutting board
– Measuring cups and spoons
– Small saucepan (for heating the brine)
– 16-ounce (500 ml) glass jar with a tight-fitting lid – A mason jar, Weck jar, or repurposed pickle jar works perfectly.
– Mandoline slicer (optional but recommended for uniform thin slices)
Prep Time & Cooking Schedule
This recipe moves quickly once you start. The active preparation takes only 10 minutes, but the onions need time to absorb the pickling brine. Plan your schedule around these stages:
– Prep time: 10 minutes (slicing onions, measuring ingredients)
– Heating brine: 3–5 minutes
– Cooling time before serving: 20–30 minutes at room temperature
– Optimal flavor development: 1–2 hours refrigerated
– Maximum shelf life: Up to 3 weeks in the refrigerator
The onions are technically edible as soon as the hot brine cools to room temperature, but they reach their peak crunch and flavor after resting for at least one hour. If you are planning dinner, start these 90 minutes before serving. For meal prep, make them a day ahead—the flavor deepens beautifully overnight.
Step-by-Step Instructions
Step 1: Prepare the Onions
Peel the red onions and slice off the root ends. Using a sharp knife or mandoline, cut the onions into thin rounds, approximately ⅛-inch (3 mm) thick. Consistent thickness ensures even pickling. If using a knife, try to keep your slices uniform. Separate the rings gently with your fingers.
Step 2: Pack the Jar
Place the sliced onions into your clean glass jar along with your chosen aromatics (garlic, peppercorns, chili flakes). Leave about ½ inch of headspace at the top. Pack them loosely—do not cram them too tightly, or the brine won’t circulate evenly.
Step 3: Make the Pickling Brine
In a small saucepan, combine the apple cider vinegar, water, sugar, and salt. Heat over medium-high heat, stirring occasionally, until the sugar and salt dissolve completely. Do not let the mixture boil vigorously—a gentle simmer is sufficient. Once dissolved, remove from heat. The balance of your pickling brine determines the final taste; too much vinegar makes it harsh, while too much sugar masks the onion’s natural bite.
Step 4: Pour and Press
Carefully pour the hot brine over the onions in the jar, ensuring all slices are submerged. Use the back of a spoon to press down the onions gently. If any slices float above the liquid, tuck them back under.
Step 5: Cool and Seal
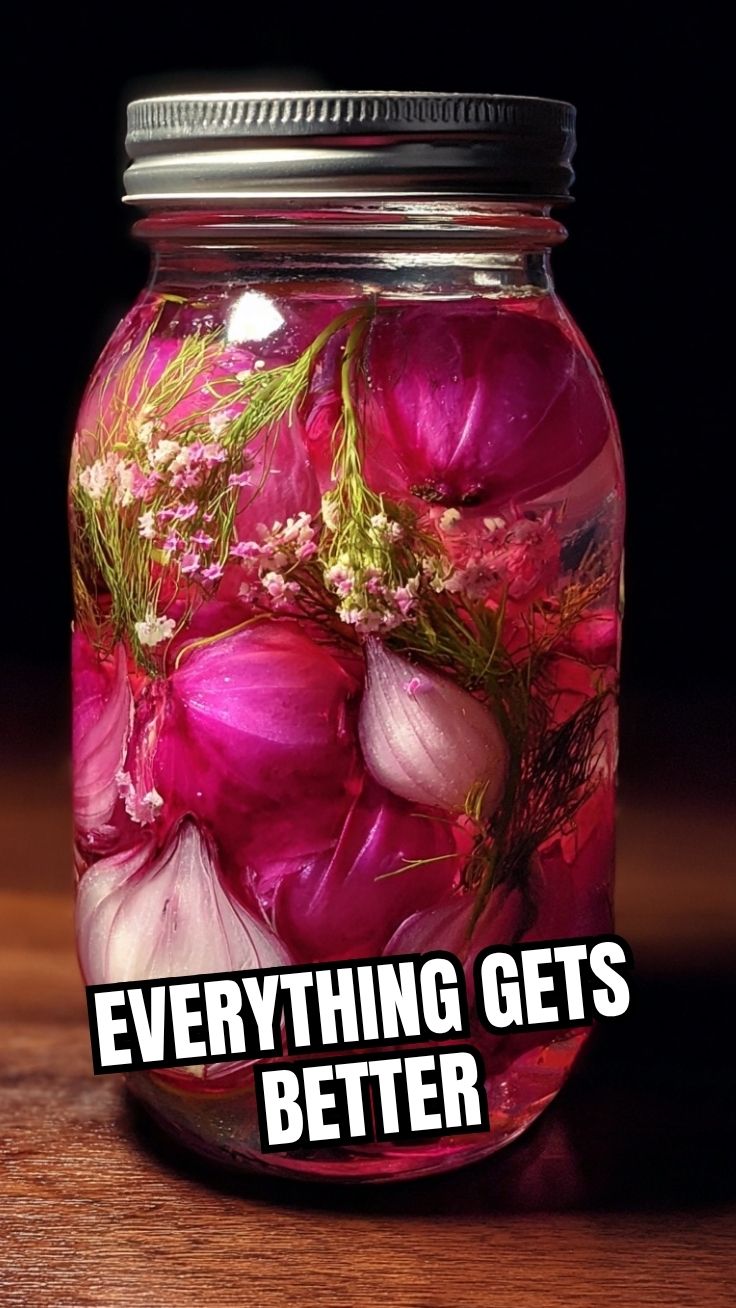
Allow the jar to cool uncovered on the counter for 20–30 minutes. Once cool enough to handle, screw on the lid and transfer to the refrigerator. Your homemade Pickled Red Onions will transform from pale white to a vivid pink within minutes as the hot brine draws out the anthocyanins.
Nutritional Benefits & Advantages
Pickled red onions deliver more than just flavor. Red onions are rich in quercetin, a powerful antioxidant linked to reduced inflammation and improved heart health. The pickling process preserves these compounds while adding negligible calories. A 2-tablespoon serving contains roughly 10–15 calories, 0 grams of fat, and a small amount of natural sugar from the brine. The vinegar in the brine supports healthy digestion and may help regulate blood sugar levels after meals. Unlike raw onions, the pickled version is gentler on the stomach—the acid breaks down the compounds that cause the strong “onion breath” and digestive discomfort. Additionally, because you control the salt content, you can easily reduce sodium compared to store-bought versions.
Tips Variations & Cooking Advice
Flavor Twists:
– Mexican-style: Add sliced jalapeño and a pinch of ground cumin to the brine.
– Asian-inspired: Replace apple cider vinegar with seasoned rice vinegar and add a star anise pod.
– Herb-forward: Tuck in fresh thyme sprigs or a bay leaf during the heating process.
Dietary Adaptations:
– Low-sugar: Use a sugar substitute like erythritol or skip the sweetener entirely for a sharper finish.
– Extra crunch: Soak the sliced onions in ice water for 10 minutes before pickling. This firms up the cell walls.
– Quickest version: Skip heating the brine entirely—just whisk vinegar, water, salt, and sugar until dissolved, then pour over onions. They will need 2–4 hours in the fridge to soften.
Serving Ideas:
These pickled onions shine on tacos, grain bowls, grilled cheese sandwiches, avocado toast, pulled pork, hot dogs, or simply scattered over leafy greens with a vinaigrette.
Common Mistakes to Avoid
1. Using a reactive metal bowl or container: Aluminum, copper, or unlined cast iron will react with the vinegar and create a metallic taste. Always use glass, ceramic, or stainless steel for both mixing and storing.
2. Skipping the salt or sugar adjustment: Salt is not just for flavor—it helps preserve the onions and maintains their crunch. Sugar balances the acid. Omitting either results in a flat, unpleasantly sour brine.
3. Overcrowding the jar: If you pack the slices too tightly, the hot brine cannot circulate, leaving some onions under-pickled. Leave enough room for the liquid to flow freely.
4. Pouring scalding brine directly onto thin glass jars: If your jar is very thin (like a reused jam jar), let the brine cool for 30 seconds before pouring to prevent thermal shock and potential cracking.
5. Not fully submerging the onions: Any onion exposed to air will oxidize, turn brown, and spoil faster. Weigh them down with a smaller jar filled with water if needed.
Storage & Meal Prep Tips
Store your pickled red onions in the refrigerator in an airtight glass jar. They will maintain peak quality for 2–3 weeks. After that, the texture softens gradually. To maximize shelf life:
– Always use a clean, dry spoon to remove onions from the jar—never eat directly from the container.
– Keep the onions fully submerged in the brine. If the level drops, they may dry out.
– Freezing is not recommended—the thawed onions lose their crunch and become watery.
– For meal prep, portion the onions into small jars so you only open what you need each week.
Reheating note: These are typically served cold or at room temperature. If you want them warm for a dish, remove the desired amount and microwave briefly (10–15 seconds) in a separate bowl. Do not microwave the entire jar, as heat degrades the vinegar’s acidity.
Conclusion
Adding a jar of Pickled Red Onions to your refrigerator is one of the easiest upgrades you can make to your home cooking. The entire process takes less time than boiling pasta, yet the payoff in flavor, texture, and visual appeal is remarkable. Whether you use the classic sweet and tangy pickling brine or experiment with spices and herbs, you will find yourself reaching for these bright pink rings daily. Try this recipe this week—taste the onions after one hour, then again after 24 hours, and notice how the flavors deepen. Share your results in the comments below, and do not forget to explore our other quick-pickled vegetable guides for more pantry-revolutionizing ideas.
FAQs
1. Can I use white vinegar instead of apple cider vinegar?
Yes. White vinegar creates a sharper, more traditional pickle flavor. Reduce the vinegar to ¾ cup and increase water to ¾ cup to maintain the right acidity level, as white vinegar is stronger than apple cider vinegar.
2. My pickled onions turned out bitter. What went wrong?
Bitterness usually comes from over-extraction of the onion’s sulfur compounds. This happens if you boiled the brine for too long or let the onions sit in hot brine for more than 30 minutes before refrigerating. Next time, use a gentle simmer and cool the jar quickly.
3. How can I make the onions spicier?
Add ½ teaspoon of red pepper flakes or one sliced habanero pepper to the jar along with the onions. For a smoky heat, use chipotle powder or a few drops of liquid smoke in the brine.
4. Do I need to sterilize the jar beforehand?
For short-term refrigerator pickling (up to 3 weeks), a clean jar washed in hot soapy water and thoroughly rinsed is sufficient. Sterilization is only required for shelf-stable canning, which is not recommended for this recipe due to the low vinegar ratio.
5. The onions turned brown instead of pink. Is this normal?
Browning usually indicates oxidation from exposure to air or using older onions. Ensure all slices are fully submerged. If you used a white onion instead of red, it will not turn pink. Adding a slice of raw beet to the jar can boost the pink color naturally.
Best way to grow your own Pickled Red Onions in just 5 days
Ingredients
Equipment
Method
- Thinly slice the red onions using a mandoline or a sharp knife.
- Pack the sliced onions into a clean, heat-proof Mason jar.
- In a saucepan, combine apple cider vinegar, water, sugar, salt, peppercorns, and sliced garlic cloves.
- Bring the mixture to a boil, then immediately remove from heat.
- Carefully pour the hot brine over the onions in the Mason jar, ensuring they are fully submerged.
- Seal the jar and let it cool to room temperature.
- Once cooled, refrigerate for at least 30 minutes before serving, though they are best after 24 hours and will keep for up to 2-3 weeks.