The Ultimate Guide to Perfectly Fluffy Biscuits: From Scratch to Table
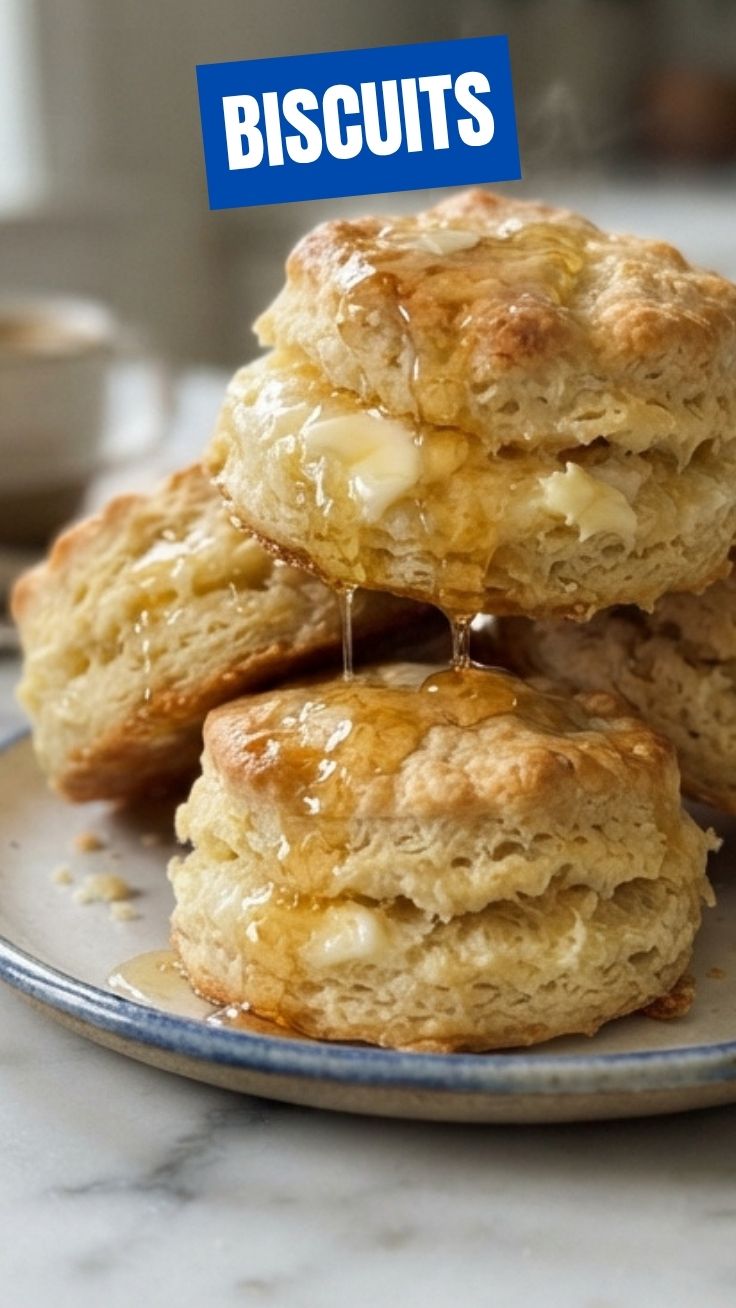
Have you ever wondered why homemade Biscuits always taste better than store-bought versions, yet seem so intimidating to make? The secret lies in understanding a few simple techniques that transform humble ingredients into golden, buttery, flaky masterpieces. Preparing these at home not only saves money but also allows you to control the quality of every ingredient, ensuring a fresher, more rewarding baking experience. Whether you’re a novice or a seasoned baker, mastering the art of biscuits is a valuable skill that opens the door to countless savory and sweet creations, from breakfast sandwiches to dessert shortcakes. Let’s dive into the science and soul of making biscuits that will impress everyone at your table.
Ingredients & Kitchen Tools
Ingredients (Makes 8-10 biscuits)
– 2 cups all-purpose flour – For best results, use unbleached flour; it has slightly more protein for structure.
– 1 tablespoon baking powder – Ensure it’s fresh (check expiration date) for proper rise.
– 1 teaspoon salt – Fine sea salt dissolves evenly; kosher salt may require an extra pinch.
– 1/2 teaspoon baking soda – Helps browning and lift when using buttermilk.
– 1/4 cup cold unsalted butter – Cut into small cubes; cold butter creates steam pockets for flakiness.
– 3/4 cup cold buttermilk – Full-fat works best; substitute with regular milk + 1 tablespoon lemon juice.
– 1 tablespoon honey (optional) – Adds subtle sweetness and helps browning.
Kitchen Tools
– Pastry cutter or two forks – For cutting butter into flour without warming it.
– Baking sheet – Light-colored metal prevents over-browning on the bottom.
– 2-inch round cutter – A sharp metal cutter seals edges better than a glass.
– Parchment paper – Prevents sticking and promotes even heat distribution.
Optional Substitutions
– Gluten-free: Use a 1:1 gluten-free baking flour blend with xanthan gum.
– Vegan: Substitute butter with cold vegan butter sticks and buttermilk with plant milk + 1 tablespoon apple cider vinegar.
Prep Time & Cooking Schedule
– Prep time: 15 minutes – Includes measuring, cutting butter, and mixing.
– Resting time: 10 minutes – Allows gluten to relax and baking powder to activate.
– Cook time: 12–15 minutes – Bake until golden brown and risen.
– Cooling time: 5 minutes – Rest on baking sheet before serving.
> Planning tip: If serving for breakfast, mix the dry ingredients the night before and refrigerate. In the morning, simply cut in butter, add buttermilk, and bake. Total active time: under 20 minutes.
Step-by-Step Instructions
1. Preheat oven to 425°F (220°C) with rack in the middle. Line a baking sheet with parchment paper.
2. Whisk dry ingredients: In a large bowl, combine flour, baking powder, salt, and baking soda. This ensures even distribution of leavening agents.
3. Cut in butter: Add cold butter cubes to flour mixture. Using a pastry cutter or two forks, cut butter into pea-sized pieces. Key cue: You should see visible butter flecks through the dough – this creates flaky layers.
4. Add buttermilk: Make a well, pour in cold buttermilk and honey (if using). Stir gently with a fork until a shaggy dough forms – avoid overmixing.
5. Turn and fold: Dump dough onto a lightly floured surface. Gently pat into a 1/2-inch thick rectangle, fold into thirds, then pat again. Repeat 3–4 times for layers.
6. Cut biscuits: Roll dough to 3/4-inch thickness. Press cutter straight down (no twisting) to seal edges. Place biscuits 1 inch apart on prepared sheet.
7. Bake: For extra-golden tops, brush with melted butter or buttermilk. Bake 12–15 minutes until deep golden brown. Temperature control: Rotate pan halfway through for even browning.
8. Cool: Transfer to a wire rack for 5 minutes. Serve warm.
> Pro tip: For Chocolate biscuits variation, fold in 1/3 cup mini chocolate chips and 1 tablespoon cocoa powder into dry ingredients before adding buttermilk. This creates the perfect chocolate biscuits for dessert or sweet breakfast.
Nutritional Benefits & Advantages
– Good source of calcium (from buttermilk and butter) – supports bone health.
– Provides sustained energy from complex carbohydrates (when using whole wheat pastry flour).
– Lower in preservatives compared to canned biscuits – homemade versions have zero artificial additives.
– Customizable for dietary needs – can be adapted for low-fat, vegan, or gluten-free diets.
Per biscuit (average): 180 calories, 6g fat, 26g carbs, 4g protein, 1g fiber. Pair with protein-rich fillings for balanced meals.
Tips, Variations & Cooking Advice
– Flavor variations: Add 1 teaspoon garlic powder + 1/4 cup shredded cheddar for savory bites; or 1 tablespoon sugar and cinnamon for sweet scones.
– Alternative cooking methods: Drop biscuits (no rolling) – just spoon dough onto sheet for rustic look. Or try air fryer biscuits at 380°F for 8–10 minutes.
– Ingredient swaps: Use sour cream or Greek yogurt instead of buttermilk for tangier flavor.
– Gluten-free version: Use a blend of 1.5 cups all-purpose GF flour + 1/2 cup almond flour for moisture.
– Dairy-free: Substitute butter with coconut oil (solid, cold) and buttermilk with cashew milk + lemon juice.
Common Mistakes to Avoid
– Overmixing dough: Results in tough, dense biscuits. Mix until just combined – 20 seconds max.
– Using warm butter: Melts into flour before baking, preventing steam formation. Keep butter in freezer 10 minutes before cutting.
– Twisting the cutter: Seals edges, preventing biscuit from rising evenly. Press straight down and lift.
– Skipping folding: This creates layers; flat biscuits often result from neglecting the fold-and-pat step.
– Overloading with flour: Too much flour makes dry biscuits. Use a light dusting only on the work surface.
Storage & Meal Prep Tips
– Room temperature: Store in airtight container for up to 2 days. Refresh in 300°F oven for 5 minutes.
– Refrigeration: Layer between paper towels in sealed container – stays fresh 5–7 days.
– Freezing: Freeze unbaked cut biscuits on a sheet, then transfer to freezer bag. Bake directly from frozen, adding 3–5 minutes. Best for meal prep: Make batches and freeze uncooked.
– Reheating: For soft biscuits, microwave 15–20 seconds. For crispy edges, use a toaster oven at 350°F for 4–5 minutes.
Conclusion
Homemade biscuits are a testament to how simple ingredients can create something truly extraordinary when technique meets passion. By mastering cold butter, gentleness in mixing, and proper folding, you now have the foundation for endless variations, from classic buttermilk to decadent Chocolate biscuits filled with rich cocoa flavor. Whether you serve them smothered in gravy, layered with jam, or as a side for soups, these fluffy rounds of joy will become a staple in your kitchen. The next time you crave that golden, buttery warmth, you can whip up a batch in under 30 minutes. So preheat your oven, dust off that cutter, and experience the magic of baking your own biscuits from scratch. Share your results with us in the comments – we’d love to see your golden creations!
Frequently Asked Questions
1. Why did my biscuits turn out flat and hard?
Flat biscuits often result from overmixing, which develops too much gluten. Also, ensure your butter is very cold (refrigerate 15 minutes before cutting) and your baking powder is fresh.
2. Can I use self-rising flour instead?
Yes! Substitute self-rising flour for all-purpose flour and omit baking powder, salt, and baking soda. Add 1/4 cup butter and 3/4 cup buttermilk for a quick version.
3. How do I make biscuits without buttermilk?
Mix 1 cup milk with 1 tablespoon lemon juice or white vinegar. Let sit 5 minutes before using. Alternatively, use plain yogurt thinned with milk.
4. Can I freeze baked biscuits?
Absolutely. Wrap cooled biscuits individually in plastic wrap, place in freezer bag, and freeze up to 3 months. Reheat directly from frozen in 350°F oven for 8 minutes.
5. What’s the best way to get tall, layered biscuits?
Use a sharp biscuit cutter and press straight down without twisting. Also, fold the dough 4–5 times to create distinct layers before cutting. Cold butter is non-negotiable for maximum rise.
6. How do I prevent biscuits from browning too fast?
If tops brown but centers remain raw, lower oven to 400°F and extend bake time by 5 minutes. Alternatively, place a foil tent loosely over biscuits halfway through baking.
How to grow Perfect Biscuits in 5 Minutes
Ingredients
Equipment
Method
- Preheat your oven to 450°F (230°C) and lightly grease a baking sheet.
- In a large bowl, whisk together the flour, baking powder, sugar, and salt.
- Cut in the cold butter pieces using a pastry blender or your fingertips until the mixture resembles coarse crumbs.
- Gradually add the milk, stirring until a soft dough forms. Avoid overmixing.
- Turn the dough out onto a lightly floured surface and knead gently a few times. Roll or pat the dough to about 1/2-inch thickness.
- Cut out biscuits using a biscuit cutter or a floured glass and place them on the prepared baking sheet.
- Bake for 8-12 minutes, or until golden brown on top.
- Serve warm with your favorite toppings like butter, jam, or gravy.