Perfectly Brined Turkey: The Ultimate Guide to a Moist, Flavorful Holiday Centerpiece
Have you ever carved into a turkey only to find dry, flavorless meat? The secret to a show-stopping holiday bird lies in one simple technique: brining. Preparing a Brined Turkey at home transforms an ordinary roast into a succulent, juicy masterpiece that will have your guests asking for seconds. Not only does brining guarantee moisture, but it also infuses the meat with deep, aromatic flavors that penetrate every bite. In this guide, we will explore Brined Turkey preparation in detail, combining scientific precision with practical Wet Brining techniques to ensure your centerpiece is perfect. Let’s dive into the art of brining and discover why this classic method is invaluable for home cooks.
—
Ingredients & Kitchen Tools
For the Brine:
– 1 cup kosher salt (use coarse salt; table salt is too fine and may over-salt)
– ½ cup brown sugar (adds subtle sweetness and aids browning)
– 1 gallon cold water (plus extra for ice)
– 2 tablespoons black peppercorns
– 4 cloves garlic, smashed
– Fresh herbs: 4 sprigs rosemary, 6 sprigs thyme, 3 bay leaves
– Optional: 1 cinnamon stick, 1 tablespoon allspice berries, or 1 sliced orange for citrus notes
For the Turkey:
– 1 whole turkey (12-14 lbs) – fresh or fully thawed if frozen
– 2 tablespoons unsalted butter, softened (for under the skin)
– Salt and pepper (for final seasoning, after brining)
– 1 onion, quartered (for cavity stuffing)
– 2 celery stalks, roughly chopped (adds moisture and flavor)
Kitchen Tools:
– Large stockpot or brining bag (food-grade bucket or a turkey-size oven bag)
– Brining container (must fit turkey and brine completely)
– Heavy-duty roasting pan with rack
– Meat thermometer (instant-read is ideal)
– Chef’s knife and cutting board
– Kitchen twine (optional for trussing)
Substitution Notes: Swap brown sugar for honey or maple syrup. Use sea salt instead of kosher (but reduce to ¾ cup). For a low-sodium option, halve the salt and brine for 8 hours instead of 12-24.
—
Prep Time & Cooking Schedule
– Brining Time: 12-24 hours (refrigerated; minimum 8 hours for smaller birds)
– Post-Brine Rinse & Rest: 1 hour (to air-dry skin)
– Oven Preheat: 30 minutes at 325°F
– Cooking Time: Approximately 13 minutes per pound at 325°F (e.g., 14 lb turkey = ~3 hours)
– Resting Time: 30-45 minutes before carving
Planning Tip: Start brining the day before serving. A 24-hour brine yields the best moisture retention and flavor penetration. If using frozen turkey, allow 3-4 days to thaw in the refrigerator before brining.
—
Step-by-Step Instructions
Step 1: Prepare the Brine
In a large pot, combine 1 gallon water, salt, brown sugar, peppercorns, and garlic. Bring to a simmer, stirring until salt and sugar dissolve. Remove from heat. Add fresh herbs and any optional aromatics. Let cool completely, then add 2 cups ice cubes to expedite cooling. The brine must be cold before adding the turkey to prevent bacterial growth.
Step 2: Brine the Turkey
Remove giblets and neck from turkey cavity. Rinse the bird inside and out with cold water. Place turkey in your brining container (bag or pot). Pour cooled brine over the turkey, ensuring it’s fully submerged. If using a bag, squeeze out excess air and seal. Refrigerate for 12-24 hours. Important: Do not exceed 24 hours, as the meat can become overly salty or mushy.
Step 3: Rinse and Dry
After brining, remove turkey and discard brine. Rinse the bird thoroughly under cold water for 2-3 minutes to remove surface salt. Pat dry inside and out with paper towels. Place on a wire rack set over a baking sheet, uncovered, and refrigerate for 1 hour to dry the skin (this promotes crispy skin during roasting).
Step 4: Prepare for Roasting
Preheat oven to 325°F. Rub softened butter under the skin of the breasts and legs. Season the skin lightly with black pepper (skip salt—the brine provides enough). Stuff cavity with onion and celery. Tuck wing tips under the body and tie legs with kitchen twine if desired.
Step 5: Roast the Turkey
Place turkey breast-side up on a rack in a roasting pan. Roast at 325°F until the thickest part of the thigh registers 165°F (breast should reach 160°F, then carryover cooking brings it to 165°F). Key Tip: Tent the breast with foil if browning too quickly. Baste every 30 minutes with pan drippings for extra moisture.
Step 6: Rest and Carve
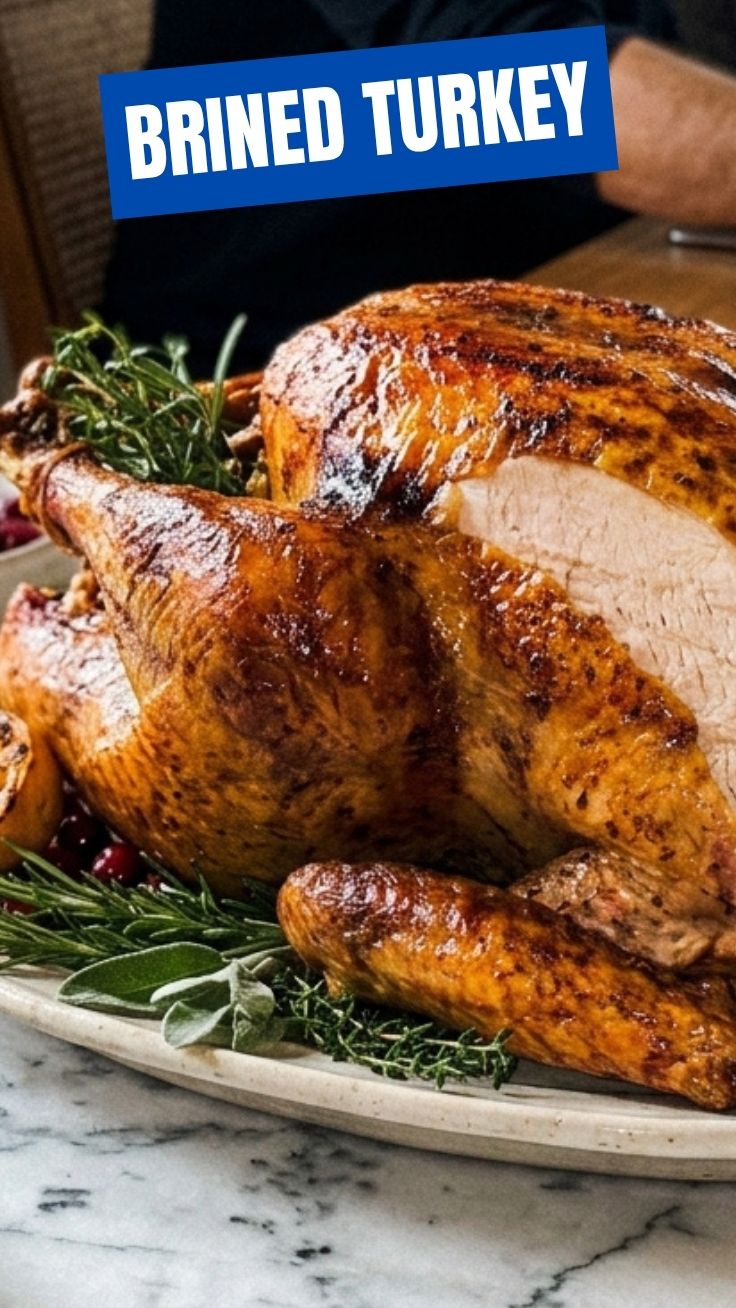
Let turkey rest uncovered for 30-45 minutes. This allows juices to redistribute, ensuring every slice of your Brined Turkey stays juicy. During resting, the Wet Brining process continues to work, keeping meat tender. Carve as desired.
—
Nutritional Benefits & Advantages
Brining does more than flavor—it also impacts nutritional quality. Brined Turkey retains higher moisture content, which can reduce the need for added fats during cooking. One serving (3 oz roasted breast) provides:
– 25g protein (lean muscle support)
– Low saturated fat (especially when skin is removed)
– B vitamins (B6 and B12 for energy metabolism)
– Selenium and zinc (immune function)
Advantage: Wet brining without sugar (using salt only) reduces calorie density while maintaining juiciness. The process also helps break down proteins, making meat easier to digest.
—
Tips Variations & Cooking Advice
– Flavor Variations: Add 1 cup apple cider or 2 tablespoons soy sauce to the brine for umami depth.
– Dietary Adaptations: For a gluten-free version, ensure all spices are certified gluten-free. For dairy-free, use olive oil instead of butter under the skin.
– Alternative Cooking: Instead of roasting, spatchcock the brined turkey (flatten it) for faster, more even cooking at 400°F for 60-75 minutes.
– Portion Changes: For a smaller bird (8-10 lbs), reduce brining time to 8-12 hours and roast at 350°F for 12 minutes per pound.
—
Common Mistakes to Avoid
– Over-brining: Leaving turkey in brine longer than 24 hours leads to overly salty, mushy meat. Set a timer.
– Skipping the rinse: Unrinsed turkey tastes like salt lick. Always rinse thoroughly.
– Not drying the skin: Wet skin = soggy texture. The air-drying step is non-negotiable for crispy skin.
– Cooking with stuffing: Brined turkey cooks faster, so stuffing inside the cavity may not reach safe temperature. Bake stuffing separately.
– Ignoring thermometer: Guessing doneness leads to overcooking. Always use a meat thermometer.
—
Storage & Meal Prep Tips
– Refrigeration: Store leftover turkey in airtight containers for up to 4 days. Keep meat moist by adding a splash of broth before reheating.
– Freezing: Turkey freezes well for up to 3 months. Wrap tightly in plastic wrap then foil to prevent freezer burn.
– Reheating: To maintain texture, reheat gently in a 300°F oven with a little broth, covered, for 10-15 minutes. Avoid microwaving, which dries meat.
– Meal Prep: Shred leftover Brined Turkey for soups, sandwiches, or salads. The enhanced moisture from Wet Brining ensures leftovers taste fresh even on day three.
—
Conclusion
Mastering Brined Turkey is a game-changer for holiday meals and special occasions. By combining the moisture-locking power of Wet Brining with proper roasting techniques, you guarantee a tender, flavorful bird that impresses every time. Remember: brining is about patience and precision—the reward is a centerpiece that’s both beautiful and delicious. Try this method for your next gathering and share your results—your guests will thank you! For more turkey tips and roasted perfection, explore our collection of holiday recipes.
—
FAQs
Q1: Can I brine a frozen turkey?
A: No—thaw the turkey completely in the refrigerator first. Brining a partially frozen bird leads to uneven salt absorption and food safety risks.
Q2: What if I don’t have kosher salt?
A: Use table salt but reduce to ¾ cup—it dissolves faster and is saltier by volume.
Q3: Why is my turkey still dry after brining?
A: Overcooking is usually the culprit. Brining adds moisture but cannot compensate for cooking past 165°F. Use a thermometer and remove at 160°F (breast) for carryover cooking.
Q4: Can I add sugar to the brine for a sweet flavor?
A: Absolutely! Brown sugar, honey, or maple syrup add sweetness and promote caramelization. Just reduce by half if using a wet brine to avoid stickiness.
Q5: How long can I store leftover turkey?
A: Refrigerate within 2 hours of cooking. Eat within 4 days, or freeze for up to 3 months. Reheat gently to preserve texture.
Best way to grow a 12 lb Brined Turkey
Ingredients
Equipment
Method
- In a large stockpot, combine 1 gallon of water, kosher salt, brown sugar, bay leaves, and peppercorns; bring to a boil, stirring until salt and sugar dissolve, then remove from heat.
- Add the remaining 1 gallon of cold water to cool the brine, then add the orange halves and rosemary sprigs.
- Once the brine is completely cool, submerge the turkey in the brine, ensuring it is fully covered; if needed, use a plate to keep the turkey submerged, then refrigerate for 12-24 hours.
- Preheat your oven to 325°F (160°C) and remove the turkey from the brine, patting it completely dry with paper towels.
- Place the turkey on a roasting rack in a pan and roast for approximately 2.5 to 3 hours, or until a meat thermometer inserted into the thickest part of the thigh reads 165°F (74°C).
- Allow the turkey to rest for at least 20-30 minutes before carving to ensure the juices redistribute, resulting in a more tender and flavorful turkey.