Here is a comprehensive, SEO-optimized blog post that follows your exact structure and keyword strategy.
—
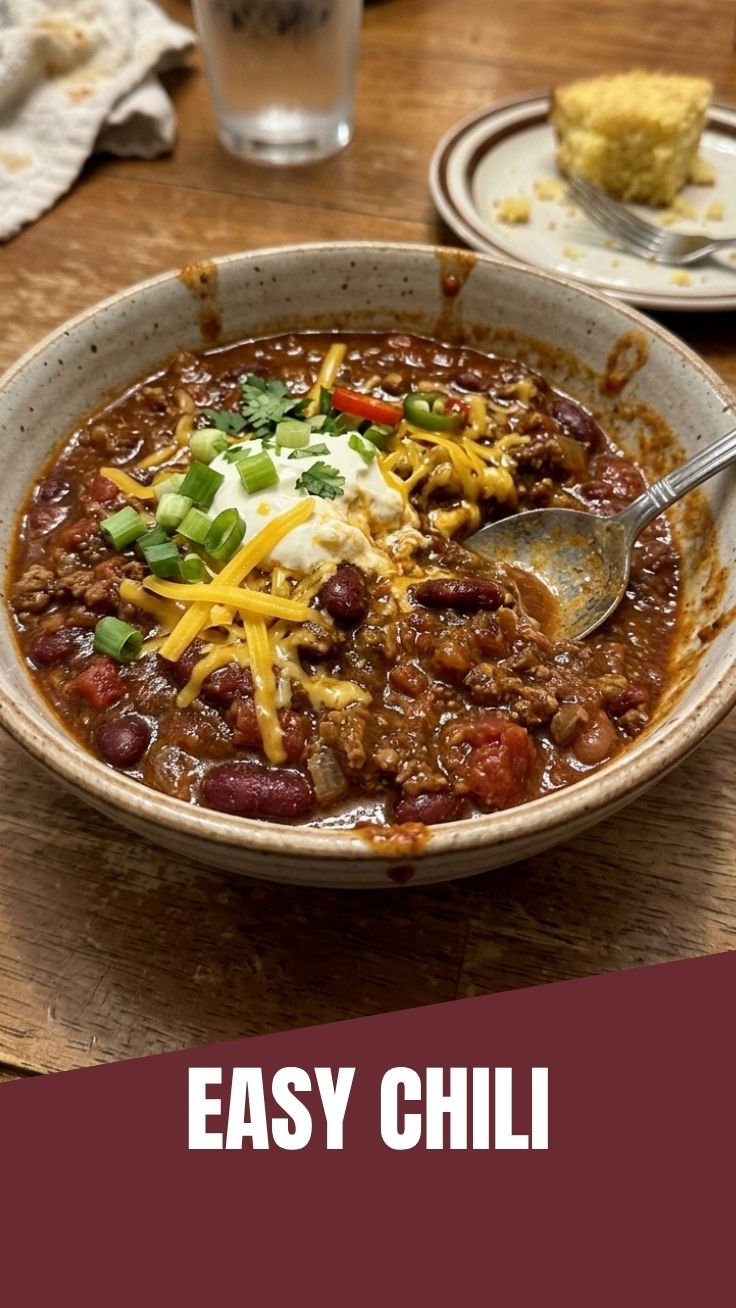
Have you ever opened a can of store-bought chili and wondered why the flavor feels more like metallic regret than a warm Texas hug? You are not alone. The difference between a flat, mass-produced meal and a bowl of deeply layered, slow-simmered comfort is simple: Texas Beef Chili. Preparing this iconic dish at home is more than just cooking; it is an act of reclaiming bold flavor, controlling your ingredients, and creating a meal that fills your house with an irresistible aroma. Mastering this homemade chili recipe gives you a versatile staple for game days, family dinners, or meal prep that actually tastes better the next day.
Ingredients & Kitchen Tools
For the Chili Base:
– 2 lbs Beef Chuck (or Brisket): Cut into ½-inch cubes. Do not use ground beef for a true Texas-style texture; the chuck renders fat and stays tender.
– 4 dried Ancho Chiles: These provide a smoky, raisin-like sweetness without overpowering heat.
– 2 dried Guajillo Chiles: Adds a tangy, bright heat.
– 1 large Yellow Onion: Finely diced for the aromatic base.
– 6 cloves Garlic: Smashed and minced.
– 1 (14.5 oz) can Fire-Roasted Diced Tomatoes: Adds acidity and charred depth.
– 2 cups Beef Broth: Low-sodium preferred to control salt levels.
Dry Spices & Thickener:
– 2 tbsp Cumin (toasted & ground): The backbone of the flavor.
– 1 tbsp Smoked Paprika: Not sweet paprika; this adds the campfire note.
– 1 tbsp Oregano (Mexican variety preferred).
– Salt & Black Pepper: To taste.
– 1 tbsp Masa Harina (corn flour): Mixed with water to create a slurry for thickening.
Kitchen Tools:
– Heavy-bottomed Dutch Oven (5.5 qt or larger): Essential for even heat distribution.
– Sharp Chef’s Knife & Cutting Board.
– Slotted Spoon: For browning meat.
– Fine Mesh Strainer: To strain the rehydrated chiles.
– Immersion Blender (optional): For blending the chile paste.
– Wooden Spoon: For scraping the fond (browned bits) from the pot.
Prep Time & Cooking Schedule
– Prep Time: 30 minutes (dicing meat, toasting/rehydrating chiles, chopping aromatics).
– Cook Time: 2.5 – 3 hours (low and slow is mandatory).
– Resting Time: 1 hour (off heat, lid on). This allows the flavors to marry. Do not skip this.
– Total Time: 4 hours.
Planning Tip: Start at 3 PM if you want to eat by 7 PM. This dish thrives on a lazy afternoon. The active cooking is only about 45 minutes; the rest is gentle bubbling.
Step-by-Step Instructions
1. Toast and Rehydrate the Chiles: Stem and seed the dried chiles. Toast them flat in a dry skillet over medium heat for 30 seconds per side until fragrant. Place them in a bowl, cover with boiling water, and let soak for 20 minutes.
2. Blend the Chile Paste: Transfer the softened chiles and 1 cup of the soaking liquid to a blender. (Reserve the remaining liquid). Make a smooth puree. Strain this through a mesh sieve to remove any tough skin bits. This is your flavor bomb.
3. Sear the Meat: Pat the cubed beef completely dry. Season generously with salt and pepper. Heat a tablespoon of oil in the Dutch oven until shimmering. Sear the beef in two batches (do not crowd the pot). Get a deep, dark brown crust on all sides. Remove the beef and set aside.
4. Sweat the Aromatics: Lower the heat to medium. Add the onion and a pinch of salt. Cook until translucent (5 minutes). Add the garlic, cumin, and smoked paprika. Stir for 30 seconds until fragrant.
5. Deglaze and Build the Stew: Pour the strained Texas Beef Chili paste into the pot. Stir for 2 minutes to cook out the raw flavor. Add the fire-roasted tomatoes, scraping up the brown bits from the bottom (the fond). Return the seared beef to the pot.
6. Simmer Low and Slow: Pour in the beef broth (and ½ cup of the reserved chile soaking liquid for extra depth). Bring to a gentle boil, then immediately reduce to a bare simmer (low heat, tiny bubbles).
7. Thicken and Finish: Simmer uncovered for 2.5 hours, stirring every 30 minutes. When the meat is fork-tender, whisk the Masa Harina with 3 tablespoons of cold water to form a slurry. Stir into the chili. Let it simmer for 10 more minutes until thickened. A great homemade chili recipe relies on patience here; the flavors deepen as the liquid reduces.
Nutritional Benefits & Advantages
While chili is comfort food, it packs a significant nutritional punch when made from scratch. The beef chuck provides high-quality protein and iron, crucial for muscle repair and energy levels. The dried chiles (Ancho and Guajillo) are rich in Vitamin A and antioxidants, which support immune health and reduce inflammation. Furthermore, this dish is naturally low in carbohydrates (keto-friendly without the beans) and contains zero added sugars or preservatives, unlike canned versions. A single serving provides a hefty dose of fiber from the chiles and tomatoes, promoting gut health.
Tips, Variations & Cooking Advice
– Smokier Flavor: Add 1 chipotle pepper in adobo sauce (minced) along with the chile paste for a smoky, spicy kick.
– Beer Swap: Replace 1 cup of beef broth with a dark beer (like Shiner Bock or Negra Modelo) for a malty depth.
– Dairy-Free & Gluten-Free: This recipe is naturally dairy-free and gluten-free. Ensure your beef broth is certified gluten-free.
– Pressure Cooker Method: If short on time, use a pressure cooker. Follow steps 1-5, then cook on high pressure for 30 minutes. Natural release for 15 minutes, then thicken with Masa slurry.
– Bean Adaptation: Purists will object, but if you must add beans, stir in canned pinto or kidney beans (rinsed) during the last 20 minutes of simmering.
Common Mistakes to Avoid
– Skipping the Fond: Not browning the meat enough results in a gray, watery chili. You need a deep crust on the beef. Do not move the meat for the first 45 seconds of searing.
– Boiling the Chili: A vigorous boil will toughen the beef and evaporate the liquid unevenly. Maintain a gentle shimmer, not a rolling boil.
– Under-Salting the Meat: Salt the beef before searing. If you add all the salt at the end, the meat will taste bland.
– Adding Spices Too Late: Toasting cumin and paprika in the fat (Step 4) is essential. Adding them later with the liquid makes them taste raw.
Storage & Meal Prep Tips
This chili is a meal prep champion.
– Refrigeration: Store in an airtight container for up to 4 days. The flavor actually improves after 24 hours.
– Freezing: Place cooled chili in zip-top freezer bags (lay flat for storage) or rigid containers. It freezes well for up to 3 months.
– Reheating: Thaw in the fridge overnight. Reheat in a pot over medium-low heat, adding a splash of water or broth if the chili seems too thick. Avoid microwaving at high power as it can make the meat tough.
– Portioning: For single servings, freeze in 1-cup silicone molds or ice cube trays, then pop them into a freezer bag.
Conclusion
Making a great bowl of chili is not about following a single rule; it is about building layers of flavor through patience and proper technique. From toasting the chiles to the final Masa slurry, every step contributes to a deeply satisfying meal that transforms simple ingredients into something extraordinary. This Texas Beef Chili delivers robust, authentic flavor that is surprisingly simple to achieve at home. Whether you are feeding a crowd or stocking your freezer, this homemade chili recipe is a reliable keeper. Give it a try this weekend and taste the difference that scratch cooking makes.
FAQ’s
1. Can I use ground beef instead of chuck?
Yes, but the texture will be different. If using ground beef (80/20), brown it in batches and drain excess fat. You will lose the satisfying “chunks” of tender meat, but the flavor will still be excellent.
2. My chili tastes bitter. What went wrong?
Bitterness usually comes from burnt chiles or garlic. When toasting chiles, watch them carefully—they burn in seconds. Also, ensure you removed all the seeds and white ribs, as these can add bitterness.
3. How do I make it spicier without changing the flavor?
Add a teaspoon of cayenne pepper with the other dry spices, or stir in ½ teaspoon of crushed red pepper flakes during the last hour of cooking. Avoid adding hot sauce early, as it can turn metallic.
4. Why is my chili watery?
You either did not simmer it long enough (you need at least 2.5 hours uncovered), or you did not use the Masa Harina slurry. The Masa is critical for that thick, velvety texture.
5. Can I make this in a slow cooker?
Absolutely. Complete Steps 1-5, then transfer everything to the slow cooker. Cook on LOW for 6-8 hours or HIGH for 4 hours. Stir in the Masa slurry during the last 30 minutes of cooking.
Proven way to grow Chili, the best 7 secrets
Ingredients
Equipment
Method
- Start chili seeds indoors 8-12 weeks before the last frost date, placing them in small pots with seed starting mix.
- Maintain a consistent soil temperature of 75-85°F (24-29°C) and provide 14-16 hours of light daily, using grow lights if natural light is insufficient.
- Once seedlings develop a few true leaves, transplant them into larger pots or directly into the garden after hardening them off.
- Ensure the plants receive at least 6-8 hours of direct sunlight daily and water them deeply when the top inch of soil feels dry.
- Feed your chili plants with a balanced fertilizer during early growth, then switch to a high-potassium formula once flowering begins.
- Regularly inspect your plants for pests; use insecticidal soap or neem oil for organic control when necessary.
- Harvest chilies when they reach their mature color and desired size, typically 60-90 days after transplanting, by clipping them from the plant with secateurs.