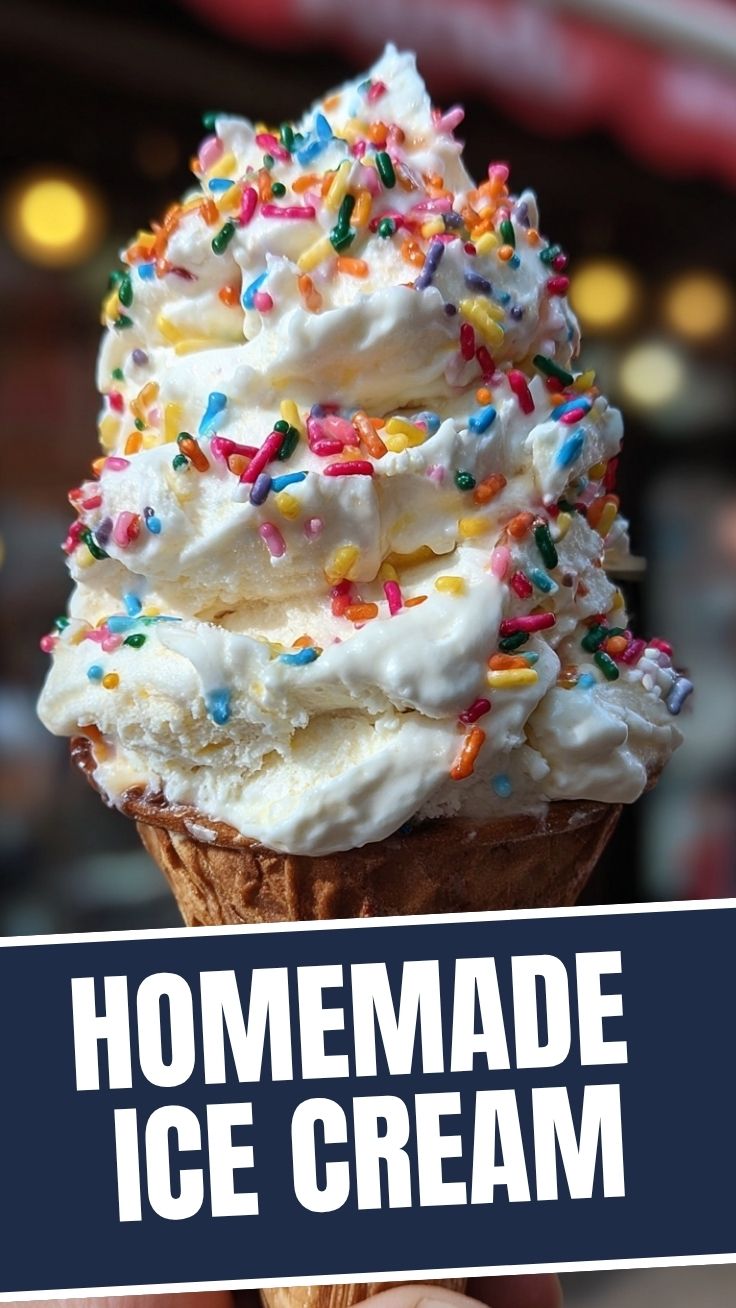
The Ultimate No-Churn Ice Cream: Creamy, Easy, and Ready in Minutes
Have you ever craved a scoop of silky, homemade ice cream but felt defeated by the thought of churning, ice crystals, and complicated custards? What if I told you that you can create the most decadent, creamy treat without any special equipment, using just a few pantry staples? This No-Churn Ice Cream method revolutionizes the way you think about frozen desserts. By mastering simple techniques, you unlock a world of flavor and save time. This guide will walk you through the process, proving that Easy Ice Cream Recipes are truly within reach for every home cook. Preparing this at home is valuable because you control the ingredients, avoid artificial stabilizers, and can customize flavors to your exact preference. Let’s dive into the science of no-churn perfection.
Ingredients & Kitchen Tools
For this basic vanilla base, you will need:
– 2 cups (480 ml) heavy whipping cream (35% fat): This provides the structure and air. Do not substitute with light cream as the fat content is crucial for preventing ice crystals.
– 1 can (14 oz / 397g) sweetened condensed milk: The secret weapon for creaminess. It inhibits crystal formation and provides sweetness without needing a hot sugar syrup.
– 2 teaspoons pure vanilla extract: For flavor depth. Adjust based on your chosen flavor profile.
– Pinch of fine sea salt: Balances sweetness and enhances flavor.
Kitchen Tools:
– Large mixing bowl: Preferably metal or glass, chilled in the freezer for 10 minutes beforehand.
– Electric hand mixer or stand mixer: Essential for whipping the cream to stiff peaks.
– Rubber spatula: For folding.
– 9×5 inch loaf pan or airtight container: For freezing.
– Plastic wrap or parchment paper: To create an airtight seal on the surface.
Optional Substitutions:
– Dairy-Free: Use full-fat coconut cream (chilled overnight) and a coconut-based condensed milk substitute.
– Lower Sugar: Use a sugar-free condensed milk alternative, but note texture may be slightly softer.
Prep Time & Cooking Schedule
Total active time is approximately 15 minutes. You then need a minimum of 6 hours of freezing time, though overnight is highly recommended for a firmer scoop.
Schedule Tip: Start this in the evening to enjoy it the next afternoon. Because there is no churning or ice bath, the schedule is incredibly forgiving and fits perfectly into a busy weekday.
Step-by-Step Instructions
1. Whip the Cream: Place your chilled bowl and beaters (or whisk attachment) in the freezer for 10 minutes. Pour in the heavy cream and pinch of salt. Beat on medium-high speed until stiff peaks form. You want the cream to hold its shape firmly when you lift the beaters. Be careful not to overwhip into butter, which will cause a grainy texture.
2. Combine the Base: In a separate bowl, whisk together the sweetened condensed milk and vanilla extract until smooth. This is your flavor foundation for this No-Churn Ice Cream base.
3. Fold Gently: Take one large scoop of the whipped cream and stir it into the condensed milk mixture. This loosens the batter. Then, pour the milk mixture over the remaining whipped cream. Using a rubber spatula, fold from the bottom up, turning the bowl, until just combined. Over-folding will deflate the air cells, resulting in a dense, icy product. You want a smooth, mousse-like consistency.
4. Freeze: Pour the mixture into your loaf pan or container. Press a piece of plastic wrap directly onto the surface of the ice cream. This prevents freezer burn and absorbing other odors. Seal the container with a lid. For the absolute smoothest texture, these Easy Ice Cream Recipes rely on this airtight step.
5. Wait: Place in the freezer for a minimum of 6 hours, but ideally 12 hours. The longer it rests, the more the flavors meld and the structure sets perfectly.
Nutritional Benefits & Advantages
One of the primary advantages of making ice cream at home is the ability to control sugar and fat content. Using heavy cream provides beneficial saturated fats that promote satiety. The condensed milk offers a lower water content than traditional custards, leading to better texture and flavor density. Furthermore, by making it yourself, you eliminate high-fructose corn syrup, artificial emulsifiers like carrageenan, and unnatural stabilizers. You can add fresh fruit, real dark chocolate, or nuts for added fiber and antioxidants.
Tips Variations & Cooking Advice
– Flavor Variations:
– Chocolate: Sift 1/2 cup unsweetened cocoa powder into the condensed milk before mixing.
– Strawberry: Puree 1 cup of fresh strawberries and swirl into the base before freezing.
– Coffee: Steep espresso beans in the cream for an hour before whipping.
– Texture Adjustment: If you want a softer, scoopable texture right from the freezer, add 1-2 tablespoons of vodka or bourbon to the base. The alcohol does not freeze, keeping the texture pliable.
– Dietary Adaptation: To make a gluten-free version, ensure your vanilla extract and any mix-ins (like cookies) are certified gluten-free. This is naturally gluten-free as written.
Common Mistakes to Avoid
1. Not chilling the bowl: A warm bowl prevents the cream from whipping properly. Always start cold.
2. Using low-fat cream: The lack of fat creates massive ice crystals. Stick to 35% or higher.
3. Over-folding: Treat the mixture like a delicate mousse. Deflated air means a dense, brick-like result.
4. Forgetting the plastic wrap: A layer of ice crystals forming on the top ruins the creamy texture. Always press plastic wrap onto the surface.
5. Freezing too quickly: A stable deep freeze is best, but opening the door repeatedly can cause temperature fluctuations that create graininess.
Storage & Meal Prep Tips
This ice cream stores exceptionally well for up to 3 weeks in the freezer. Keep it in the back of the freezer (not the door) where the temperature is most stable. To serve after long storage, let it sit on the counter for 5-10 minutes to soften slightly. For meal prep, you can scoop the ice cream into individual silicone cups before freezing for grab-and-go portions. Avoid refreezing melted ice cream as this will destroy the texture completely.
Conclusion
Mastering this no-churn method essentially gives you a blank canvas for frozen desserts. By understanding the simple science of whipped cream stabilizing the base, you can create a superior product to anything in a grocery store carton. Whether you are making a classic vanilla or experimenting with bold mix-ins, this No-Churn Ice Cream technique guarantees a rich, creamy result. It proves that Easy Ice Cream Recipes are not just for professionals, but for anyone with a freezer and a whisk. I encourage you to try this today and share your custom flavor combos in the comments below.
FAQs
1. Can I use half-and-half or milk instead of heavy cream?
Technically, no. The low fat content in half-and-half will not hold enough air, and the high water content will result in a solid block of ice, not creamy ice cream.
2. Why did my ice cream turn out icy?
This is usually caused by one of three things: the cream was not whipped enough (no air structure), the mixture was over-folded (air deflated), or it was not covered tightly enough (freezer burn). Ensure you reach stiff peaks and use a plastic wrap barrier.
3. How long can I store homemade ice cream?
For optimal texture and flavor, consume within 2-3 weeks. After that, it may become overly icy, though it will still be safe to eat.
4. Can I make this without a mixer?
Yes, but it is labor-intensive. You can whip the cream by hand with a whisk and a very cold bowl. It will take about 5-7 minutes of vigorous whisking to reach stiff peaks.
5. Why did my ice cream taste greasy or buttery?
This means you accidentally over-whipped your cream into butter. If you see the cream separate and look curdled, you have gone too far. Throw it out and start with fresh cream.
Quick way to grow your No-Churn Ice Cream in 3 flavors
Ingredients
Equipment
Method
- If making the strawberry variation, combine diced strawberries, sugar, and lemon juice in a small bowl. Gently mash with a fork and set aside to macerate while you prepare the ice cream base.
- In a large mixing bowl, beat the cold heavy cream on medium-high speed until it forms stiff peaks, about 3-5 minutes, being careful not to overbeat.
- Pour the cold sweetened condensed milk and vanilla extract into the whipped cream, then gently fold them together with a spatula until just combined, being careful not to deflate the whipped cream.
- Divide the prepared ice cream base evenly into three separate bowls for flavoring.
- To one bowl, add the chocolate syrup and chocolate chips, then gently fold until just combined to create a chocolate ice cream base.
- To the second bowl, gently fold in the macerated strawberries and their juices until swirled throughout the base.
- To the third bowl, add the vanilla bean paste (or scraped vanilla bean seeds) and white chocolate chips (if using), then gently fold until evenly distributed.
- Transfer each flavored ice cream mixture into its own freezer-safe container and cover tightly with lids or plastic wrap, pressing the plastic wrap directly onto the surface to prevent ice crystals.
- Place the containers in the freezer and freeze for at least 6 hours, or preferably overnight, until firm.
- Once firm, scoop and serve your delicious homemade no-churn ice cream in three amazing flavors!