Unleash Your Inner Baker: Crafting the Perfect Homemade Focaccia Bread
Ever wondered if you could recreate that irresistible, golden-crusted a href=”https://homecookedrecipe.com/italian-grinder-chicken-2/” target=”_blank”>\Focaccia Bread you crave from your favorite bakery, right in your own kitchen? The answer is a resounding yes! There’s an undeniable joy and satisfaction that comes from pulling a warm, aromatic loaf of homemade bread from the oven, especially when it’s as glorious as focaccia. Beyond the incredible taste, baking your own focaccia offers complete control over ingredients, allowing you to tailor it to your preferences and dietary needs. Forget preservatives and artificial flavors – just pure, unadulterated deliciousness. This guide will walk you through every step to master the art of \Artisan Focaccia, transforming your kitchen into an Italian bakery.
—
Ingredients & Kitchen Tools
Crafting the perfect focaccia requires a handful of simple ingredients and basic kitchen tools. This minimalist approach ensures the natural flavors of the bread truly shine.
- All-Purpose Flour (4 cups): The backbone of our focaccia. Provides structure and chewiness.
- Warm Water (1 ¾ cups): Essential for activating the yeast. Should be between 105-115°F (40-46°C).
- Active Dry Yeast (2 teaspoons): The leavening agent that gives focaccia its characteristic airy texture.
- Granulated Sugar (1 teaspoon): Feeds the yeast, helping it activate faster.
- Fine Sea Salt (2 teaspoons for dough + ½ teaspoon for topping): Enhances flavor and controls yeast activity.
- Extra Virgin Olive Oil (¼ cup for dough + 2-3 tablespoons for pan/topping): Imparts a rich, fruity flavor and creates a crispy crust. Use good quality olive oil for best results.
- Flaky Sea Salt (1-2 teaspoons for topping, optional): Adds a beautiful finish and textural contrast.
- Rosemary Sprigs (2-3, optional): Fresh herbs infuse a delightful aroma and taste.
- Baking Sheet (9×13 inch or similar): For baking the focaccia. A dark non-stick pan works well.
- Large Mixing Bowl: For combining ingredients and initial proofing.
- Whisk or Fork: For mixing.
- Plastic Wrap or Clean Kitchen Towel: For covering the dough during proofing.
- Measuring Cups and Spoons: For accurate ingredient measurement.
- Pastry Brush (optional): For spreading olive oil evenly.
—
Prep Time & Cooking Schedule
This recipe prioritizes flavor development and proper proofing, so planning ahead is key.
- Active Prep Time: 20 minutes
- First Proofing Time: 1-1.5 hours
- Second Proofing Time: 30-45 minutes
- Baking Time: 20-25 minutes
- Cooling Time: 15-20 minutes
Total Time: Approximately 2.5 – 3 hours. The beauty of this recipe is that a significant portion of the time is hands-off, allowing you to focus on other tasks while the dough works its magic.
—
Step-by-Step Instructions
Embark on your baking journey with these detailed steps, ensuring a perfect, airy, and delicious \Focaccia Bread every time.
1. Activate the Yeast: In a large mixing bowl, combine the warm water, sugar, and active dry yeast. Give it a gentle stir and let it sit for 5-10 minutes. You’ll see a foamy layer form on top – this indicates your yeast is alive and ready to work!
2. Combine Wet and Dry: Add ¼ cup of olive oil and 2 teaspoons of fine sea salt to the yeast mixture. Gradually add the all-purpose flour, mixing with a wooden spoon or your hands until a shaggy, somewhat sticky dough forms. Don’t worry about it being perfectly smooth at this stage.
3. Knead the Dough: Turn the dough out onto a lightly floured surface. Knead for 8-10 minutes until the dough becomes smooth, elastic, and less sticky. The windowpane test (stretching a small piece of dough until it’s thin enough to see light through without tearing) is a good indicator of proper development.
4. First Proofing: Lightly oil the large mixing bowl. Place the kneaded dough in the bowl, turning it once to coat with oil. Cover the bowl with plastic wrap or a clean kitchen towel and let it rise in a warm spot for 1 to 1.5 hours, or until doubled in size.
5. Prepare the Baking Pan: Drizzle 2-3 tablespoons of olive oil generously into your 9×13 inch baking sheet. Ensure the entire bottom and sides of the pan are coated.
6. Second Proofing and Dimpling: Gently transfer the proofed dough to the oiled baking pan. Use your fingertips to gently press and stretch the dough to fill the pan, creating those characteristic dimples. If the dough resists, let it rest for 10 minutes, then continue pressing. Cover the pan loosely with plastic wrap or a clean towel and let it proof for another 30-45 minutes. This second rise is crucial for developing the airy texture of \Artisan Focaccia.
7. Preheat and Top: While the dough is on its second rise, preheat your oven to 425°F (220°C). Once the dough has proofed, drizzle a little more olive oil over the top. Sprinkle with ½ teaspoon of fine sea salt (or flaky sea salt) and stud with fresh rosemary sprigs, if using.
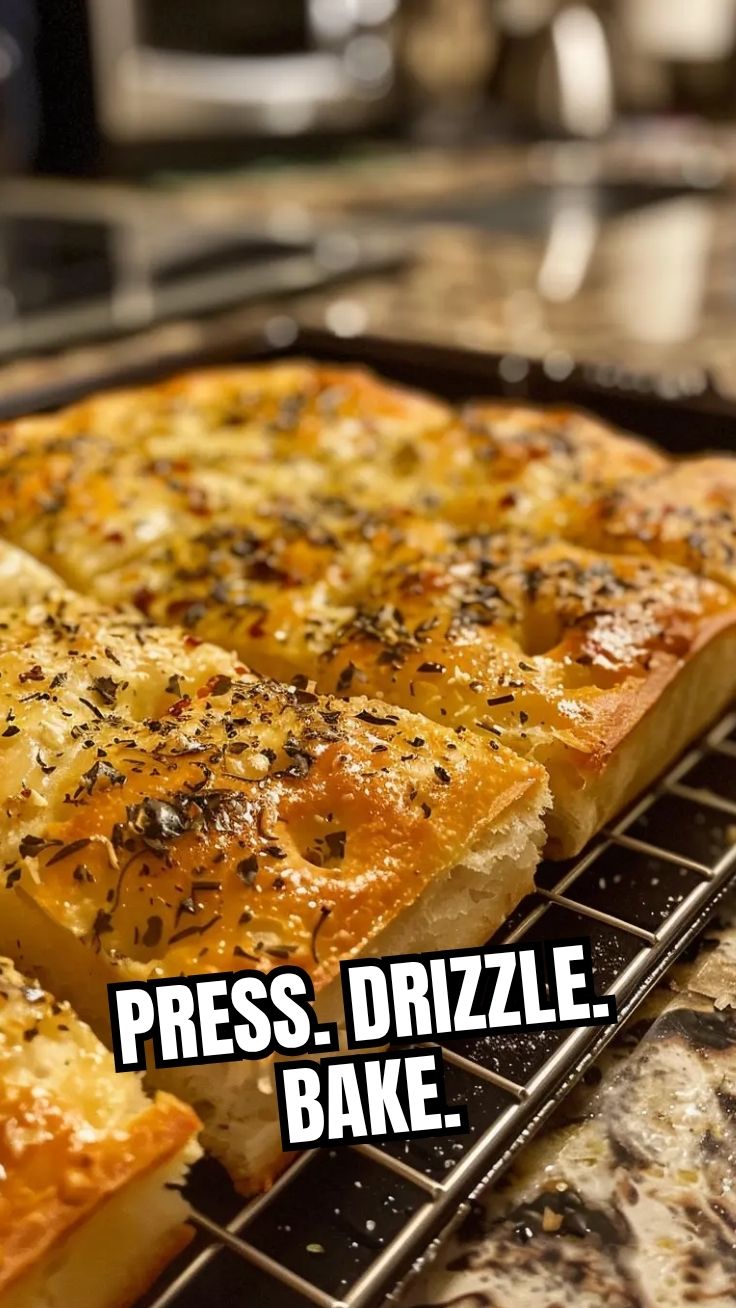
8. Bake: Bake for 20-25 minutes, or until the focaccia is golden brown on top and sounds hollow when tapped on the bottom.
9. Cool: Carefully remove the focaccia from the pan (it should slide out easily) and transfer it to a wire rack to cool for at least 15-20 minutes before slicing and serving. This allows the internal structure to set.
—
Nutritional Benefits & Advantages
Beyond its incredible taste, homemade focaccia offers several nutritional advantages. Made primarily from flour, water, yeast, and olive oil, it can be a good source of carbohydrates for energy. Using extra virgin olive oil provides healthy monounsaturated fats, known for their heart-protective properties. When fresh herbs like rosemary are added, you also gain access to their antioxidant and anti-inflammatory benefits. Furthermore, controlling the salt content allows for a healthier alternative to many store-bought breads.
—
Tips, Variations & Cooking Advice
- Flavor Variations: Get creative! Consider adding sun-dried tomatoes, olives, caramelized onions, roasted garlic, or even a sprinkle of parmesan cheese before baking.
- Gluten-Free: While this recipe uses wheat flour, you can experiment with gluten-free all-purpose flour blends (often with xanthan gum) for a similar result, though the texture might be slightly different.
- Overnight Proofing: For deeper flavor, after step 4, place the covered bowl in the refrigerator for 8-24 hours. Bring to room temperature for about an hour before proceeding to step 5.
- High-Hydration Dough: Don’t be afraid of sticky dough! Focaccia is typically a high-hydration dough, which contributes to its airy crumb. Resist the urge to add too much extra flour during kneading.
- Crispy Bottom: For an extra crispy bottom, consider placing a pizza stone or baking steel in your oven during preheating and carefully transfer the focaccia pan onto it for baking.
—
Common Mistakes to Avoid
- Under-proofing: Rushing the proofing stages will result in dense, heavy focaccia without the signature airy texture. Be patient!
- Over-kneading: While focaccia needs good gluten development, over-kneading can make the dough tough. Stop when it’s smooth and elastic.
- Not Enough Olive Oil: Don’t skimp on the olive oil in the pan or on top. It’s crucial for flavor, texture, and preventing sticking.
- Oven Temperature Too Low: A hot oven is essential for a good crust and rise. Ensure your oven is fully preheated to 425°F (220°C).
- Cutting Too Soon: Like all breads, focaccia needs time to cool before slicing. Cutting it while hot can lead to a gummy texture.
—
Storage & Meal Prep Tips
Leftover focaccia can be stored at room temperature in an airtight container or bread bag for 2-3 days. For longer storage, wrap individual slices tightly in plastic wrap and then aluminum foil, and freeze for up to 2 months. To reheat, simply place frozen slices directly into a preheated oven at 350°F (175°C) for 5-10 minutes, or toast lightly in a toaster oven until warmed through and crispy. It’s wonderful served with soups, as a sandwich bread, or simply dipped in good olive oil and balsamic vinegar.
—
Conclusion
There you have it – a comprehensive guide to baking your own exquisite \Focaccia Bread from scratch. This recipe demonstrates that creating bakery-quality bread at home is entirely achievable with a little patience and care. The reward is a delightfully airy, richly flavored loaf that will impress everyone. So, roll up your sleeves, embrace the process, and get ready to enjoy the unparalleled taste and texture of homemade \Artisan Focaccia. Don’t be shy – share your baking successes and any creative variations you discover in the comments below!
—
FAQs
- Q: Can I use instant yeast instead of active dry yeast?
A: Yes, you can. Instant yeast can generally be mixed directly with the dry ingredients. If substituting, use the same amount or slightly less as it’s more potent.
- Q: Why is my focaccia dense?
A: A dense focaccia is often a sign of under-proofing. Ensure your yeast is active and allow enough time for the dough to double in size during both proofing stages. Also, avoid adding too much extra flour during kneading.
- Q: How do I get those perfect dimples?
A: Use your fingertips to gently, but firmly, press into the dough to create indentations. Drizzle with olive oil before dimpling, as this helps prevent the dough from sticking to your fingers and enhances the crispness.
- Q: What are some good toppings for focaccia?
A: Beyond rosemary and flaky sea salt, popular choices include cherry tomatoes, thinly sliced red onion, olives, sun-dried tomatoes, caramelized onions, or even a sprinkle of parmesan cheese.
- Q: Can I prepare the dough in advance?
A: Absolutely! After the first proofing (step 4), you can place the covered dough in the refrigerator overnight (8-24 hours). This slow fermentation actually develops a richer flavor. Just be sure to bring it back to room temperature for about an hour before proceeding with step 5.
Proven way to grow perfect Focaccia Bread
Ingredients
Equipment
Method
- In a large bowl, dissolve yeast in warm water and let it sit for 5-10 minutes until foamy, indicating the yeast is active.
- Stir in the flour and salt until a shaggy dough forms, then add 1/4 cup of olive oil and mix until just combined.
- Cover the bowl and let the dough rise at room temperature for 1 hour, or until doubled in size.
- Refrigerate the dough for 12-24 hours; the longer it chills, the more flavor it will develop.
- Remove the dough from the refrigerator and let it sit at room temperature for 1-2 hours.
- Drizzle a 9x13 inch baking pan with olive oil, then transfer the dough to the pan, turning to coat both sides.
- Stretch the dough gently to fill the pan, or let it rest for 15 minutes and repeat stretching until it fills the pan.
- Cover and let rise for another 1-2 hours until puffy.
- Preheat oven to 425°F (220°C), dimple the dough with oiled fingertips, then drizzle with more olive oil and sprinkle with rosemary and sea salt.
- Bake for 20-25 minutes until golden brown, then cool on a wire rack before serving.