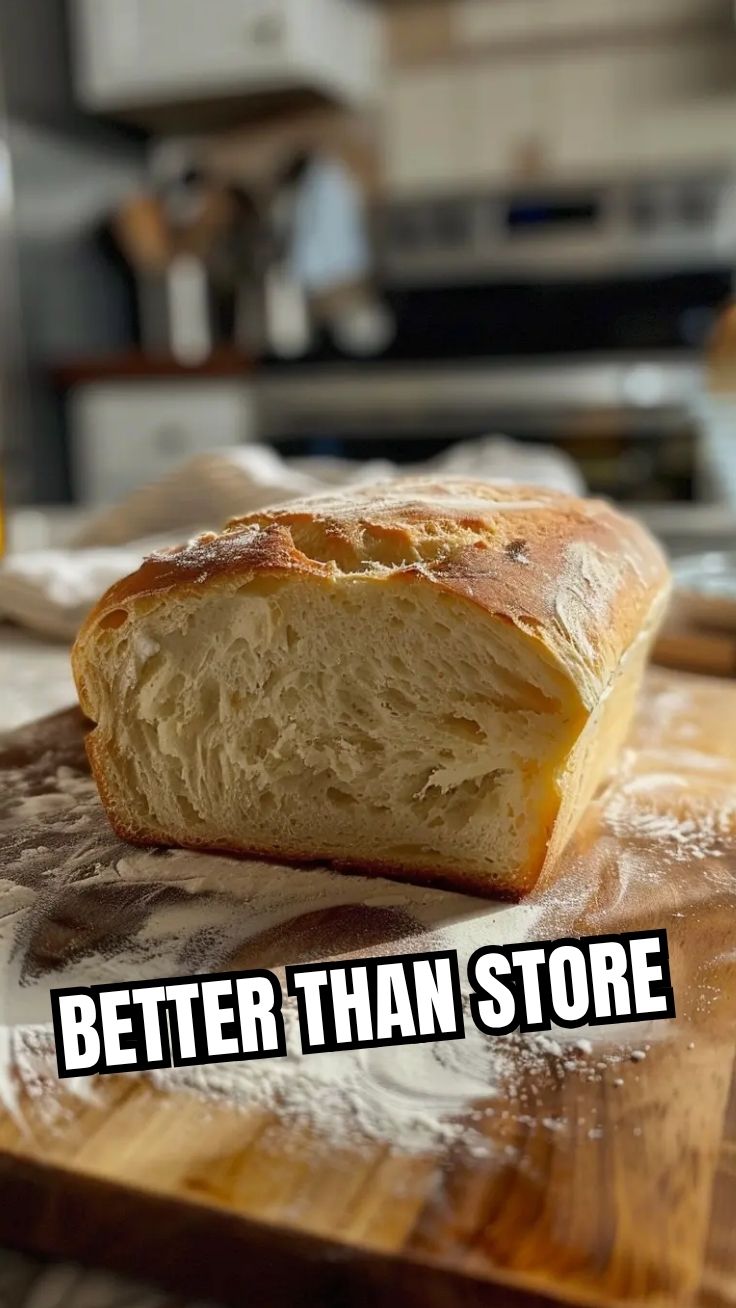
Say Goodbye to Store-Bought: Your Guide to the Perfect Homemade White Bread
Ever wondered if you could master the art of baking a fluffy, golden loaf of white bread right in your own kitchen? The answer is a resounding yes! There’s an unparalleled satisfaction that comes with slicing into a warm, fragrant loaf you’ve crafted yourself. Beyond the delightful aroma and superior taste, preparing Homemade White Bread at home offers complete control over ingredients, allowing you to avoid unnecessary additives and preservatives often found in commercial loaves. Embracing this culinary journey will not only elevate your baking prowess but also provide your family with a wholesome and delicious staple. This comprehensive guide will walk you through every step to create an utterly irresistible loaf, demystifying the process of baking an Easy White Bread Recipe.
Ingredients & Kitchen Tools
Crafting the perfect loaf requires just a few basic ingredients and tools. Here’s what you’ll need:
- All-Purpose Flour (6 cups): The backbone of your bread. Ensure it’s fresh for optimal rise.
- Active Dry Yeast (2 ¼ teaspoons or 1 packet): The leavening agent that makes your bread rise. Check the expiration date!
- Granulated Sugar (2 tablespoons): Feeds the yeast and adds a touch of sweetness, helping with browning.
- Salt (2 teaspoons): Enhances flavor and regulates yeast activity.
- Warm Water (2 ½ cups, about 105-115°F/40-46°C): Activates the yeast. Too hot will kill it, too cold won’t activate it.
- Unsalted Butter (3 tablespoons, melted): Adds richness, tenderness, and flavor.
- Large Mixing Bowl: For combining ingredients.
- Measuring Cups and Spoons: For accurate ingredient portions.
- Whisk: To combine dry ingredients.
- Dough Scraper (optional but recommended): Helps handle sticky dough.
- Clean Kitchen Towel or Plastic Wrap: For covering dough during proofing.
- 9×5 inch Loaf Pans (2): The ideal size for standard bread loaves.
- Wire Cooling Rack: Essential for cooling bread evenly and preventing sogginess.
Prep Time & Cooking Schedule
Here’s a breakdown to help you plan your baking day:
- Prep Time: 20 minutes (includes mixing and initial kneading)
- First Rise (Proofing): 1-1.5 hours
- Shaping & Second Rise: 30-45 minutes
- Bake Time: 30-35 minutes
- Cooling Time: 1-2 hours (essential for proper texture)
Allow ample time for the dough to rise. Patience is truly a virtue when it comes to baking delicious yeast bread.
Step-by-Step Instructions
Follow these clear directions to bake your best Homemade White Bread:
1. Activate the Yeast: In your large mixing bowl, combine the warm water, sugar, and yeast. Stir gently and let it sit for 5-10 minutes until foamy. This indicates the yeast is active and ready to work its magic.
2. Combine Wet and Dry: Stir in the melted butter and salt into the yeast mixture. Gradually add the flour, one cup at a time, mixing with a spoon or your hands until a shaggy dough forms.
3. Knead the Dough: Turn the dough out onto a lightly floured surface. Knead for 8-10 minutes until it becomes smooth, elastic, and no longer sticky. If using a stand mixer with a dough hook, knead on medium speed for about 6-8 minutes. This develops the gluten, providing structure to your loaf of Easy White Bread Recipe.
4. First Rise (Bulk Fermentation): Lightly grease your large mixing bowl. Place the dough in the bowl, turning once to coat. Cover with a clean kitchen towel or plastic wrap and place in a warm, draft-free spot. Let it rise until doubled in size, about 1 to 1.5 hours.
5. Punch Down & Shape: Gently punch down the risen dough to release air. Divide it into two equal portions. On a lightly floured surface, flatten each portion into a rectangle. Roll up tightly from one of the longer sides, pinching the seam closed. Tuck in the ends.
6. Second Rise (Proofing in Pan): Place each shaped loaf seam-side down into greased 9×5 inch loaf pans. Cover again and let rise in a warm place for another 30-45 minutes, or until nearly doubled.
7. Preheat Oven & Bake: While the dough is on its second rise, preheat your oven to 375°F (190°C). Bake for 30-35 minutes, or until the tops are golden brown and the internal temperature reaches 200-210°F (93-99°C).
8. Cool Completely: Immediately remove the loaves from the pans and place them on a wire cooling rack. Allow them to cool completely before slicing (at least an hour, preferably two). Slicing warm bread can lead to a gummy texture.
Nutritional Benefits & Advantages
Baking your own white bread, especially compared to some store-bought varieties, offers several advantages. You control the amount of sugar and fat, and you avoid the common preservatives and dough conditioners. While white bread is often considered less nutrient-dense than whole wheat, it still provides a good source of carbohydrates for energy. Many commercially produced flours are enriched with iron and B vitamins (niacin, riboflavin, thiamine, and folic acid), which contribute to healthy metabolism and red blood cell production.
Tips, Variations & Cooking Advice
- Enriched Dough: For an even softer, richer loaf, replace some of the water with milk or add an egg to the dough.
- Herbs & Spices: Introduce dried herbs like rosemary or dried garlic powder for savory bread.
- Sweet Bread: Add a handful of raisins or chocolate chips for a sweet treat.
- Gluten-Free: Use a high-quality gluten-free bread flour blend, often requiring different liquid ratios and sometimes psyllium husk powder for structure.
- Dairy-Free: Use plant-based milk and butter alternatives.
- Oven Spring: For extra rise, place a pan of hot water on the bottom rack of your oven during the first 10-15 minutes of baking.
Common Mistakes to Avoid
- Inactive Yeast: Always check your yeast! If it doesn’t foam, it’s dead, and your bread won’t rise.
- Incorrect Water Temperature: Water that’s too hot will kill the yeast; too cold won’t activate it. Use a thermometer.
- Not Kneading Enough: Under-kneaded dough will result in dense, crumbly bread. Knead until smooth and elastic.
- Over-flouring: Adding too much flour during kneading can lead to dry, tough bread. Use just enough to prevent sticking.
- Not Letting it Cool: Slicing warm bread traps steam, making it gummy and affecting its texture. Be patient!
Storage & Meal Prep Tips
Once your loaves are completely cool, store them in an airtight container or bread bag at room temperature for up to 3-4 days. For longer storage, slice the cooled bread and freeze it in a freezer-safe bag for up to 3 months. To reheat, simply toast slices directly from frozen or thaw at room temperature. Freezing in slices is particularly convenient for quick toast or sandwiches.
Conclusion
Baking your own Homemade White Bread is a fulfilling and rewarding experience that yields a product far superior to anything you’ll find in a grocery store. This detailed guide has provided you with all the knowledge and techniques to create a perfect loaf every time, making an Easy White Bread Recipe a joyful addition to your baking repertoire. Don’t be intimidated; embrace the process, trust your senses, and soon you’ll be enjoying the irresistible aroma and taste of freshly baked bread. We encourage you to try this recipe and share your baking triumphs in the comments below!
FAQs
Q1: My dough isn’t rising; what went wrong?
A1: The most common culprit is inactive yeast or water that was too hot or too cold. Ensure your yeast is fresh and your water temperature is between 105-115°F (40-46°C).
Q2: Can I use bread flour instead of all-purpose flour?
A2: Yes, bread flour has a higher protein content, which can result in a chewier bread texture and potentially a slightly higher rise. Adjust liquid slightly if the dough feels too stiff.
Q3: How do I know when the bread is fully baked?
A3: The crust should be golden brown, and when tapped on the bottom, it should sound hollow. For precise results, an internal thermometer inserted into the center of the loaf should read between 200-210°F (93-99°C).
Q4: Why is my bread dense and heavy?
A4: This can be due to not kneading enough to develop gluten, over-flouring the dough, or not allowing sufficient time for the dough to rise in both stages.
Q5: Can I make this dough ahead of time?
A5: Yes, after the first rise, you can gently punch down the dough, place it in a greased bowl, cover tightly with plastic wrap, and refrigerate for up to 24 hours. When ready to bake, let it come to room temperature for about 30-60 minutes before shaping and proceeding with the second rise.
How to grow 3 Homemade White Bread loavesHomemade White Bread
Ingredients
Equipment
Method
- In a large bowl, dissolve the yeast in warm water and let it stand for 5 minutes until it becomes foamy.
- Stir in the sugar, salt, and vegetable oil until well combined.
- Gradually add 3 cups of flour, mixing well after each addition.
- Add the remaining flour, ½ cup at a time, until the dough forms a ball.
- Turn the dough onto a lightly floured surface and knead it for 6-8 minutes until smooth and elastic.
- Lightly oil a large bowl, place the dough in it, and turn once to coat.
- Cover the bowl with plastic wrap or a damp cloth and let it rise in a warm place for 1-1.5 hours, or until doubled in size.
- Once risen, punch down the dough and divide it into three equal portions.
- Shape each portion into a loaf and place them into three lightly greased 9x5 inch loaf pans.
- Cover the pans and let the loaves rise for another 30-45 minutes, or until doubled in size.
- Preheat your oven to 375°F (190°C).
- Bake for 25-30 minutes, or until the tops are golden brown and the loaves sound hollow when tapped.
- Remove the loaves from the pans and let them cool on a wire rack before slicing and serving.