Unlock the Magic of Hatch Green Chile Beef Enchiladas: A Home Cook’s Guide
Have you ever bitten into an enchilada that tasted flat—like it was missing that smoky, earthy kick only a true chile can deliver? That’s the power of Hatch Green Chile. These celebrated peppers from New Mexico bring a unique balance of heat and sweetness that transforms ordinary dishes into something unforgettable. Making beef enchiladas at home not only saves you money but also lets you control every layer of flavor. Whether you’re exploring Green Chile Recipes for the first time or you’re a seasoned chile lover, this recipe will show you how to build authentic, restaurant‑quality enchiladas in your own kitchen.
—
Ingredients & Kitchen Tools
For the enchiladas:
– 2 lbs beef chuck or brisket – Tender, slow‑cooked meat shreds beautifully. Substitute: ground beef for quicker prep.
– 4 large Hatch green chiles (fresh or roasted/frozen) – The star ingredient. Substitute: canned Hatch chiles if fresh are out of season.
– 1 medium onion, diced – Adds savory depth. Substitute: shallots or leeks.
– 3 cloves garlic, minced – Essential aroma.
– 1 tsp ground cumin – Warms the palate.
– ½ tsp dried oregano – Mexican oregano preferred.
– Salt and black pepper – To taste.
– 2 tbsp vegetable oil – For sautéing.
– 2 cups beef broth – Keeps meat moist.
– 12 corn tortillas – Authentic texture. Substitute: flour tortillas for a softer bite.
– 2 cups shredded cheese – Cheddar, Monterey Jack, or a blend. For dairy‑free: use vegan shreds.
– 1 batch green chile enchilada sauce (see variations) – Or use 2 cups store‑bought.
Kitchen Tools:
– Large skillet or Dutch oven
– Slow cooker or pressure cooker (optional, for tender beef)
– Small saucepan (for sauce)
– 9×13 baking dish
– Tongs, spoon, and knife
– Cutting board
– Oven mitts
Optional substitutions: Gluten‑free? Use corn tortillas (naturally GF). Dairy‑free? Omit cheese or use vegan options.
—
Prep Time & Cooking Schedule
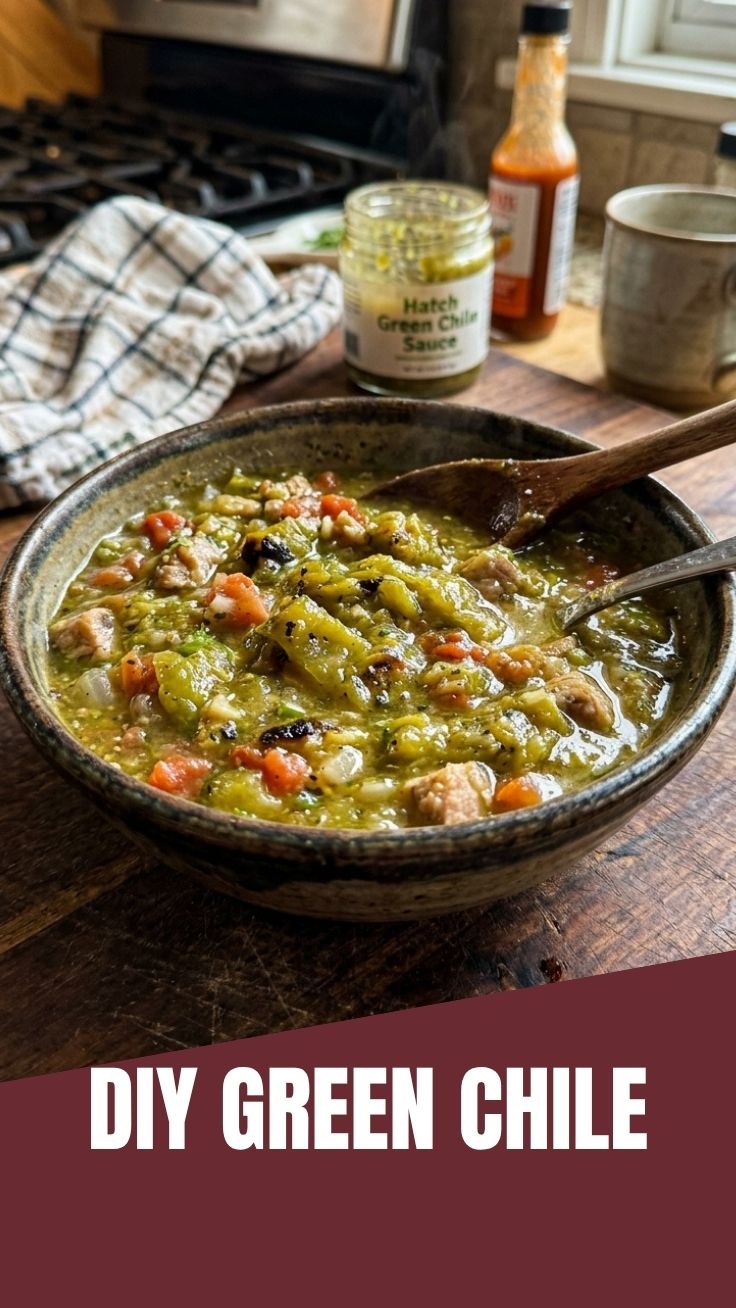
– Prep time: 20 minutes (roast chiles, dice onion, mince garlic)
– Cooking time: 1½–2 hours (slow‑simmered beef + assembly + baking)
– Resting time: 5 minutes after baking (for flavors to meld)
– Total: about 2½ hours
Plan ahead: The beef can be cooked a day in advance. Store shredded meat in its juices, then assemble enchiladas the next day for even deeper flavor.
—
Step-by-Step Instructions
1. Roast and prepare the chiles – Place Hatch Green Chile peppers under a broiler or directly on a gas flame, turning until skins blacken. Transfer to a bowl, cover with plastic wrap, and steam 10 minutes. Peel, seed, and chop. Tip: This step adds smoky depth that canned chiles can’t match.
2. Cook the beef – In a large skillet, heat oil over medium‑high. Brown beef pieces on all sides (about 3 minutes per side). Add onion, garlic, cumin, oregano, and the chopped chiles. Pour in broth, bring to a boil, then reduce heat. Simmer covered for 1½ hours until fork‑tender. Alternative: Use a pressure cooker for 45 minutes.
3. Shred the meat – Remove beef, let cool slightly, then shred with two forks. Return to the pot and stir in ½ cup of the cooking liquid. Season with salt and pepper. Texture cue: The meat should be moist, not soupy.
4. Prepare the enchilada sauce – While beef simmers, make a quick sauce: In a small saucepan, sauté 2 tbsp flour in 2 tbsp oil for 1 minute. Whisk in 2 cups chicken broth, 3 tbsp red or green chile powder, and ¼ tsp garlic powder. Simmer 10 minutes until thickened. For a true Hatch‑forward taste, use ½ cup of the roasted chiles in the sauce.
5. Assemble enchiladas – Preheat oven to 375°F. Warm tortillas briefly (20 seconds each) in a dry skillet. Fill each with about ¼ cup shredded beef and a sprinkle of cheese. Roll tightly and place seam‑side down in a greased 9×13 dish. Pro tip: Don’t overstuff, or tortillas break.
6. Bake – Pour enchilada sauce over rolled tortillas. Sprinkle remaining cheese on top. Bake 20 minutes until bubbly and cheese is lightly browned. Let rest 5 minutes before serving.
Throughout the process, remember that mastering authentic Green Chile Recipes comes from tasting as you go—adjust salt, heat, and acidity to your liking.
—
Nutritional Benefits & Advantages
– High in protein – Beef provides essential amino acids for muscle repair.
– Rich in vitamins – Hatch chiles are loaded with vitamin C (more than an orange per chile!) and vitamin A.
– Low in refined carbs – Corn tortillas are naturally gluten‑free and provide complex carbohydrates.
– Metabolism boost – Capsaicin in green chiles may increase calorie burning.
– Healthy fats – Beef contains conjugated linoleic acid (CLA), linked to reduced inflammation.
This dish is also highly adaptable: use leaner cuts or swap beef for chicken to lower saturated fat while keeping the signature Hatch heat.
—
Tips Variations & Cooking Advice
– Flavor twist – Add a dollop of sour cream or Mexican crema before serving.
– Vegetarian version – Replace beef with black beans and roasted sweet potatoes; mash lightly for texture.
– Spice level – For milder enchiladas, remove all seeds from chiles. For extra fire, add a minced jalapeño.
– Dairy‑free – Use vegan cheese or skip cheese entirely; top with avocado slices and cilantro.
– Smoky upgrade – Use fire‑roasted tomatoes in the sauce.
– Portion changes – This recipe serves 4–6; double for a crowd. Use two 9×13 dishes.
– Alternative cooking method – Assemble enchiladas in a slow cooker (low 4–5 hours) for a set‑and‑forget meal.
—
Common Mistakes to Avoid
| Mistake | Solution |
|———|———-|
| Tortillas cracking | Warm them properly—cold tortillas break when rolled. Use a damp paper towel in the microwave for 30 seconds. |
| Soggy enchiladas | Don’t oversauce before baking. Use only enough sauce to coat the tops; extra can be served on the side. |
| Bland flavor | Season beef generously during cooking. Hatch chiles lose some punch when cooked; add a pinch of chile powder to the sauce. |
| Cheese burning | Cover dish with foil for the first 15 minutes of baking, then uncover for final 5 minutes. |
| Overcooked beef | Check doneness with a fork; beef should shred easily. If using a slow cooker, keep on low and don’t exceed 8 hours. |
—
Storage & Meal Prep Tips
– Refrigeration – Store leftovers in an airtight container for up to 4 days. The flavors often deepen overnight.
– Freezing – Freeze unbaked assembled enchiladas (without sauce) for up to 3 months. Wrap tightly in plastic and foil. Thaw overnight in fridge, then add sauce and bake.
– Reheating – For best texture, reheat in a 350°F oven for 10–15 minutes. Microwave works but may soften tortillas. Pro tip: Sprinkle a little water on top before oven‑reheating to restore moisture.
– Meal prep – Cook beef, roast chiles, and make sauce up to 2 days ahead. Assemble just before baking.
—
Conclusion
Now you have everything you need to create unforgettable Hatch Green Chile beef enchiladas right in your own kitchen. This recipe proves that Green Chile Recipes don’t have to be complicated—they just need quality ingredients, a little patience, and the right technique. Whether you serve them on a busy weeknight or at a festive gathering, these enchiladas deliver bold, authentic flavor that will have everyone asking for seconds. Go ahead, give it a try, and share your beautiful results with friends—or explore other Hatch‑inspired dishes like the creamy crock‑pot chicken soup linked earlier. Your next favorite meal is just a chile away!
—
FAQs
1. Can I use dried Hatch chiles instead of fresh?
Yes. Rehydrate dried pods in hot water for 20 minutes, then puree. Adjust liquid in the sauce accordingly—dried chiles are more concentrated.
2. How do I tone down the heat if my chiles are too spicy?
Stir in a tablespoon of honey or a splash of cream to balance the heat. Also, removing the seeds and white membranes from the chiles before cooking reduces capsaicin.
3. What if I don’t have beef broth?
Chicken or vegetable broth works fine. For extra richness, use a splash of soy sauce or Worcestershire sauce with water.
4. Can I make these enchiladas ahead for a party?
Absolutely. Assemble the dish (unbaked) up to 24 hours in advance, cover, and refrigerate. Add 5–10 minutes to the baking time since the dish starts cold.
5. My sauce tastes bitter. What went wrong?
Bitter sauce often comes from overcooked garlic or burnt chile powder. Toast spices lightly and add garlic only after the pan has cooled slightly. If already bitter, balance with a pinch of sugar or a squeeze of lime.
Best way to grow Hatch Green Chile in 7 days
Ingredients
Equipment
Method
- Soak Hatch Green Chile seeds in warm water for 24 hours to aid germination; this softens the seed coat.
- Prepare the potting mix by combining it with compost in your plant pots.
- If using, place the pots on a heat mat to maintain a consistent soil temperature of 80-85°F (27-29°C).
- Plant each seed 1/4 inch deep in the soil, ensuring proper spacing.
- Mist the soil surface with water using a spray bottle to keep it consistently moist, then cover the pots with a germination dome if available to create a humid environment.
- Place pots under grow lights for 16-18 hours daily; position lights 2-4 inches above the soil, raising them as seedlings grow.
- Maintain soil moisture by misting twice daily, ensuring it is damp but not waterlogged.
- Once a day, apply a diluted liquid plant fertilizer (half strength) to provide essential nutrients for rapid growth.
- Monitor for pests and diseases regularly, implementing organic pest control methods if necessary to protect the seedlings.
- By day 7, some varieties of Hatch Green Chile should show initial signs of fruit development; harvest carefully by clipping the stem above the chile.